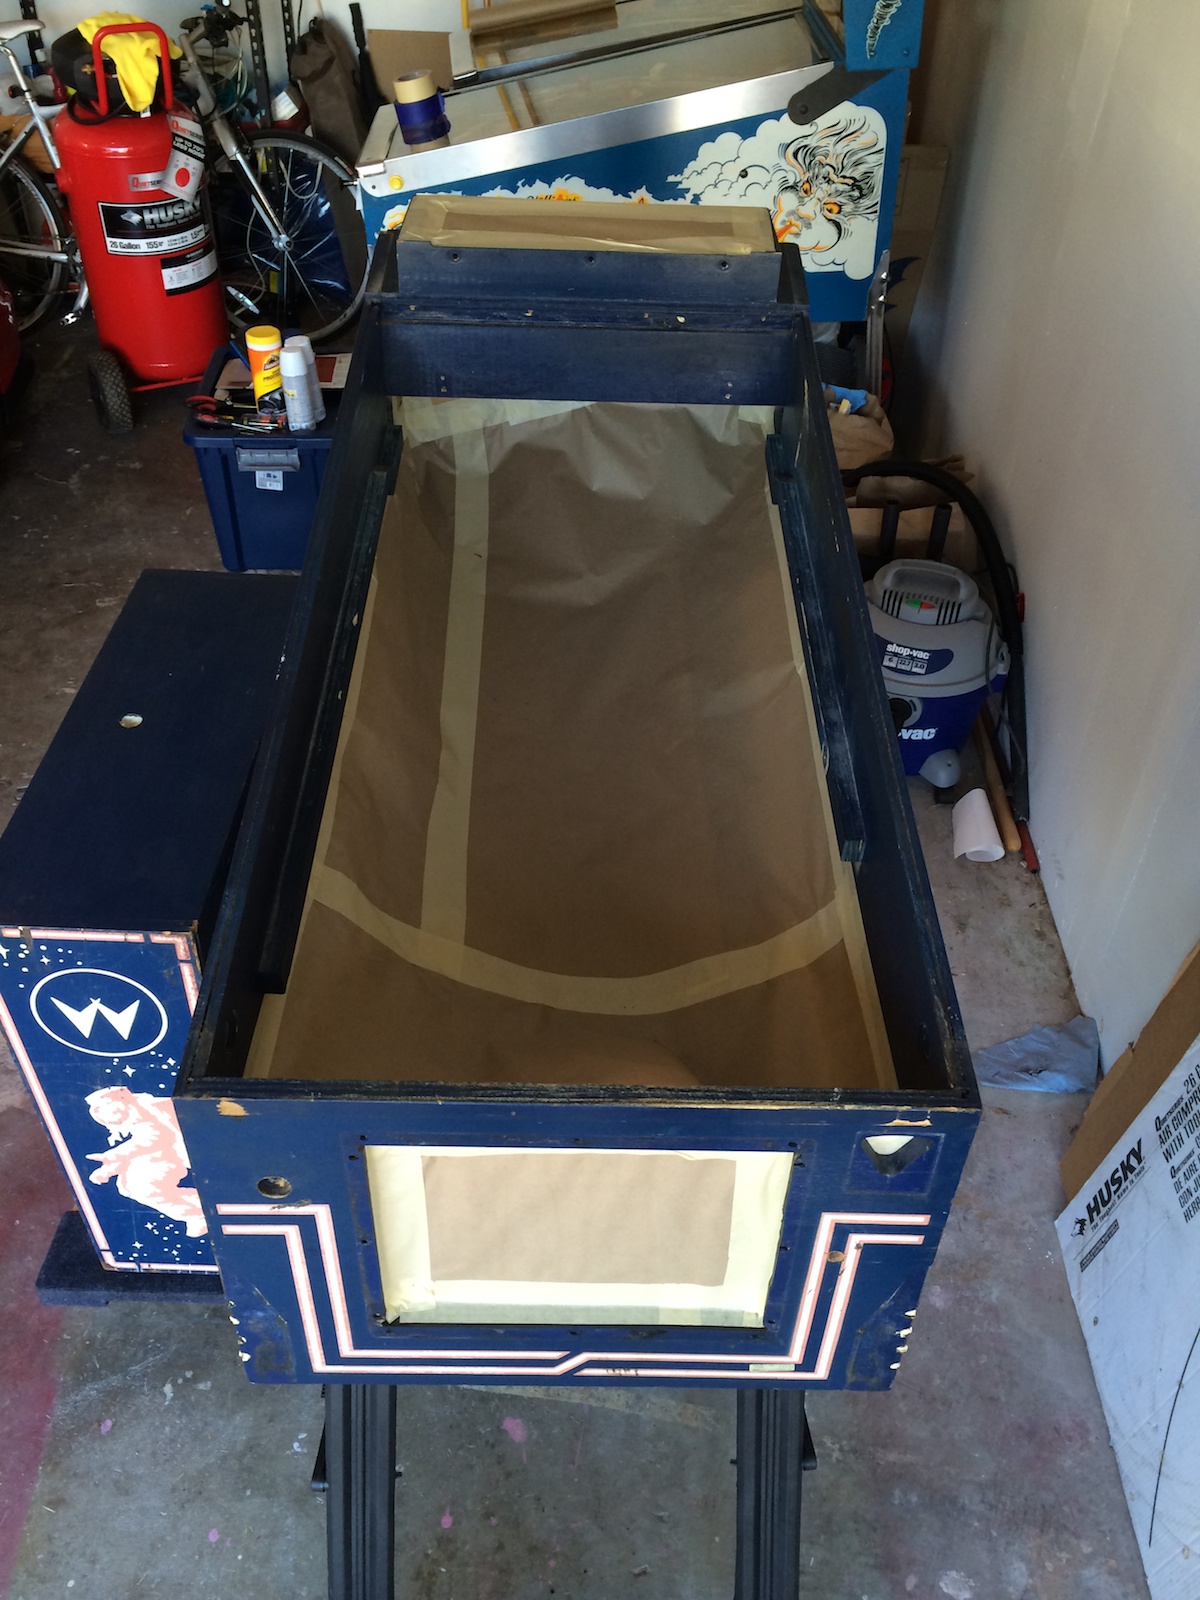
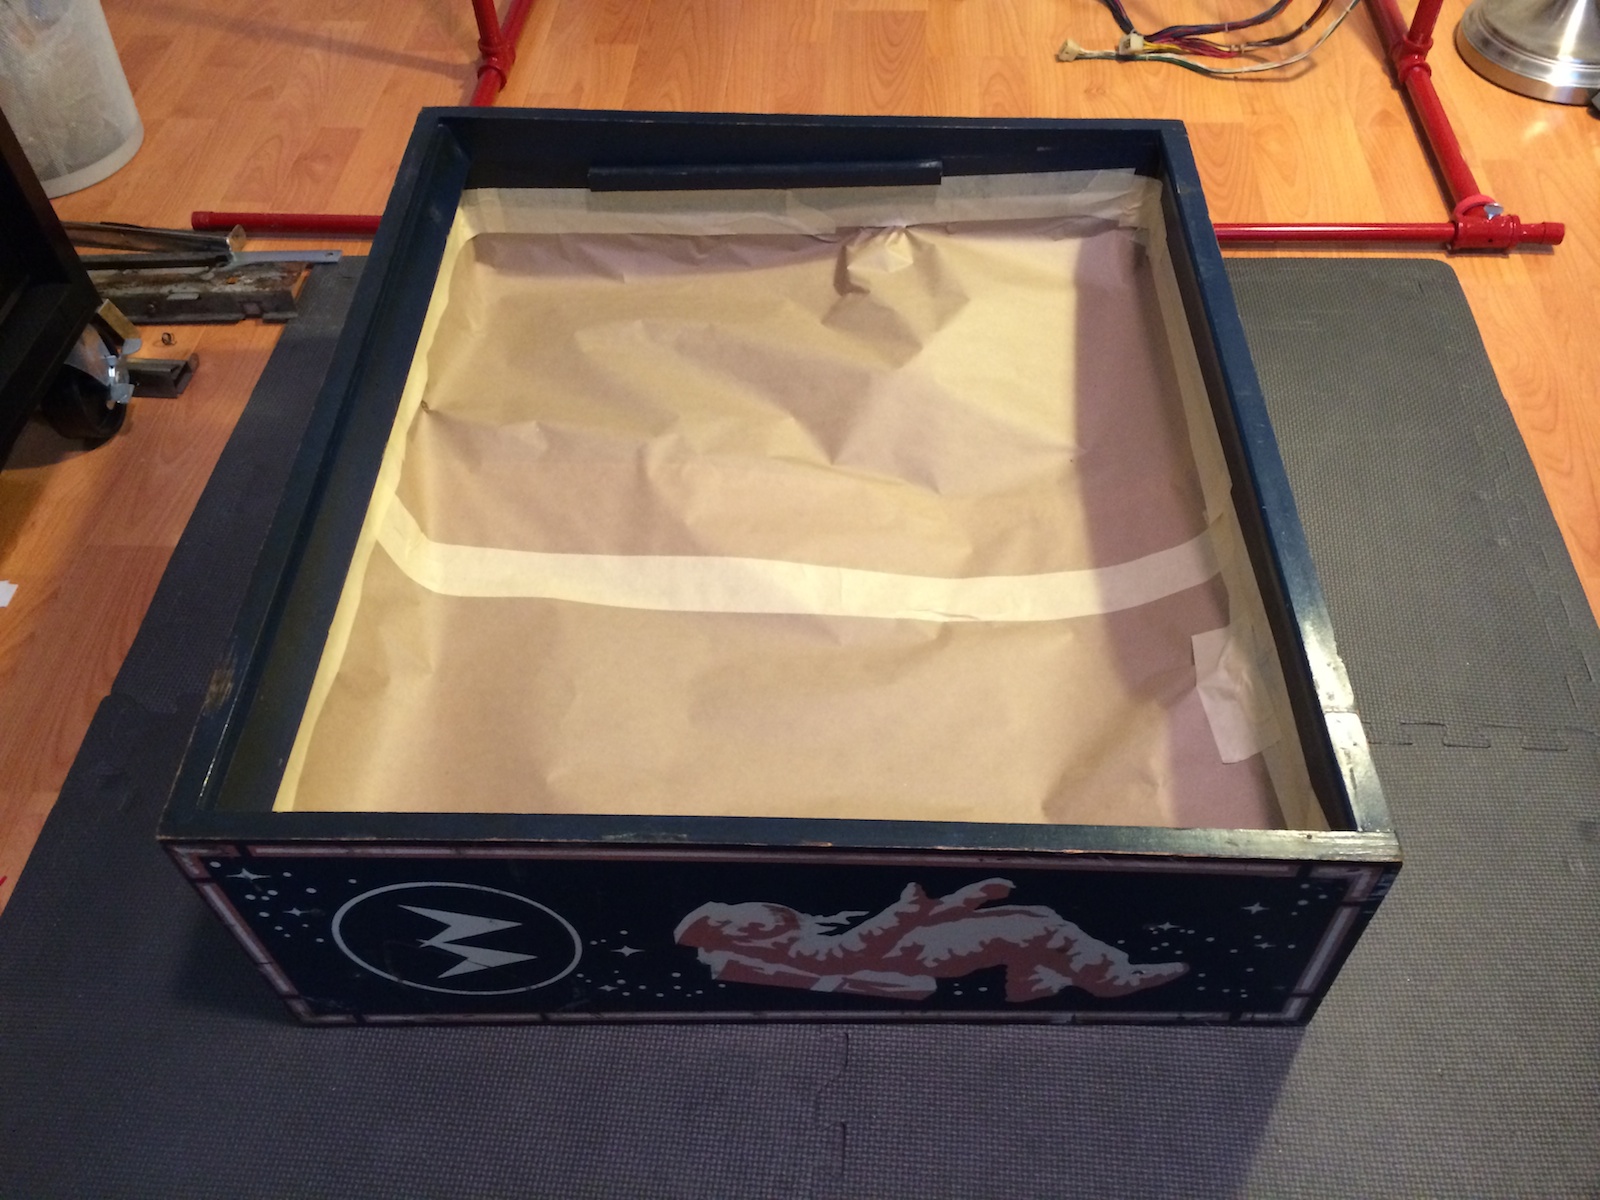
First off before sanding, I masked out the inside of both the head and cabinet. As I mentioned in my last post, I decided to keep the insides of these unpainted (as they originally left the Williams factory).
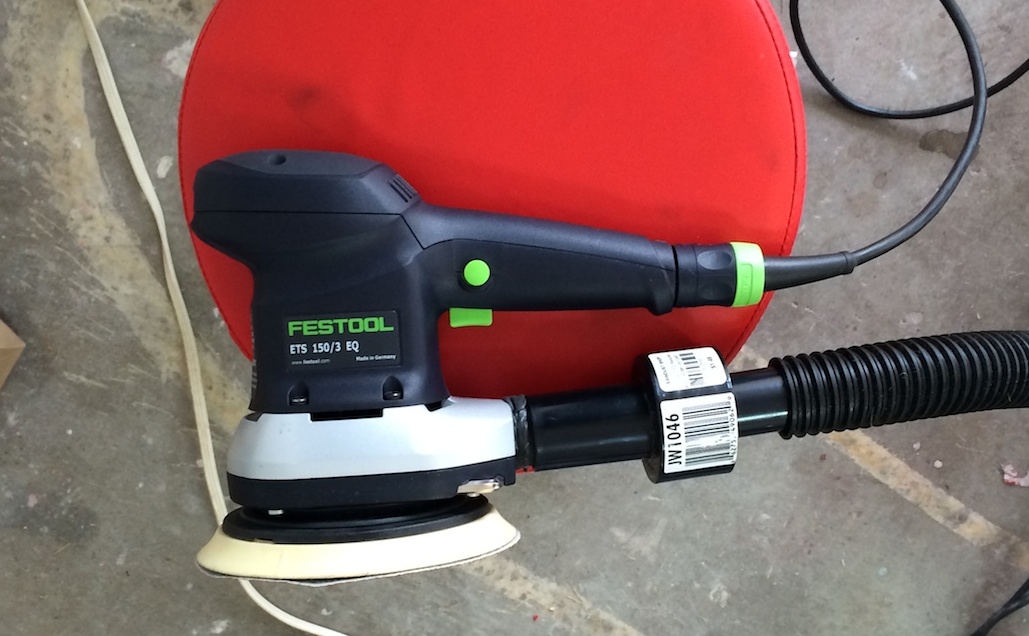
Time to start sanding and get rid of that old faded paint! Here’s the sander I used, which I borrowed from a friend – a Festool random orbital sander. It’s a simply fantastic tool! It has very little vibration which is easy on your hands, does not leave swirl marks, and it hooks up to a shopvac and sucks up dust as it goes. There’s virtually no dust when using it, it’s just amazing!
Here goes nothing…
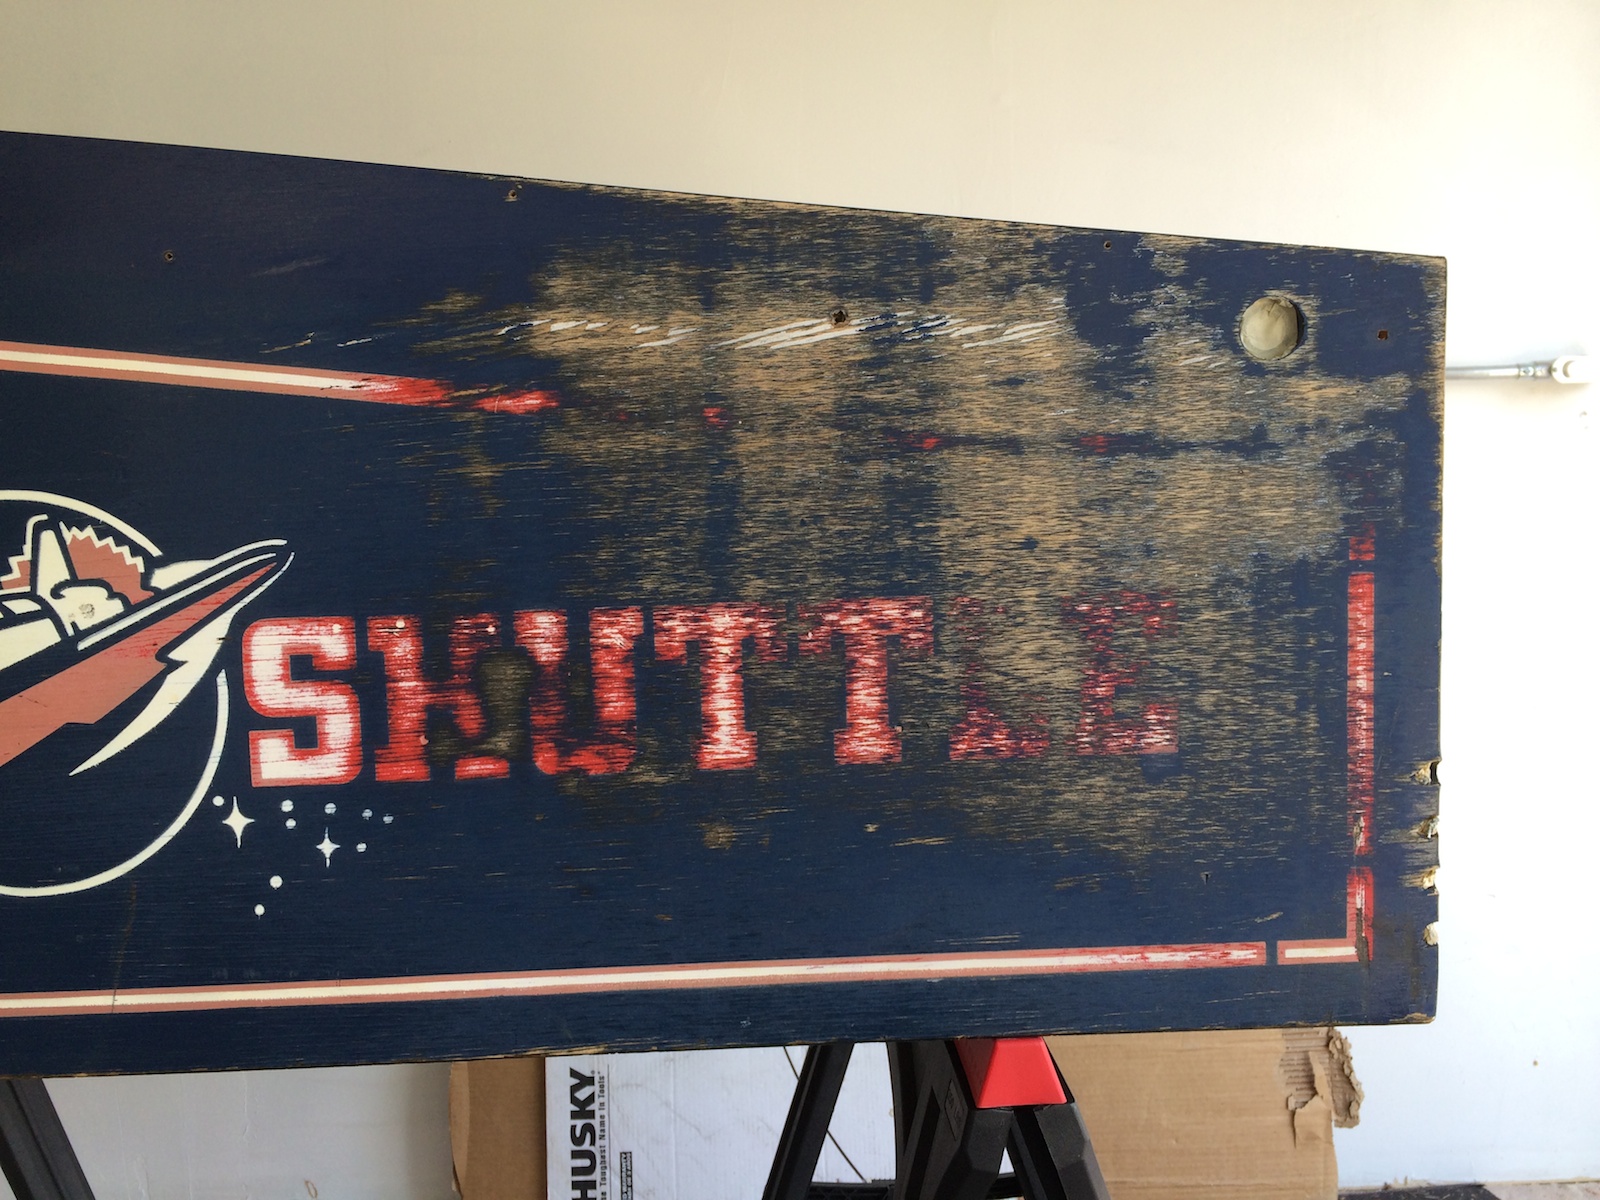
Wow, no turning back now! Amazing how you can see the original red color come out from underneath the faded top layer. Time to keep going:

Lather, rinse, repeat… Skipping forward a bit, heres the cabinet and head fully sanded.
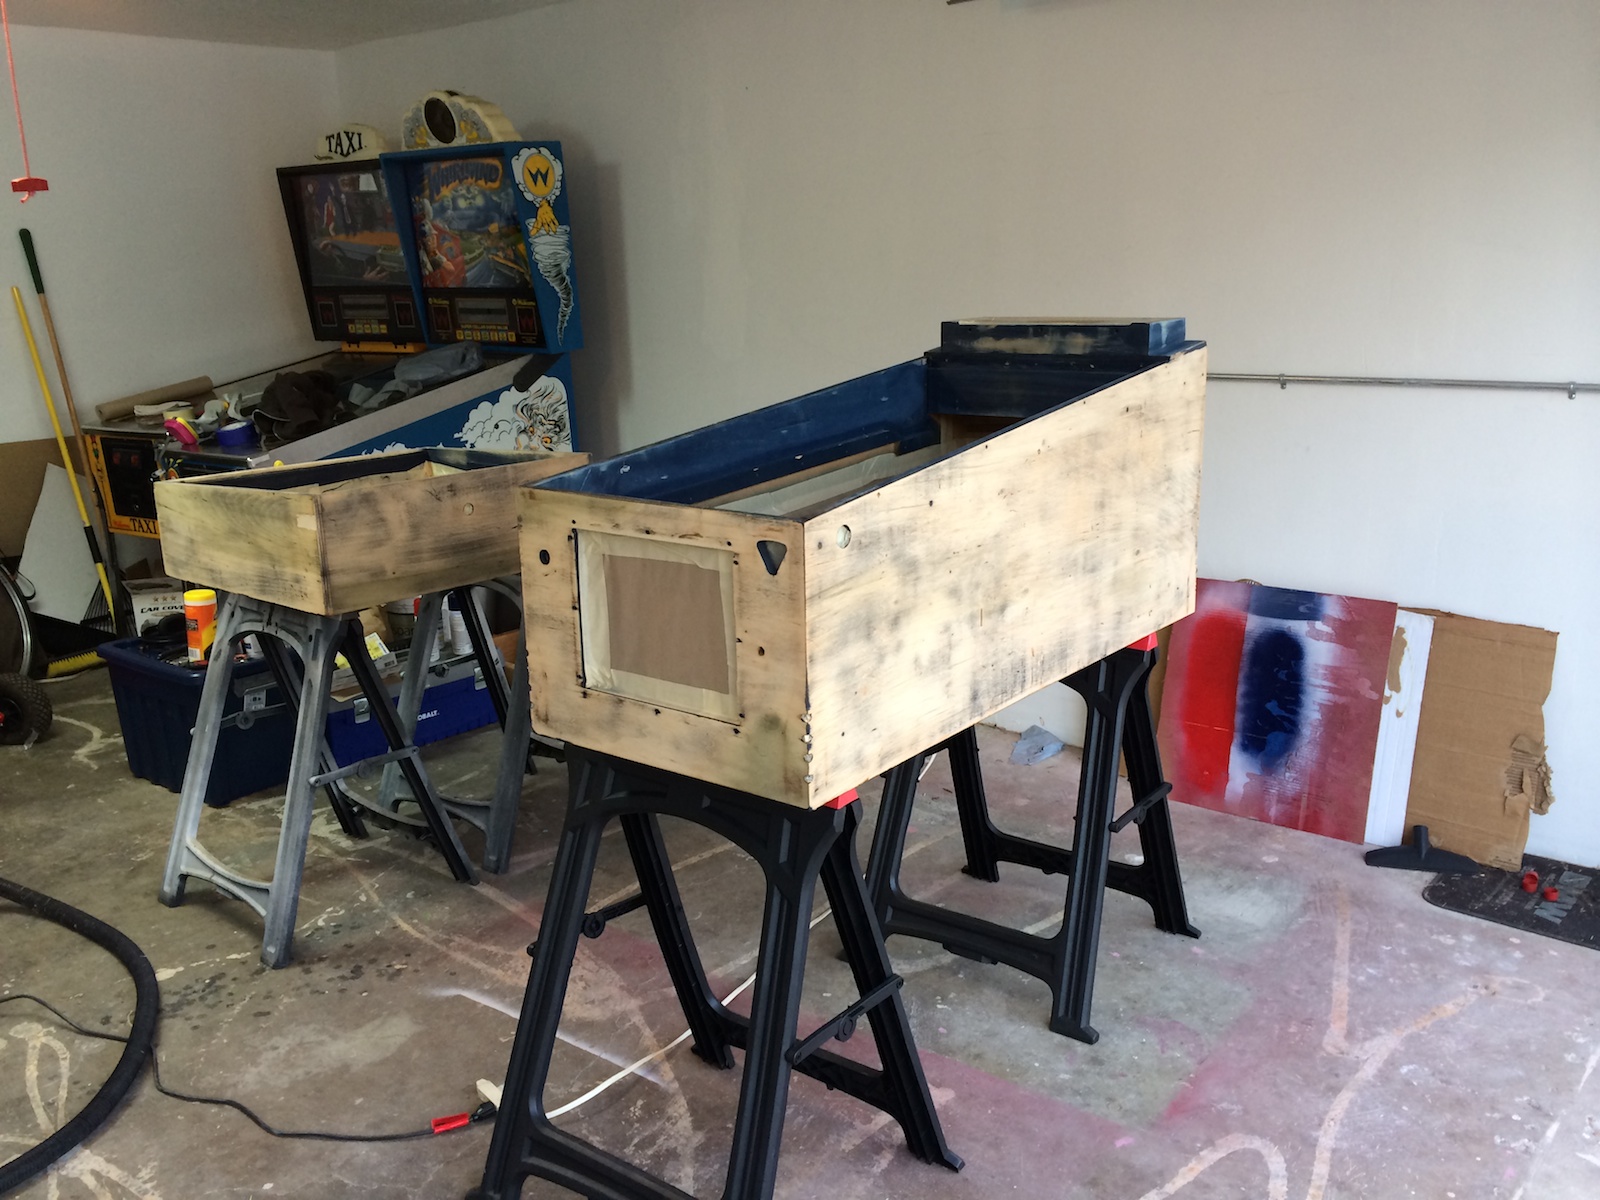
Notice behind the cabinet the piece of cardboard with blue and red paint. Those are the colors I’m planning on using when repainting!
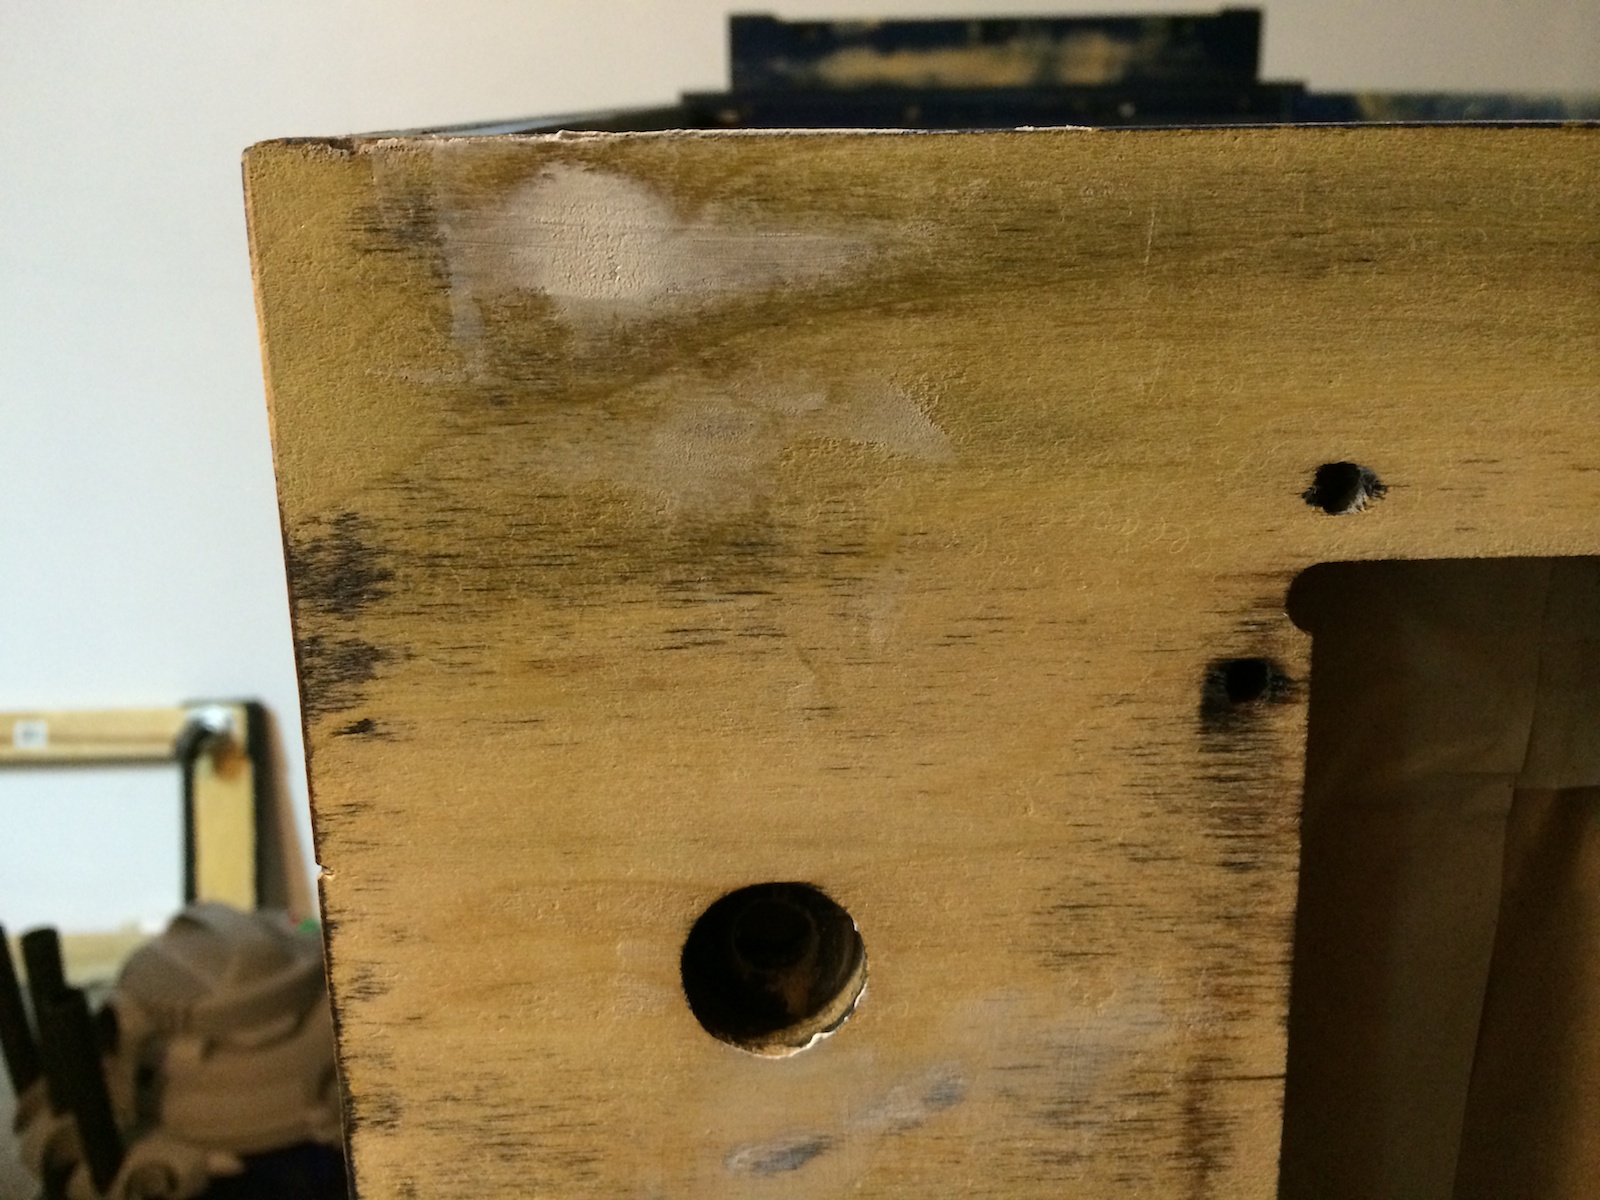
I was excited to make such progress in the day so I kept on going, getting the wood putty out to fill the small nicks in the cabinet. This still needs to be built up a bit more and then sanded, but I’m not far away from being able to prime everything!