
With the cabinet off getting painted, I turned my focus to other parts of the build. First off, the artwork! I’ve been working on customizing my control panel and marquee art for a while now, and it’s finally done and off to the print shop. While the marquee will be back-lit and the control panel will not, I decided to do the entire art on backlit film – it makes for just one file to print, and it’s an easy way to assure the colors will be consistent between the control panel and the marquee.
I then started looking at how to mount the artwork to the marquee. The Kraylix kit came with a clear plastic panel for mounting the marquee. It’s presumably acrylic, but I’m not certain about that. The marquee art could mount either in front or in back, but with just four screws to hold it down I’m not sure I like either option – I would prefer to have something that will keep the artwork absolutely flat to the marquee clear panel. I was curious what other builders were doing about this, so after reading some forum posts I found a solution I really liked – sandwiching the artwork between two clear panels! I went to Tap Plastics and bought a sheet of 1/8″ clear acrylic to fabricate my own custom marquee holder.
Tap Plastics cut my acrylic to the proper size, but there are still a few items that need taking care of – rounding the corners and drilling some holes. I clamped some wood blocks to each side to give the material some stiffness and started with the coping saw to cut the rounded corners, using the original panel as a template. Acrylic is a very hard material and it quickly became obvious doing a rounded corner wouldn’t be easy…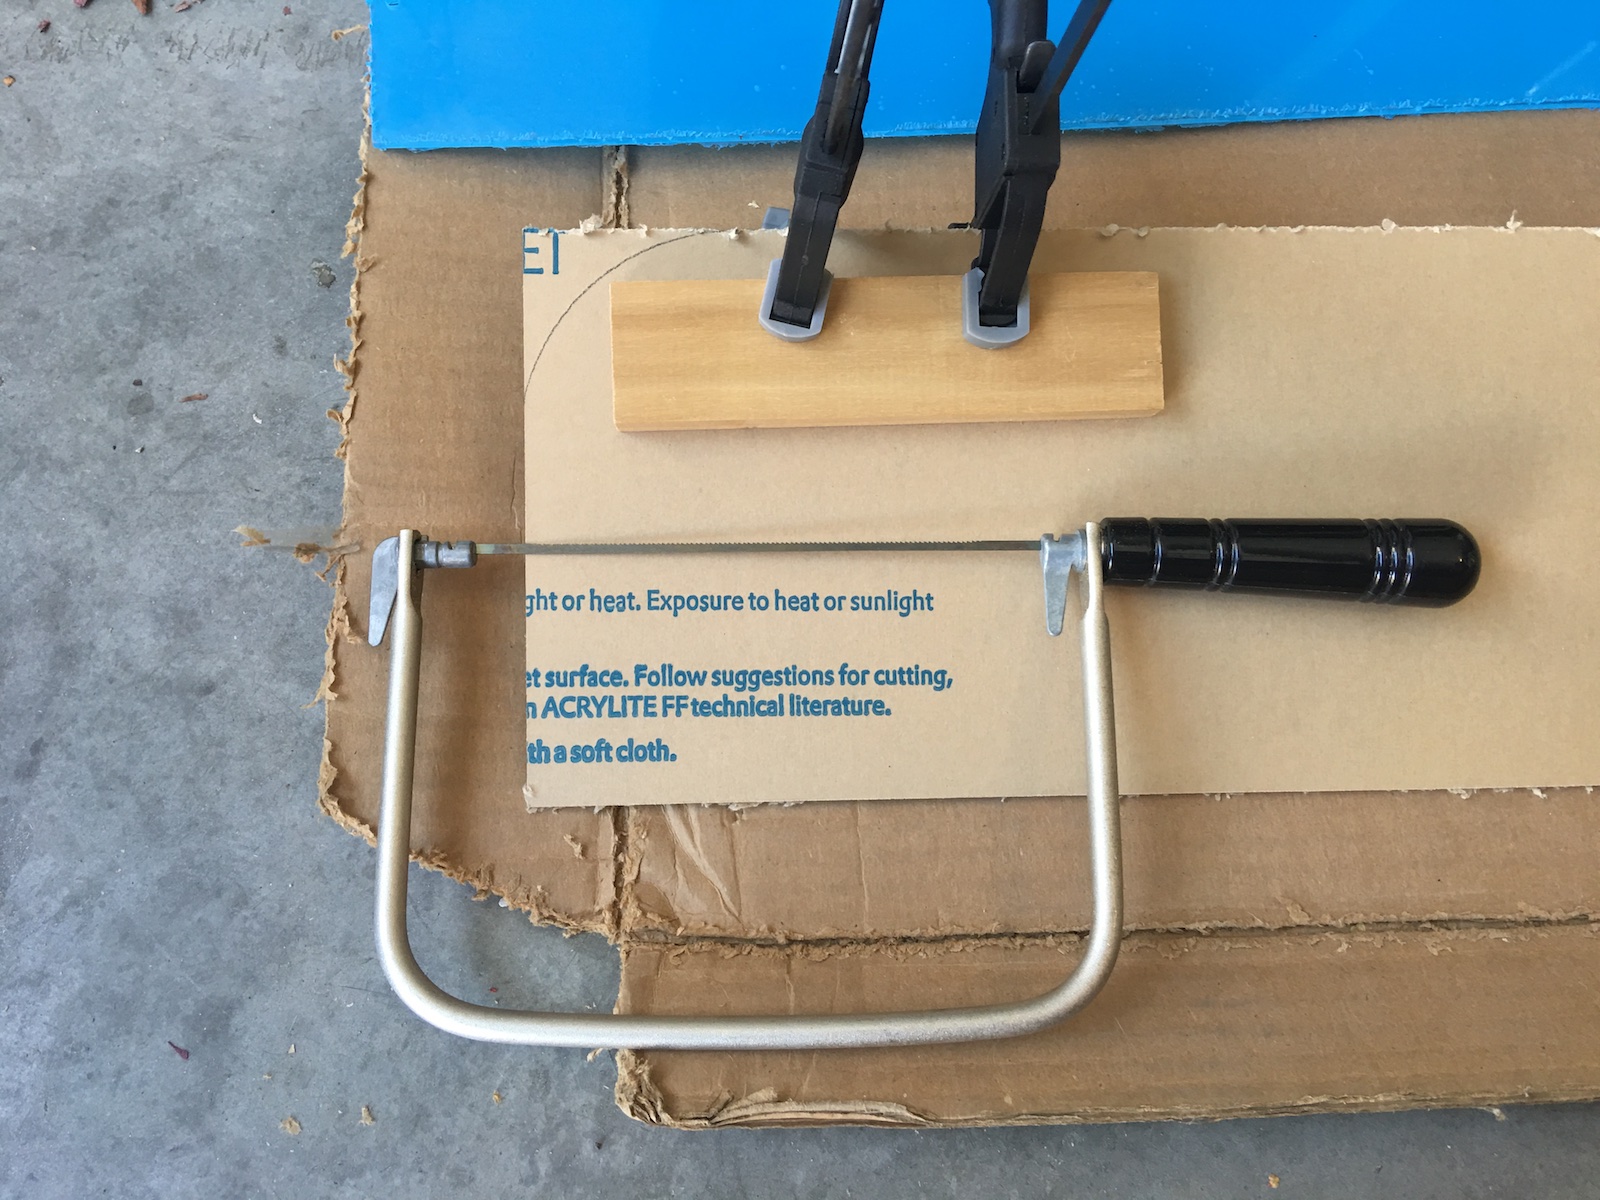
So, I turned to the Dremel. What an awesome tool. I first used the cutting wheel to do a series of rough cuts right outside my cut line: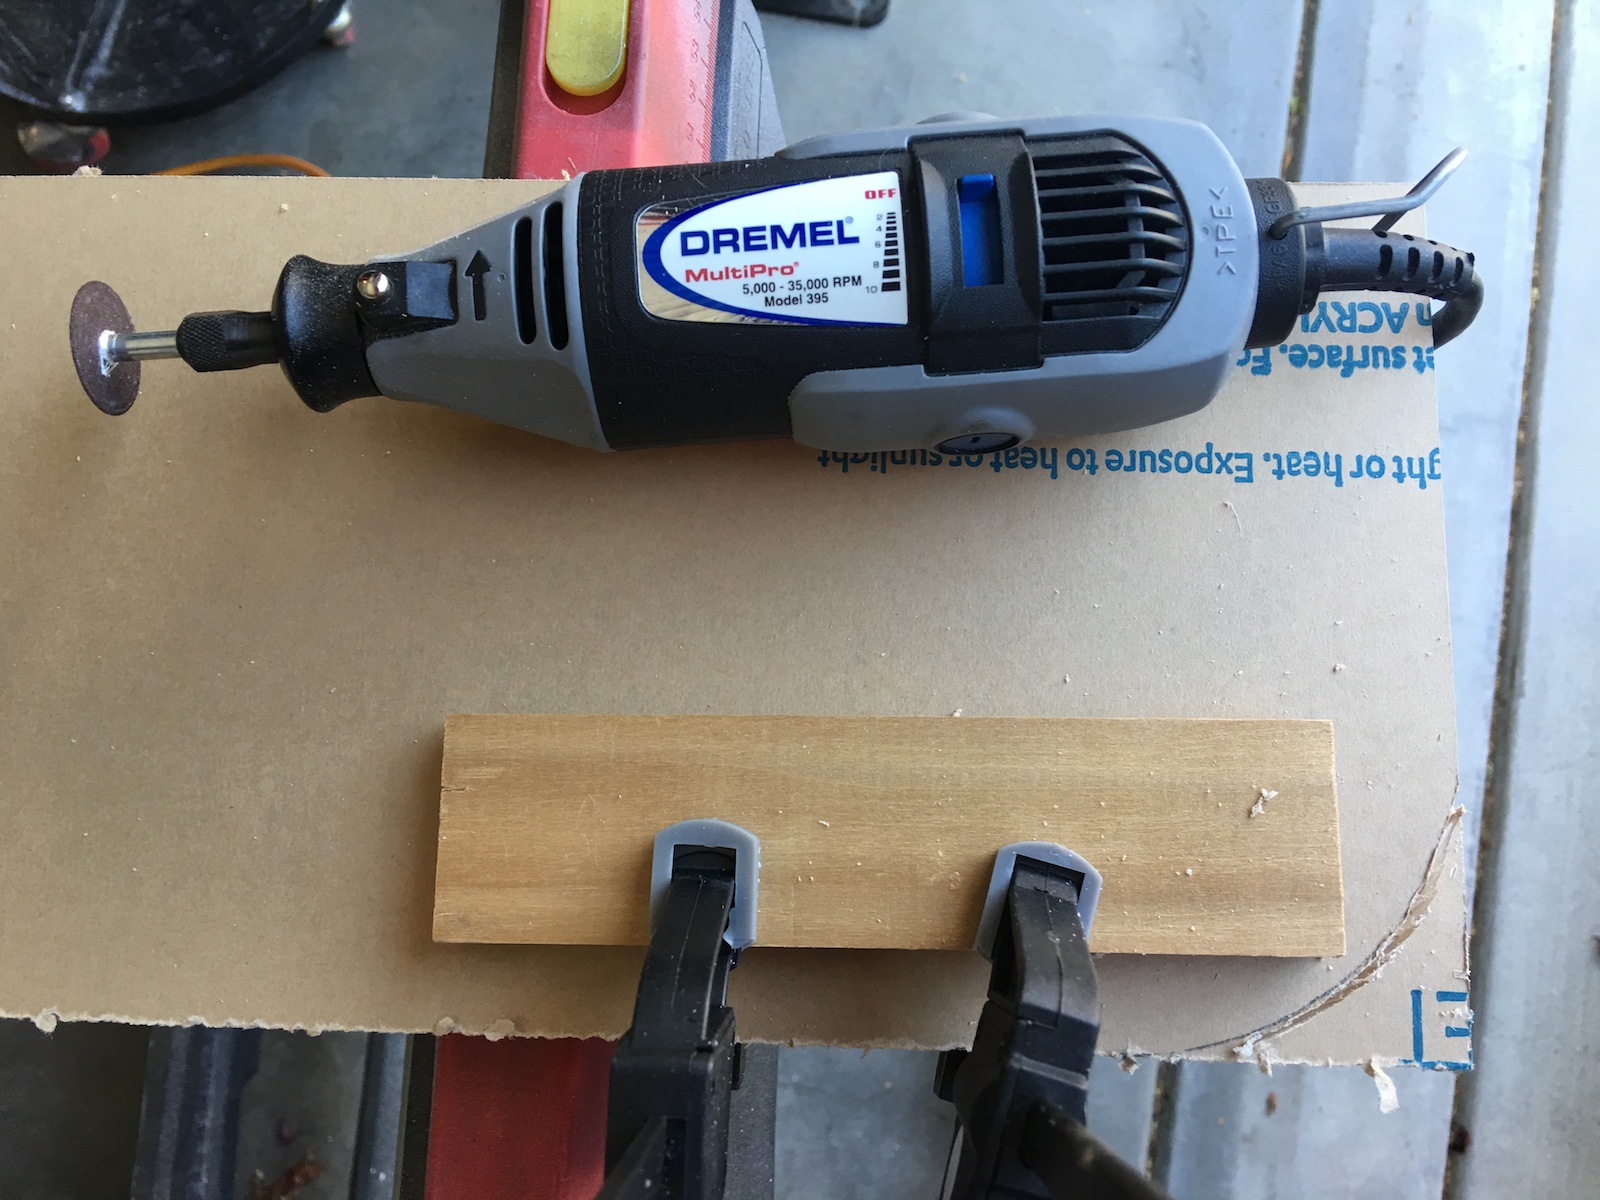
Then moved over to the sanding barrel tool to smooth out the curve and get right on the desired line. Make sure you wear proper eye protection while doing this, by the way, as hot molten plastic bits will fly!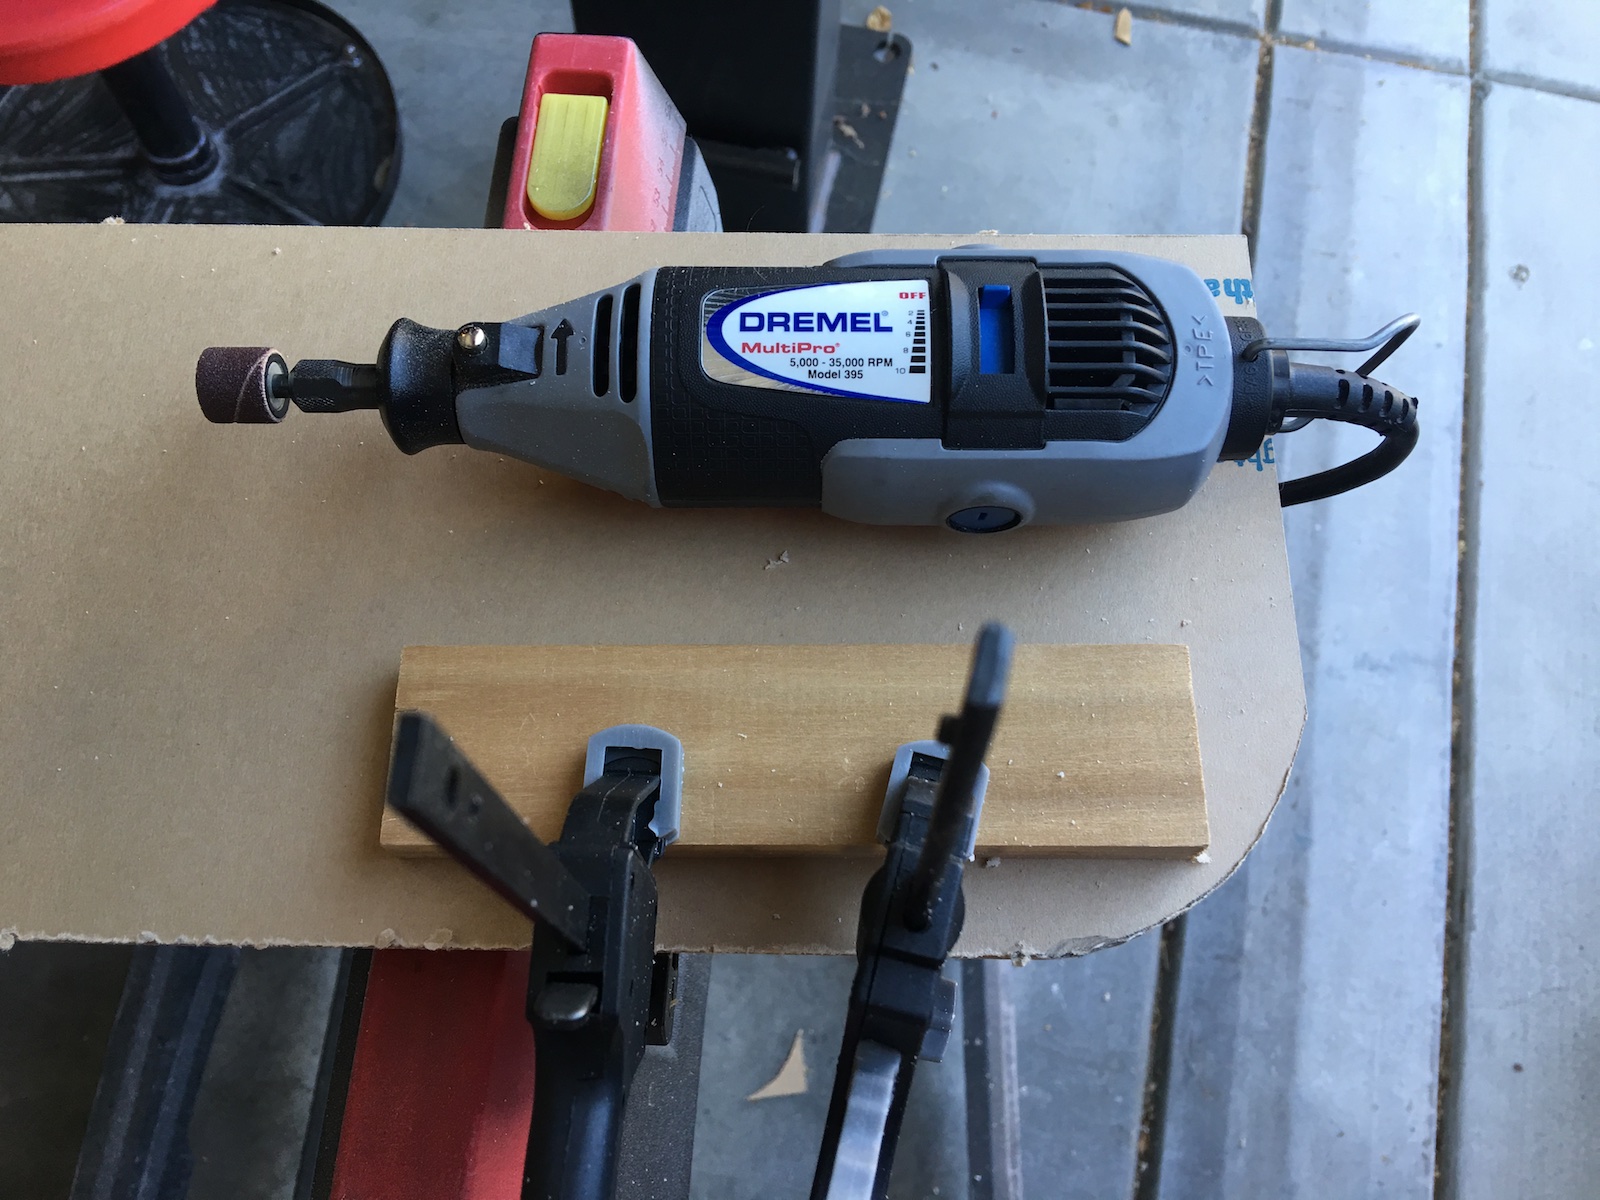
Much easier and faster than the coping saw! All that was left was drilling the holes for the screws that attach it to the cabinet, and I used a purpose-made drill bit for drilling into plastics. Notice how it has a much more acute tip vs a conventional drill bit: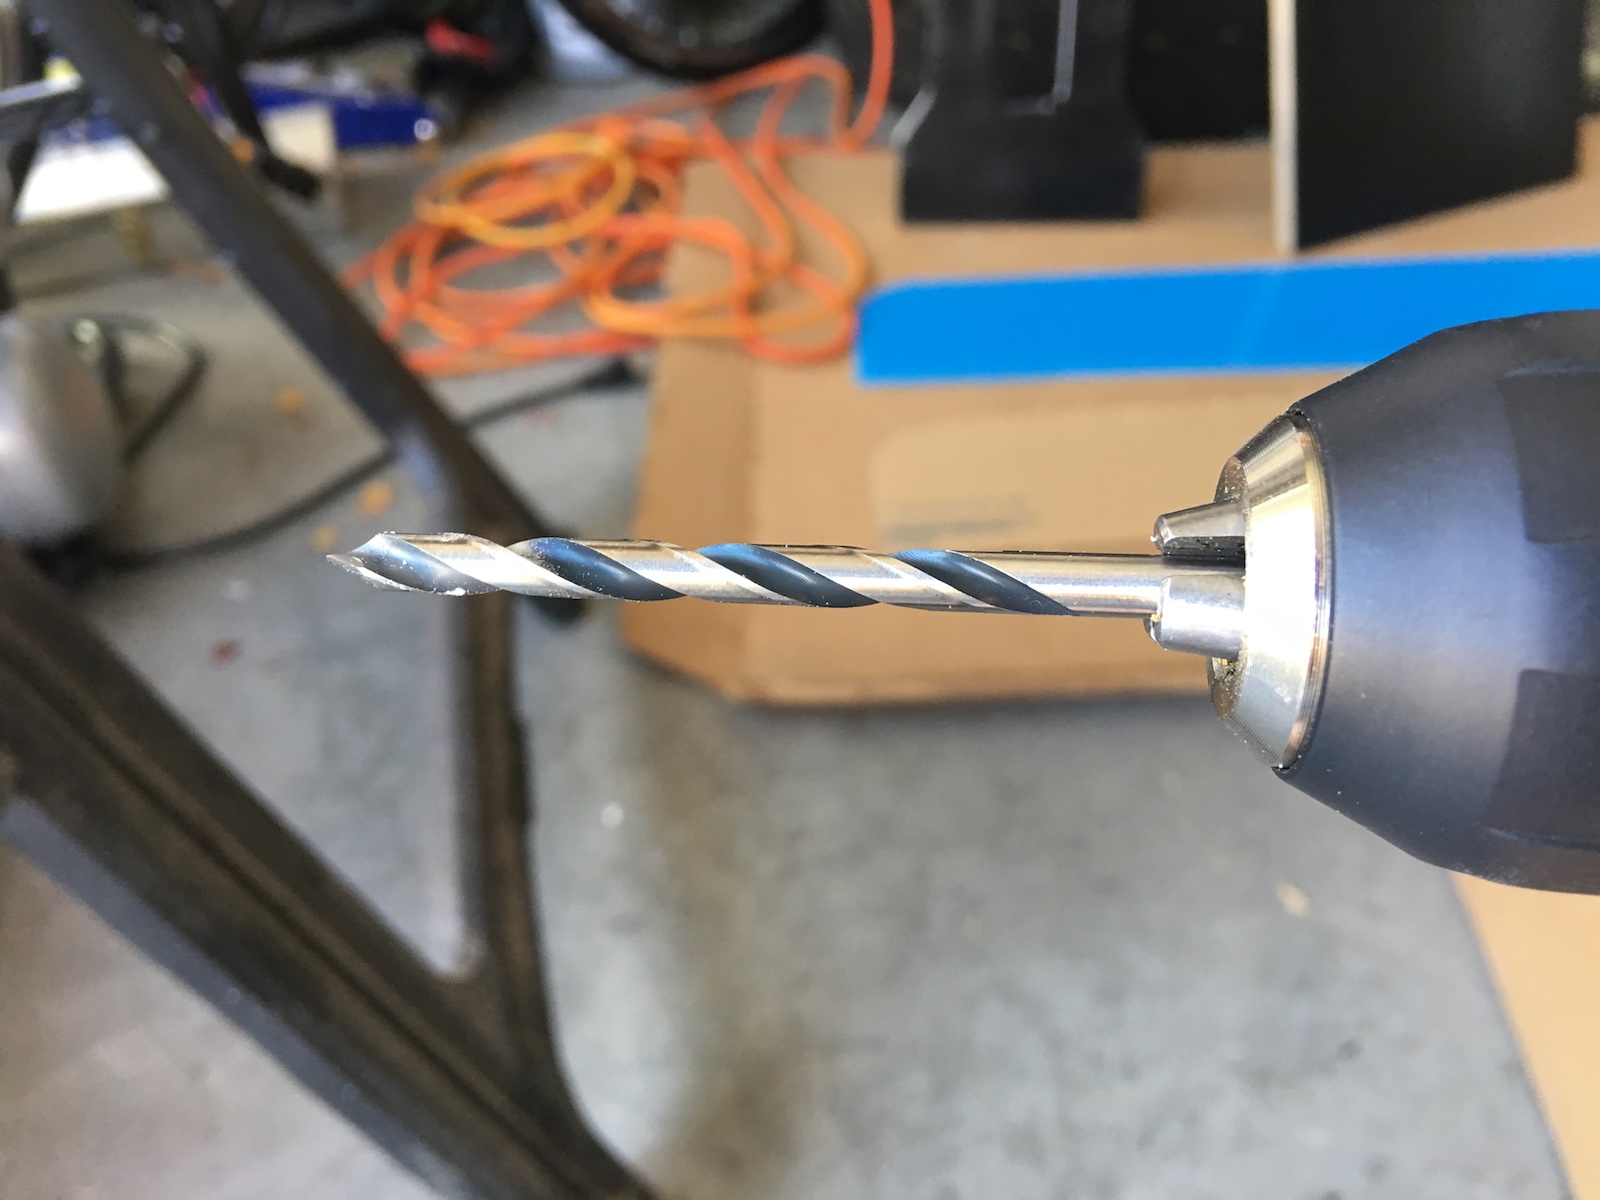
Four holes later, all done! Both pieces are clear, by the way, they are simply covered with protective film:

My custom holder (above, bottom) has the same shape as the clear plastic that comes with the kit (above, top)- all for 7$ and about 15 minutes of work. Of course I could have just ordered a second marquee panel with my original order from Kray, which is what I would recommend to anyone ordering in the future… If you didn’t, though, fret not – it’s pretty easy to make your own.
