
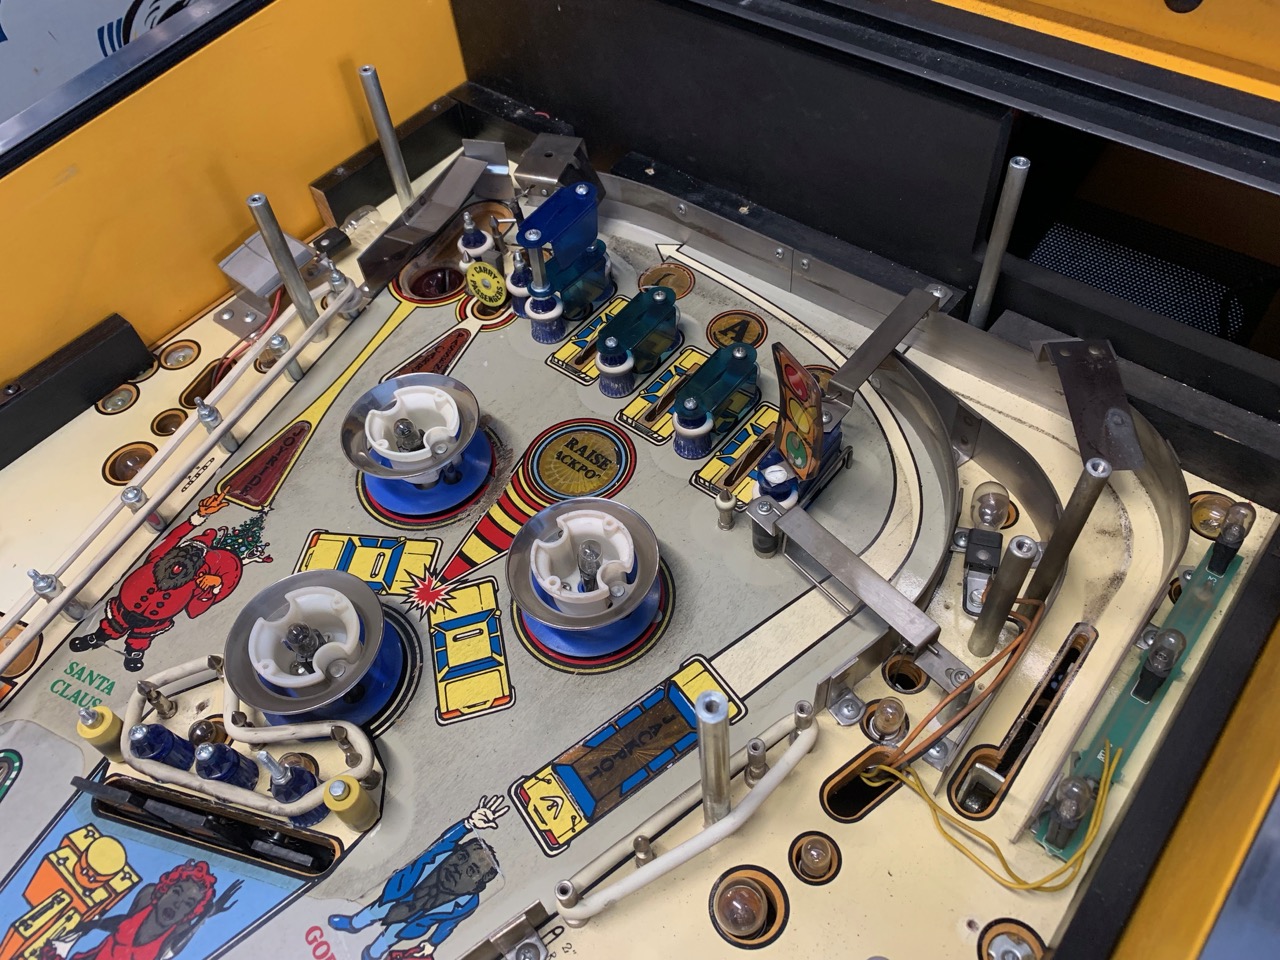
Next up in my queue of games to work on was Taxi. Although playing well, cosmetically it was dirty and worn – definitely due for an overhaul! I started breaking down the game in preparation for the installation of a new playfield, ramps and plastics. See below how dirt is ground in to the surface and how the text of inserts is worn out.
After getting the top side completely disassembled, I took the playfield out of the game and on to a makeshift workbench (aka folding table) to start on the bottom. Everything has to come off! And at the same time I put the new playfield on the rotisserie. Prior to this, however, I had spent some time putting a few games on their backs to free up space in the garage. It’s so much easier to work on a project with the space to lay everything out. Here’s a view of the main work area with the old playfield upside down, new playfield on the rotisserie, and workbench just off to the right.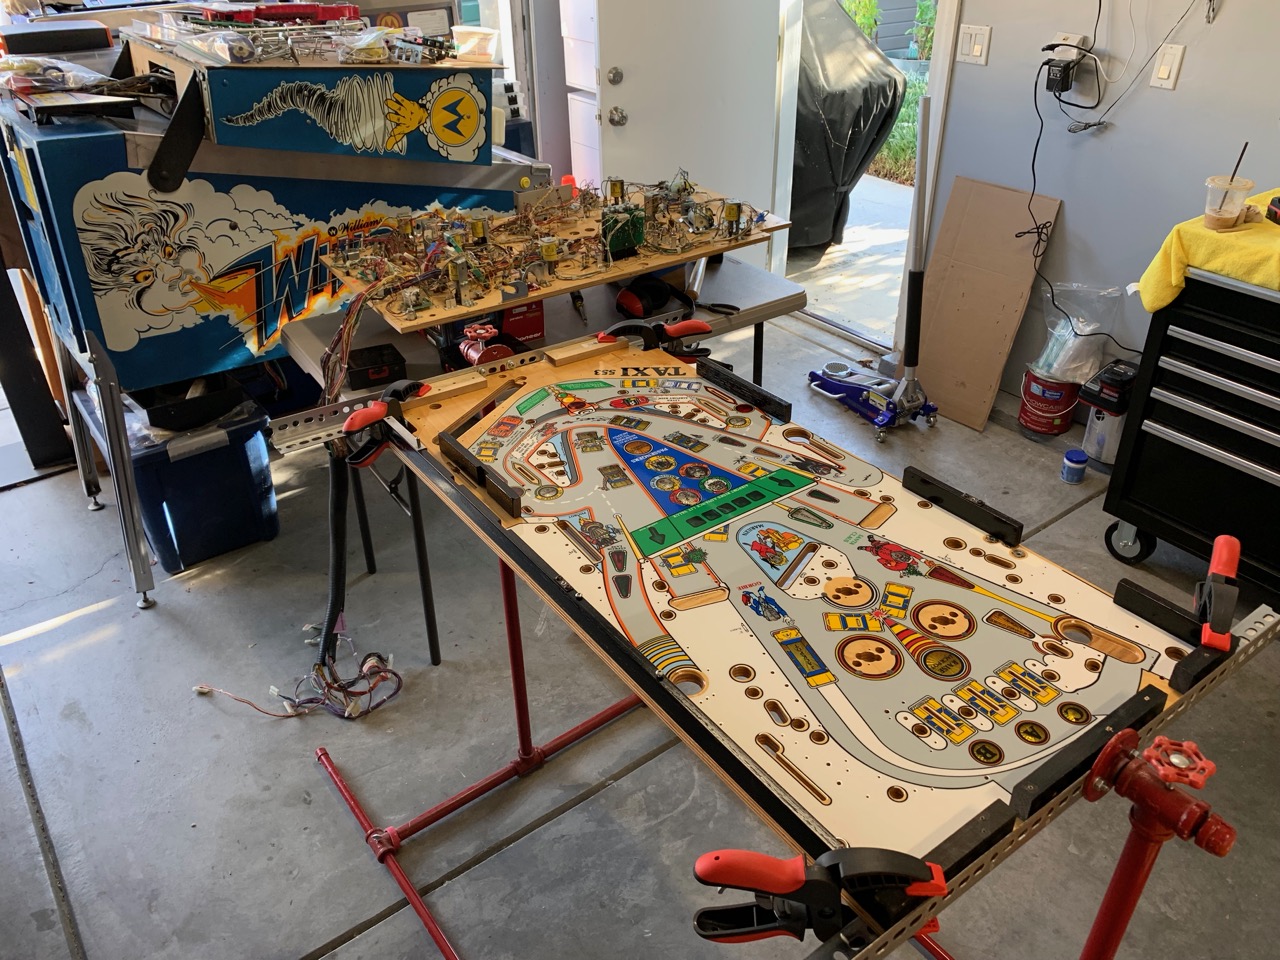
At this point on the old playfield it’s a matter of unscrewing every bracket, switch, and lamp. On the new playfield I started with pop bumper nails, t-nuts, rails, then GI wiring. Once everything is unscrewed from the old playfield, the whole wiring harness gets transferred off and over to a piece of cardboard for the move over to the new playfield: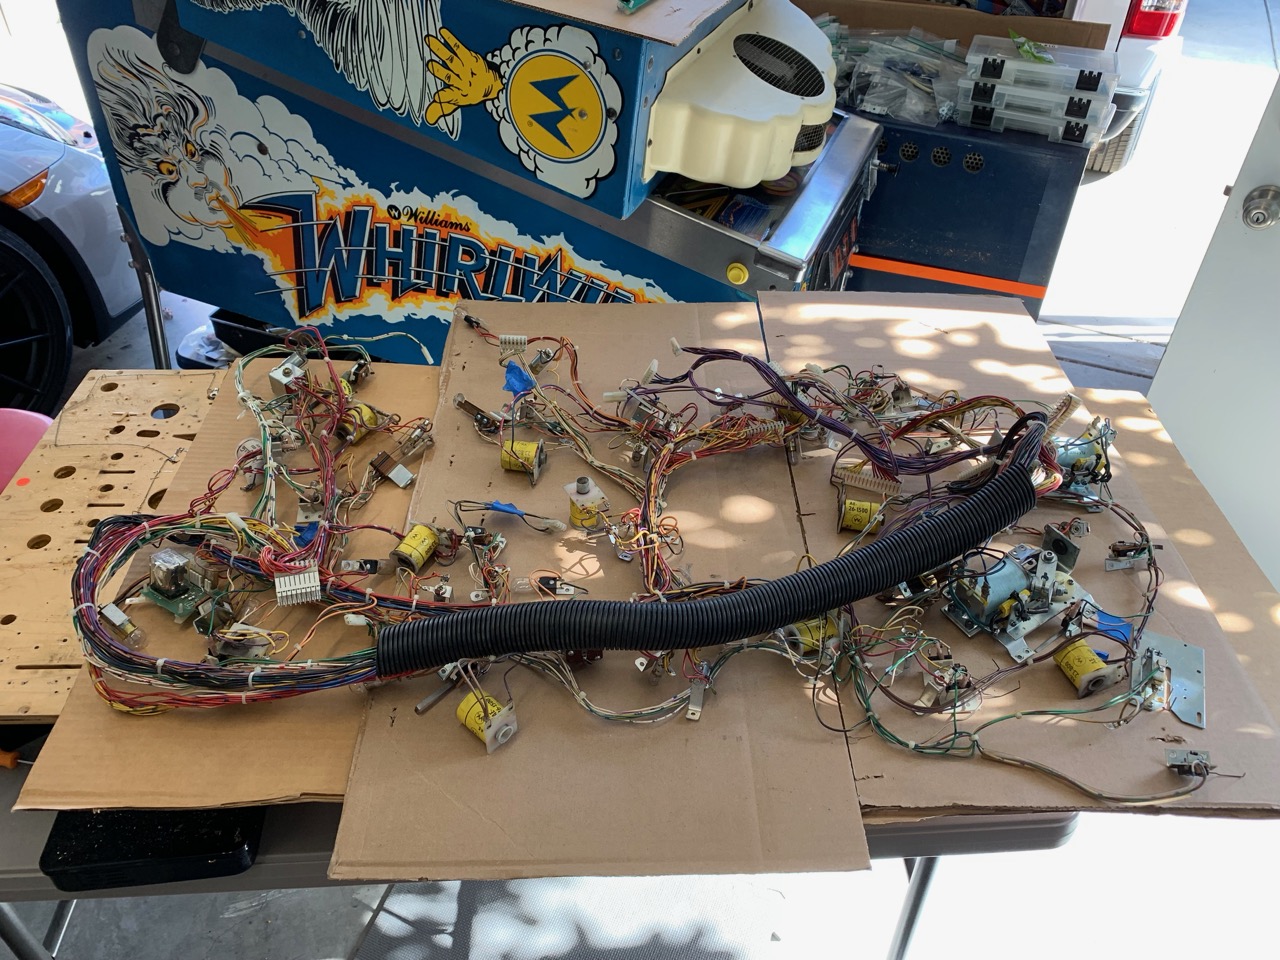
Games of this era use unshielded bare wire stapled in to the playfield for GI, and you can see I still have one strand left on the old playfield in the photo above. It’s a lot easier to remove once everything else is off the playfield. I transferred that over to the new playfield and patched areas as needed – one advantage of bare wire is you can see broken strands, and given the amount of current going through the wires it’s important to not have partial breaks in the strands. Once installed, I then tested the circuit and made sure every lamp socket was rock solid. So much easier to replace any as needed now rather than on a fully assembled game!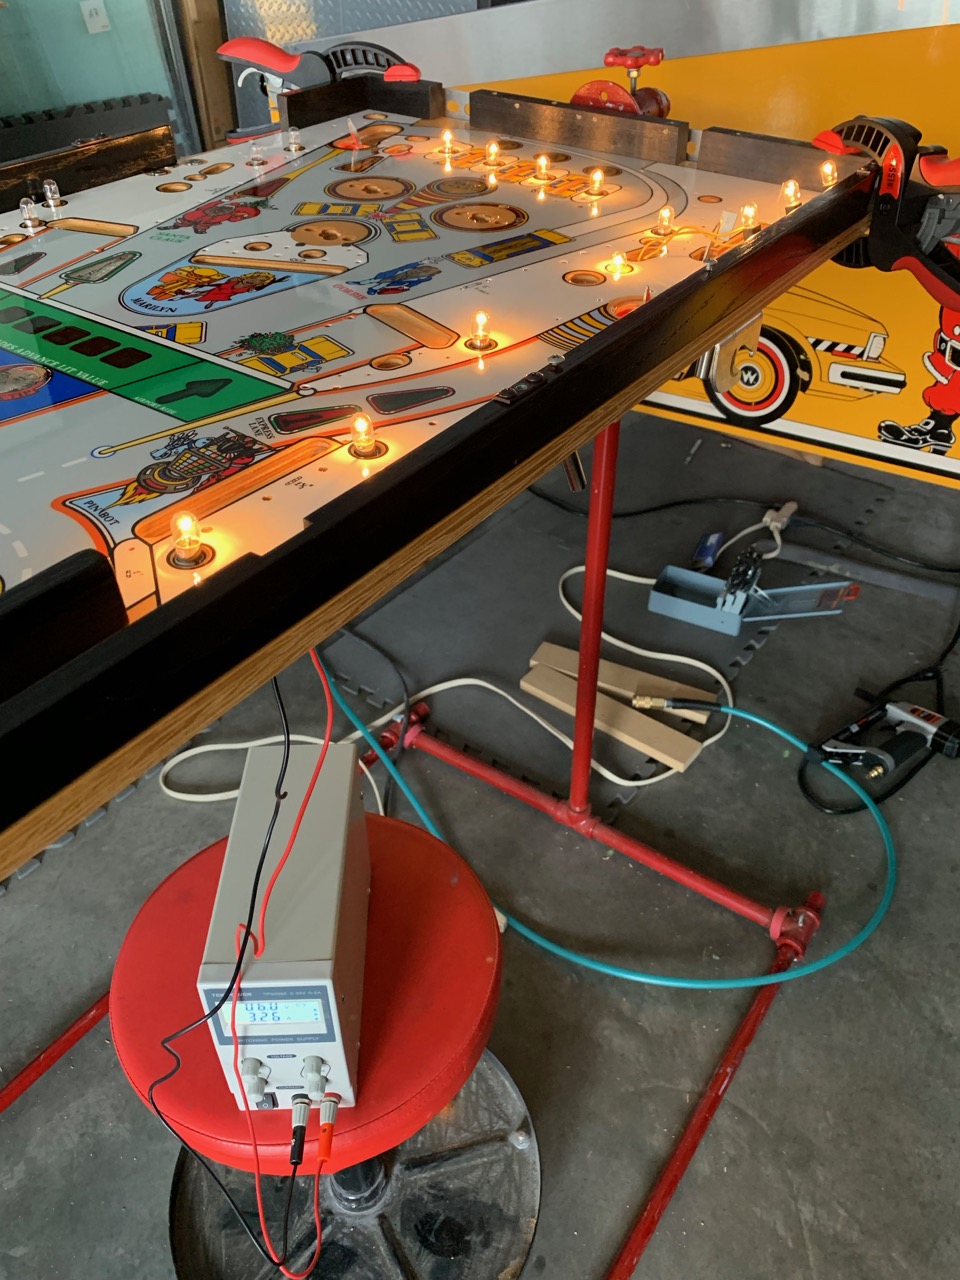
After this it’s pretty much smooth sailing, focusing first on the bottom side and getting the wiring harness transferred over, and then getting every switch, lamp and bracket screwed back in. Once the back side is done, I can finally get to the most fun part of the whole job which is putting new parts on the top side. Here’s a photo mid-way through the top, focusing mostly on posts and ball guides at the rear of the game up to that point: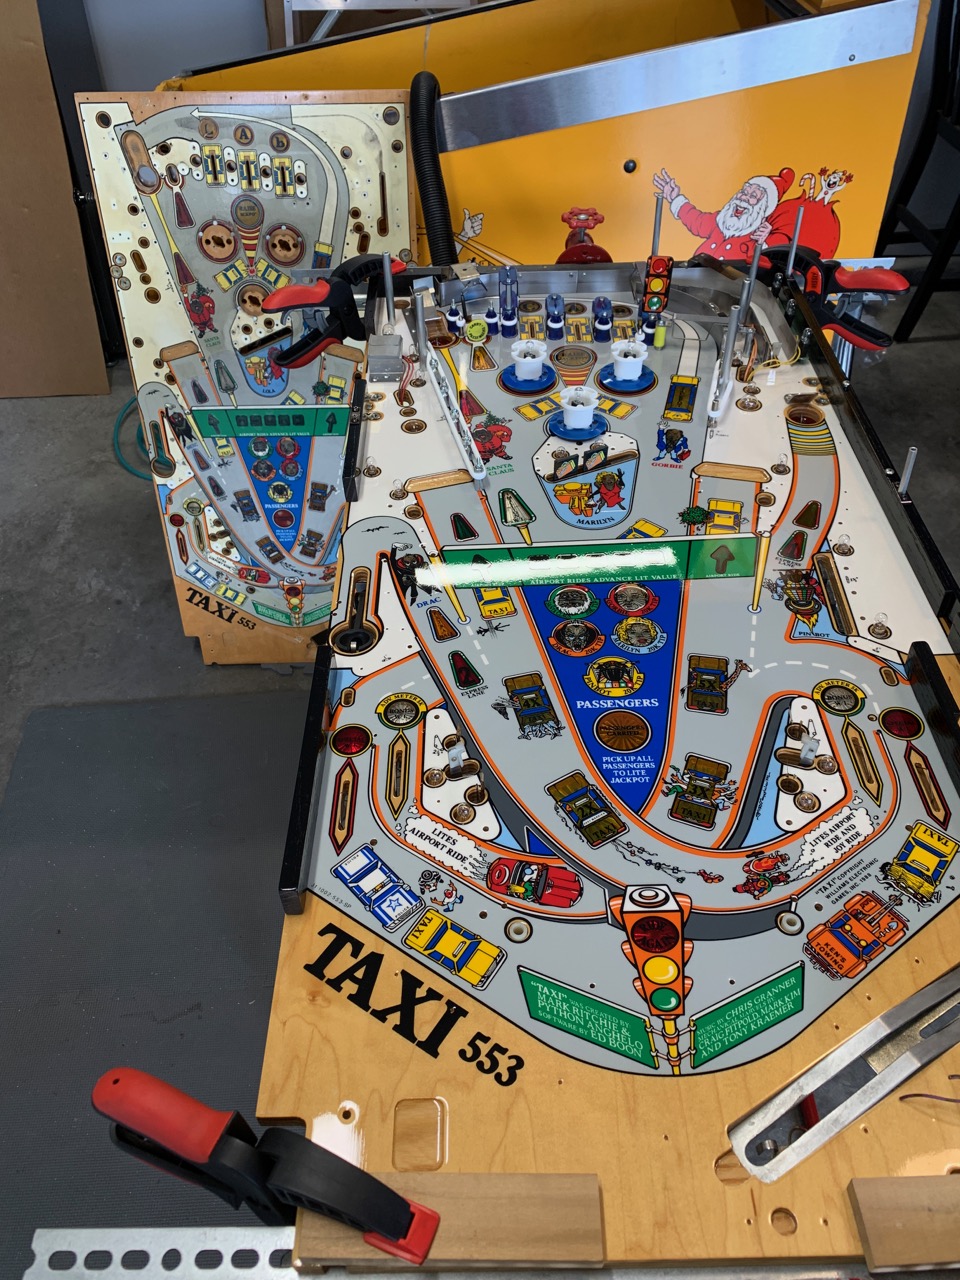
Note how I have the old playfield (which is now completely bare) nearby as it is really handy to use as a reference for positioning of parts on the new playfield. Although the new playfield has dimples indicating the position of screws and posts, I have found they should be taken with a grain of salt and parts often won’t fit correctly if the holes are drilled blindly on the dimples.
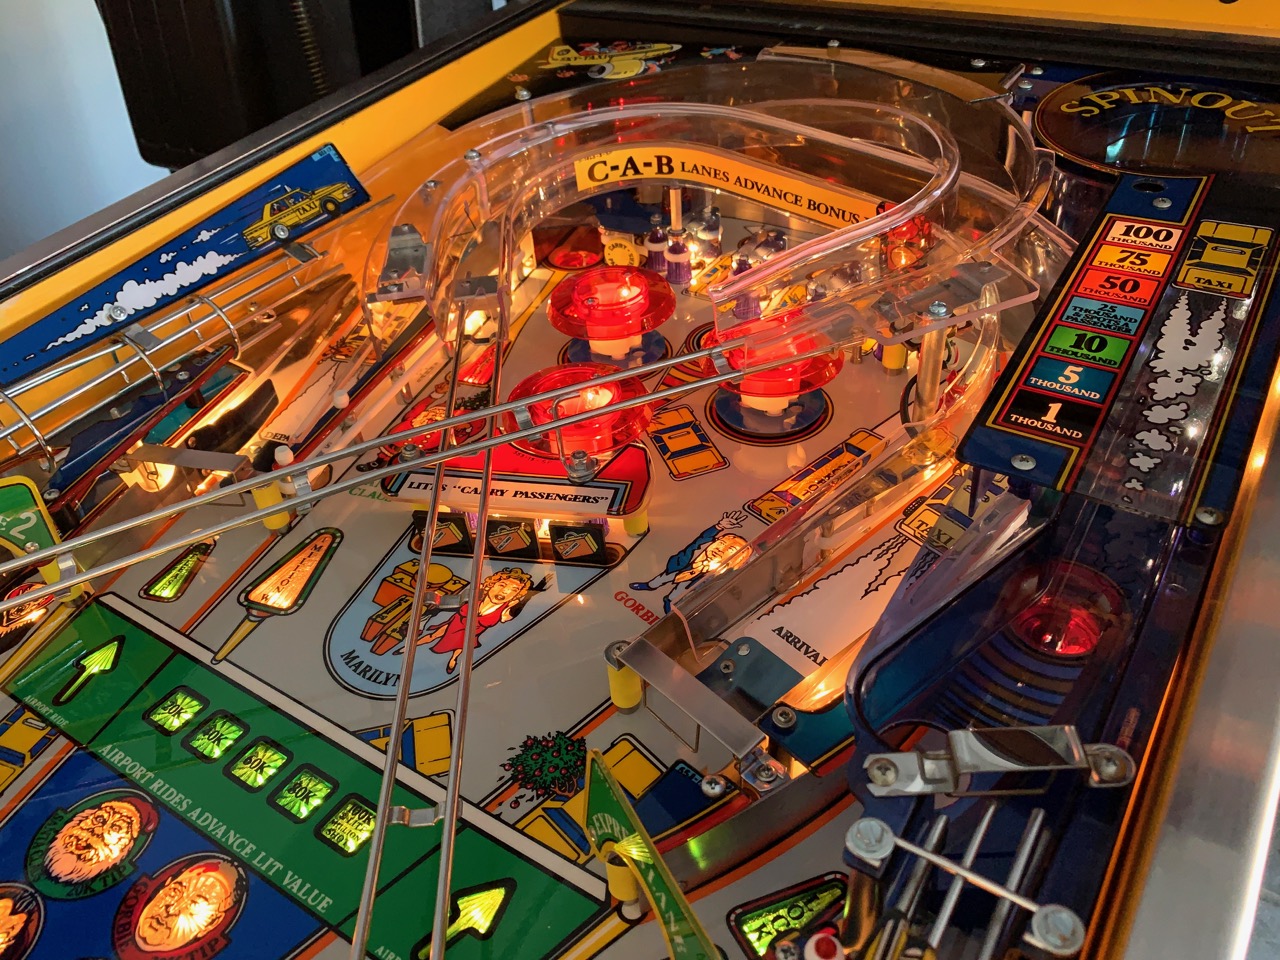
You know you’re near the end when it’s time to test fit the ramps! On Taxi, both of the main ramps and the spin-out (shooter) ramp need to be installed at the same time in order to get the wires snaked correctly through to the bottom side.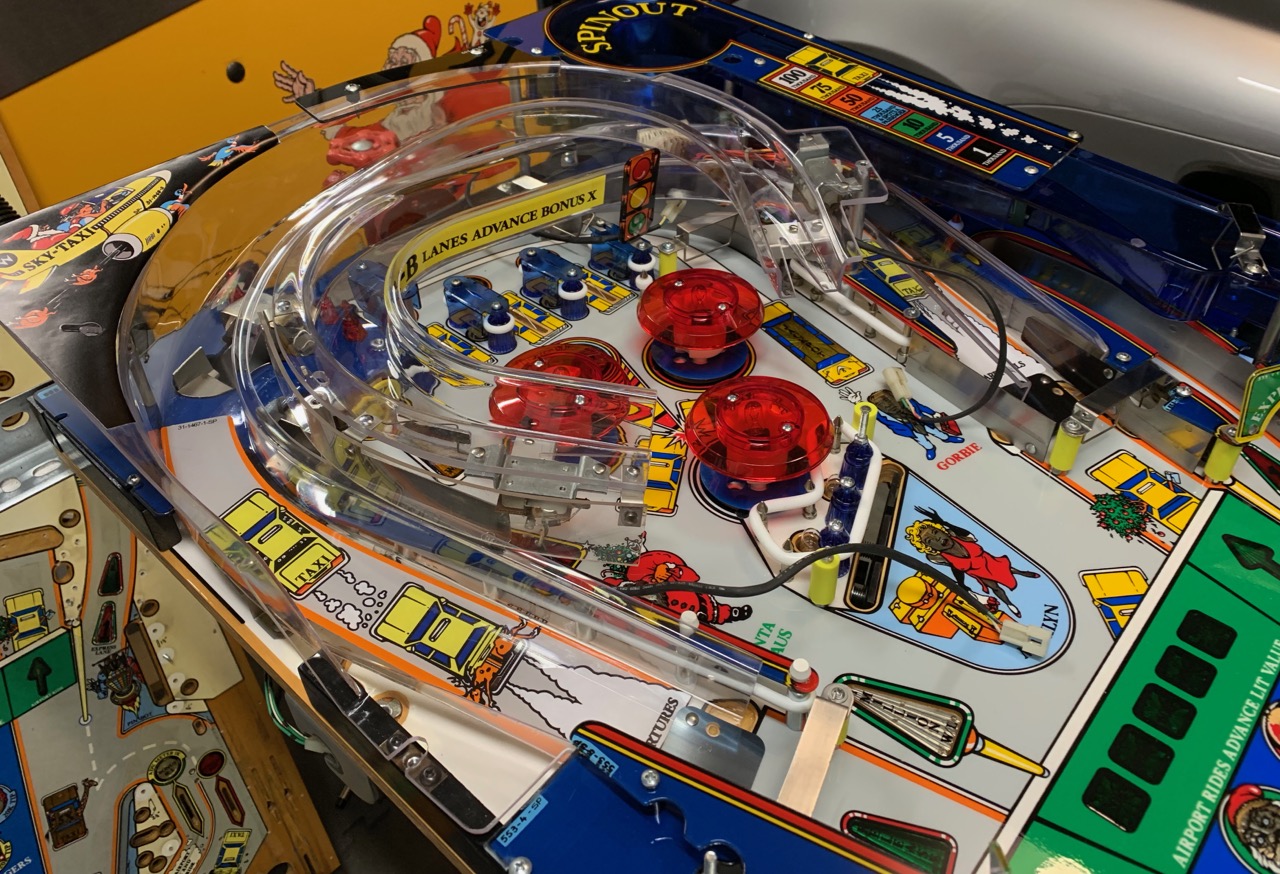
These ramps and the spinout are all new reproductions – shiny! One thing that can be tricky about these is that they are made from thicker plastic. It makes them more durable, but it means fitment can be off from the original. On Taxi the biggest problem I had was the Dracula catapult wireform – it fit fine on the original ramp, but my reproduction ramp one of the prongs of the wireform would end up deflecting the ball on the ramp when it shouldn’t. Unfortunately there wasn’t much wiggle room at all with the positioning of either the ramp or the wireform, so after careful consideration I concluded the best approach was cutting away a small section of this wireform. I didn’t get a photo of the “before” unfortunately, but on the below photo you can see the “after” – the metal wireform circled in red was cut down by about 3/8″ in order to not interfere with the ball on the ramp.
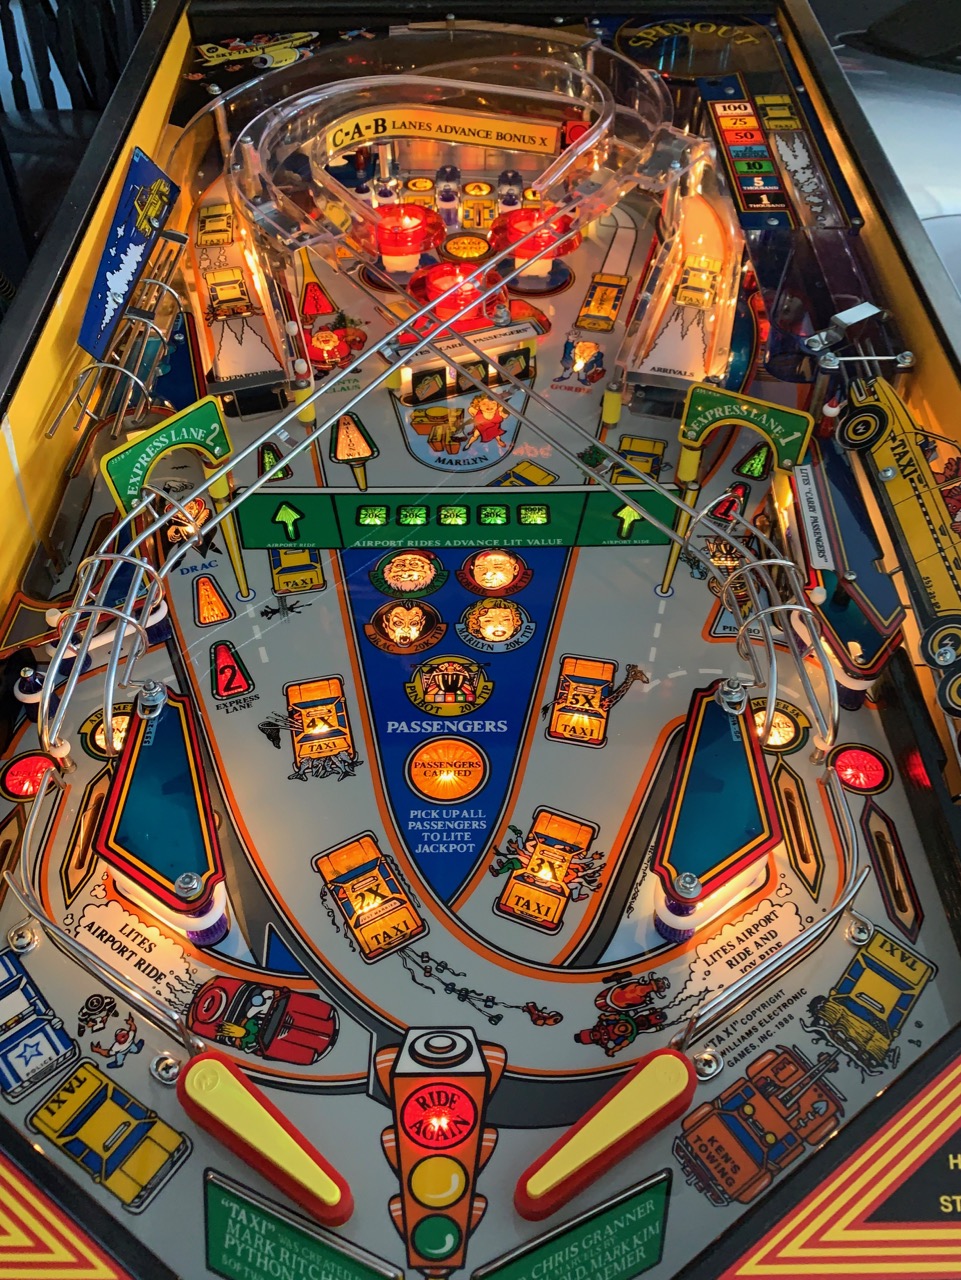
Other than that re-assembly went smoothly with everything coming together as on the original game. The game looks transformed with the new playfield and plastics! 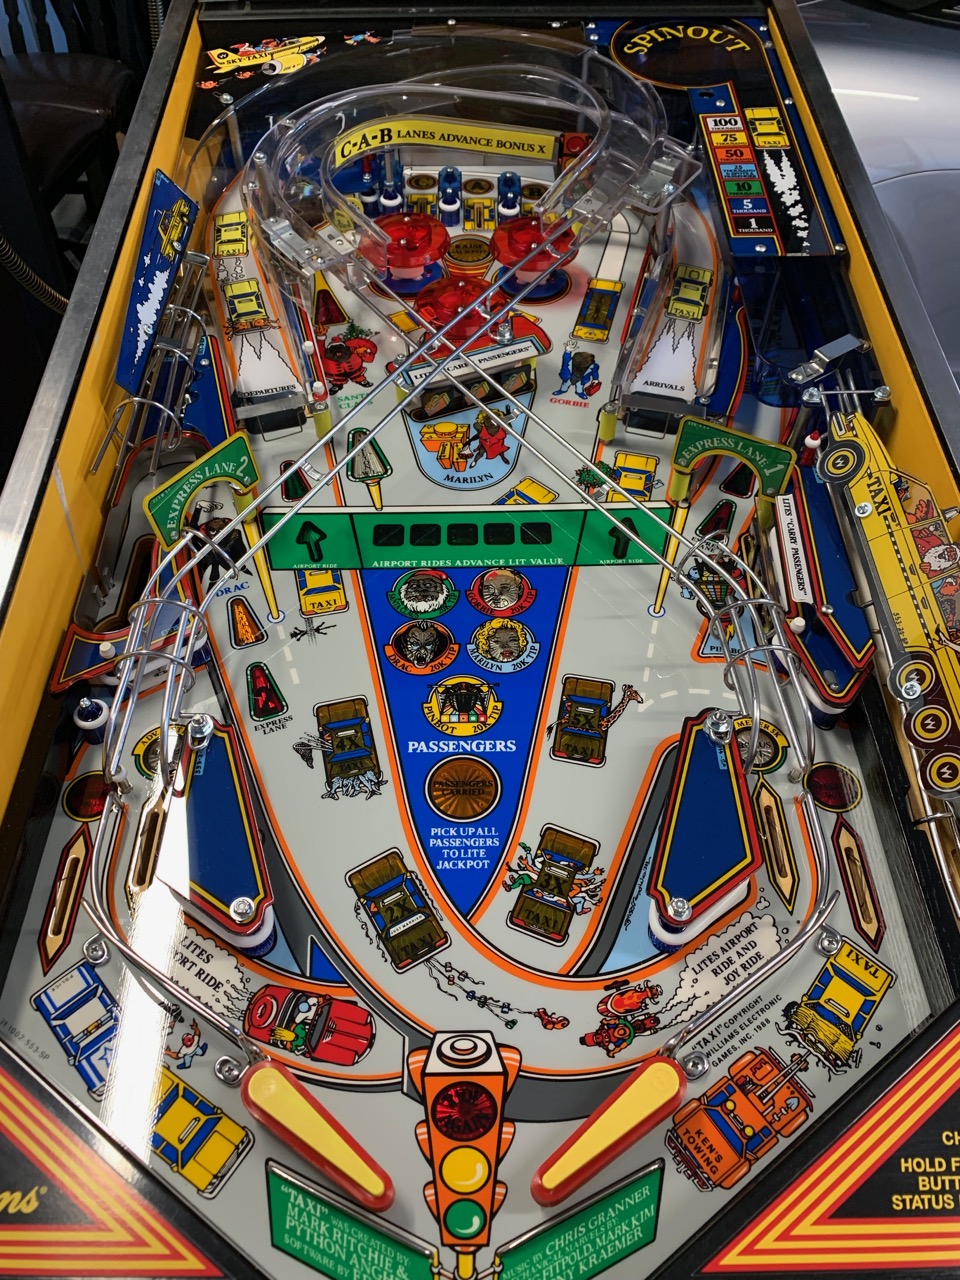
With everything re-connected, I flipped the switch “on” for the first time and it fired right up! It really pays to take your time on the bottom side re-build to make sure there are no shorts. Here are a few photos with the game powered on.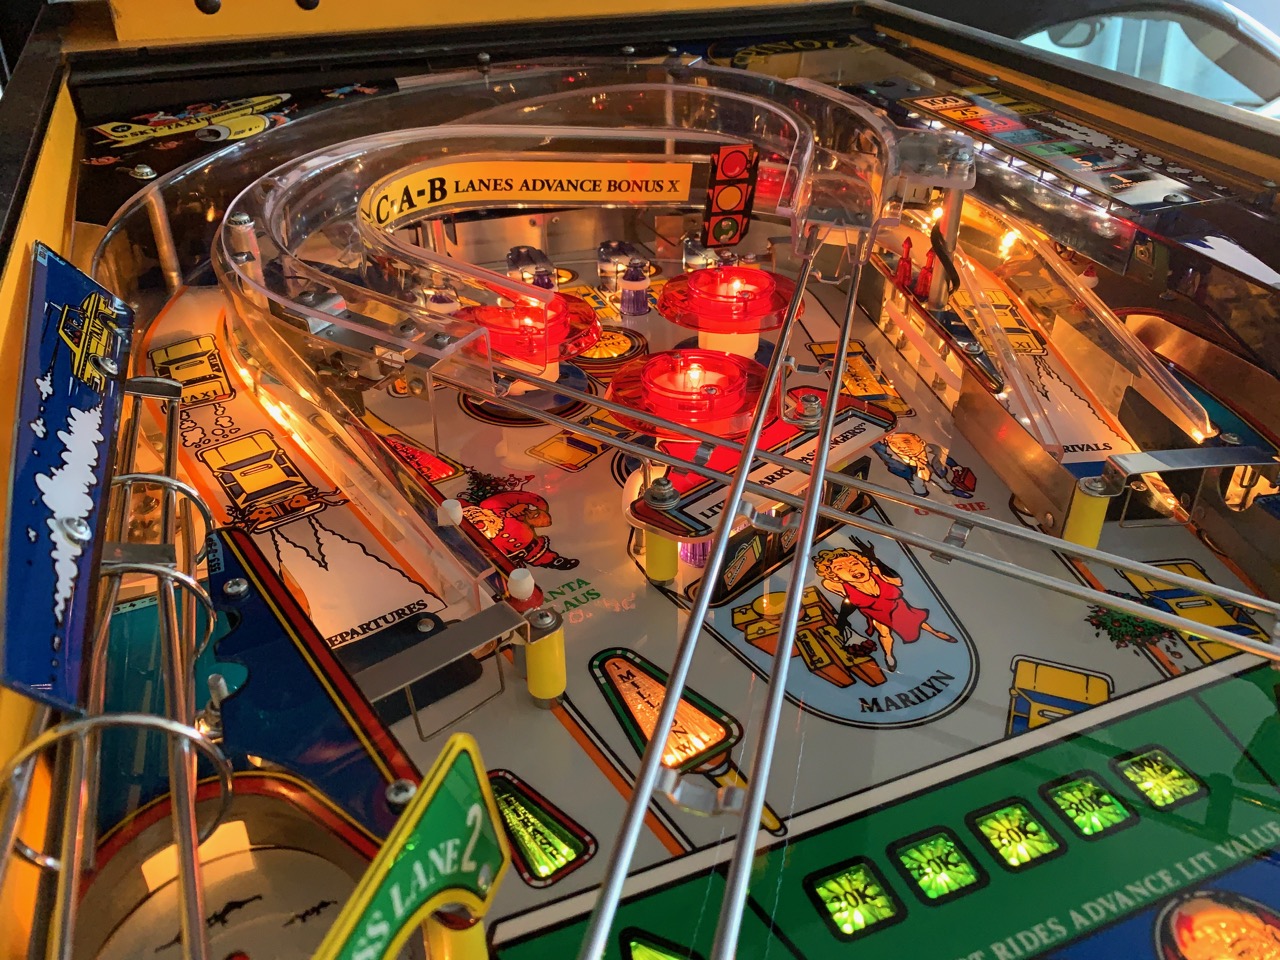

I’m quite happy with how this project came out. There’s still some play testing and tweaking of mechs needed, plus it turns out pop bumpers work better when you install the ring-and-rod assemblies on them, but other than that this project is done!

Absolutely stunning Andre
Thanks Pascal! 🙂