More White Paint for Space Shuttle Pinball Cabinet

The weather was perfect for spending a day in the garage painting today, so I made good progress and finished the white paint on the Space Shuttle cabinet! Same procedure as before. The mask is applied in sections, one at a time:
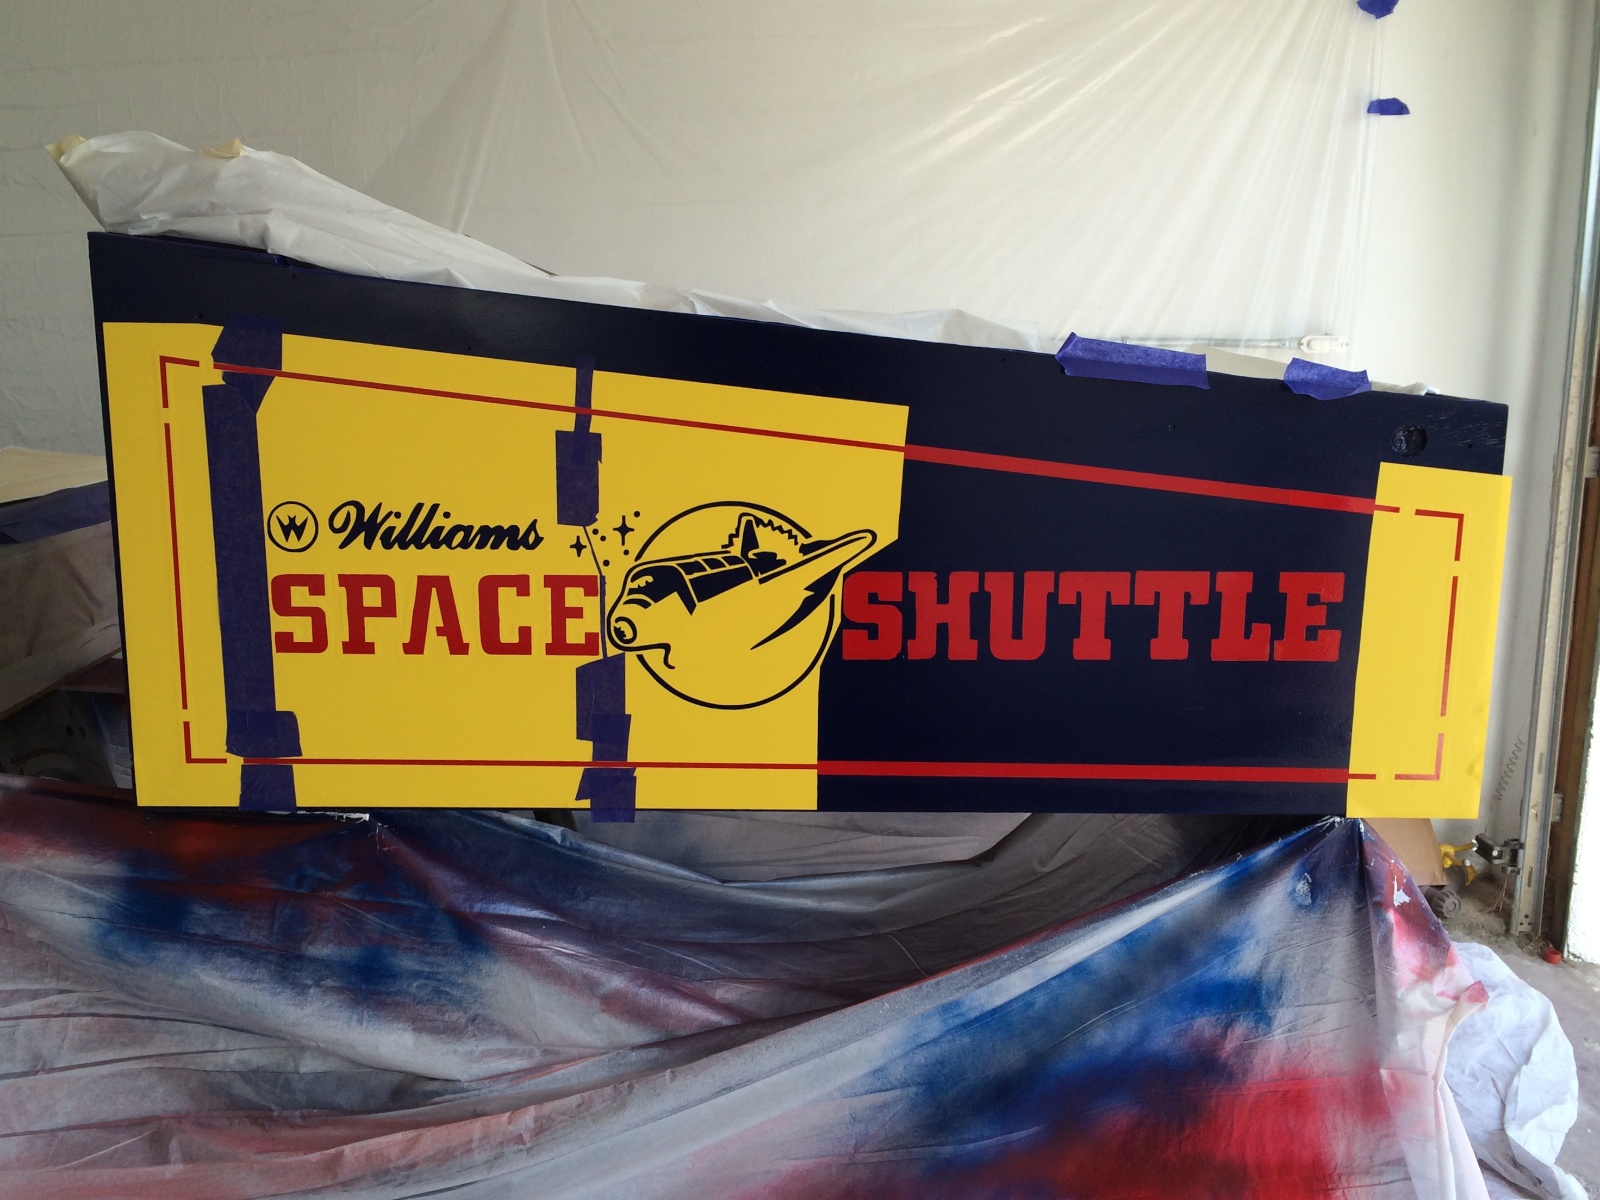
PaintedWhitePart2-3The white spray paint goes on and the mask is peeled:

PaintedWhitePart2-1 PaintedWhitePart2-2

Cool! My results are much better than my first attempts with the red paint. I learned from my mistakes the first time around and did it one side at a time. When the mask is peeled with the paint still wet, the lines are much nicer and crisper. It’s definitely tricky to get the alignment just right, and mine isn’t perfect, but keep in mind the factory didn’t get the alignment perfectly either. I’m happy with it!

Did you notice my little block of wood in the first picture above that looks a bit like a Russian flag? It’s my paint test block! The next step in the cabinet restoration is for the whole thing to get clear coated with a matte clear, but I first wanted to do some tests to see how it would look. I painted not only the top of the backbox in matte clear, but also my little paint test wood block which has all three colors. I masked out a few lines through it to see the difference compared to no topcoat then sprayed it with the matte clear.

When viewed straight on, the difference is not super visible…
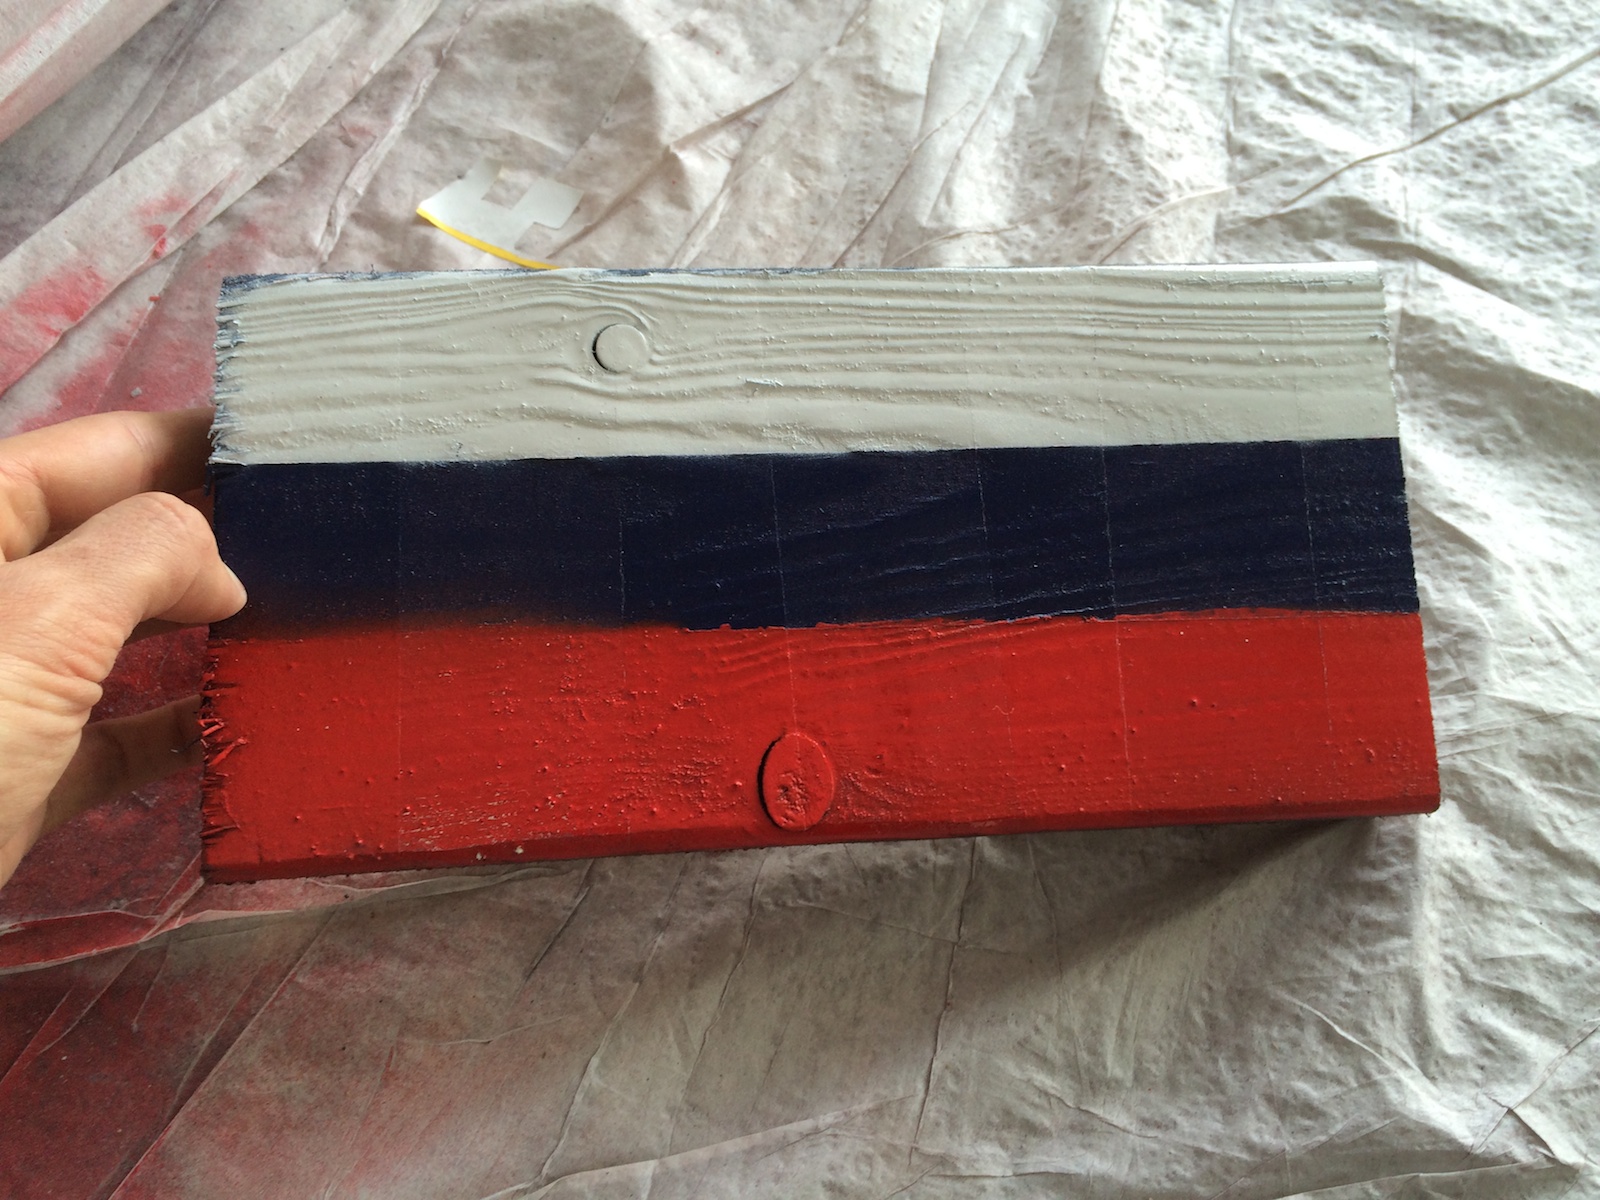
PaintedWhitePart2-5But when you’re at an angle that catches the light, it’s clear (ha, ha!) that the matte clear does a great job at reducing the sheen of the gloss layers below.

PaintedWhitePart2-4I’ll let this dry and re-evalutate the results later, but I’m pretty sure I’ll be clear-coating the entire cabinet with this matte clear.
Posted in Space Shuttle | Tagged , , , , , | Leave a comment

Drilling Pilot Holes on the back of a Pinball Playfield

I’ve started drilling pilot holes on the back of my Space Shuttle Pinball reproduction playfield. Great care must be taken on this task, as drilling these holes too deep can be disastrous – the drill bit could poke out on the artwork side, which would leave a permanent and unsightly hole where there shouldn’t be one. 

The playfield is about a half-inch thick (17/32″ according to Classic Playfield Reproductions). I’ve decided to drill my pilot holes to 3/8″. One could use drill stops which attach to regular drill bits, but you’d still have to be a bit careful when drilling… It turns out that I already had a tool that can do the job better – a microstop countersink cage. Rather than just type it out, here’s a video showing what it is and how it works.

They aren’t cheap, but I got mine used in an Ebay auction and it wasn’t too bad. If you decide to try this, keep in mind you’ll need the right length drill bit as the depth adjustment on the microstops isn’t huge. I’m using a #40 threaded bit, since they are readily available in different lengths – these are the drill bits used in aviation for installing 3/32″ rivets, a very common rivet size in small aircraft. They happen to make a good pilot hole for a #6 wood screw 🙂

Posted in Space Shuttle | Tagged , , , | Leave a comment

Installed T-Nuts on New Space Shuttle Pinball Playfield

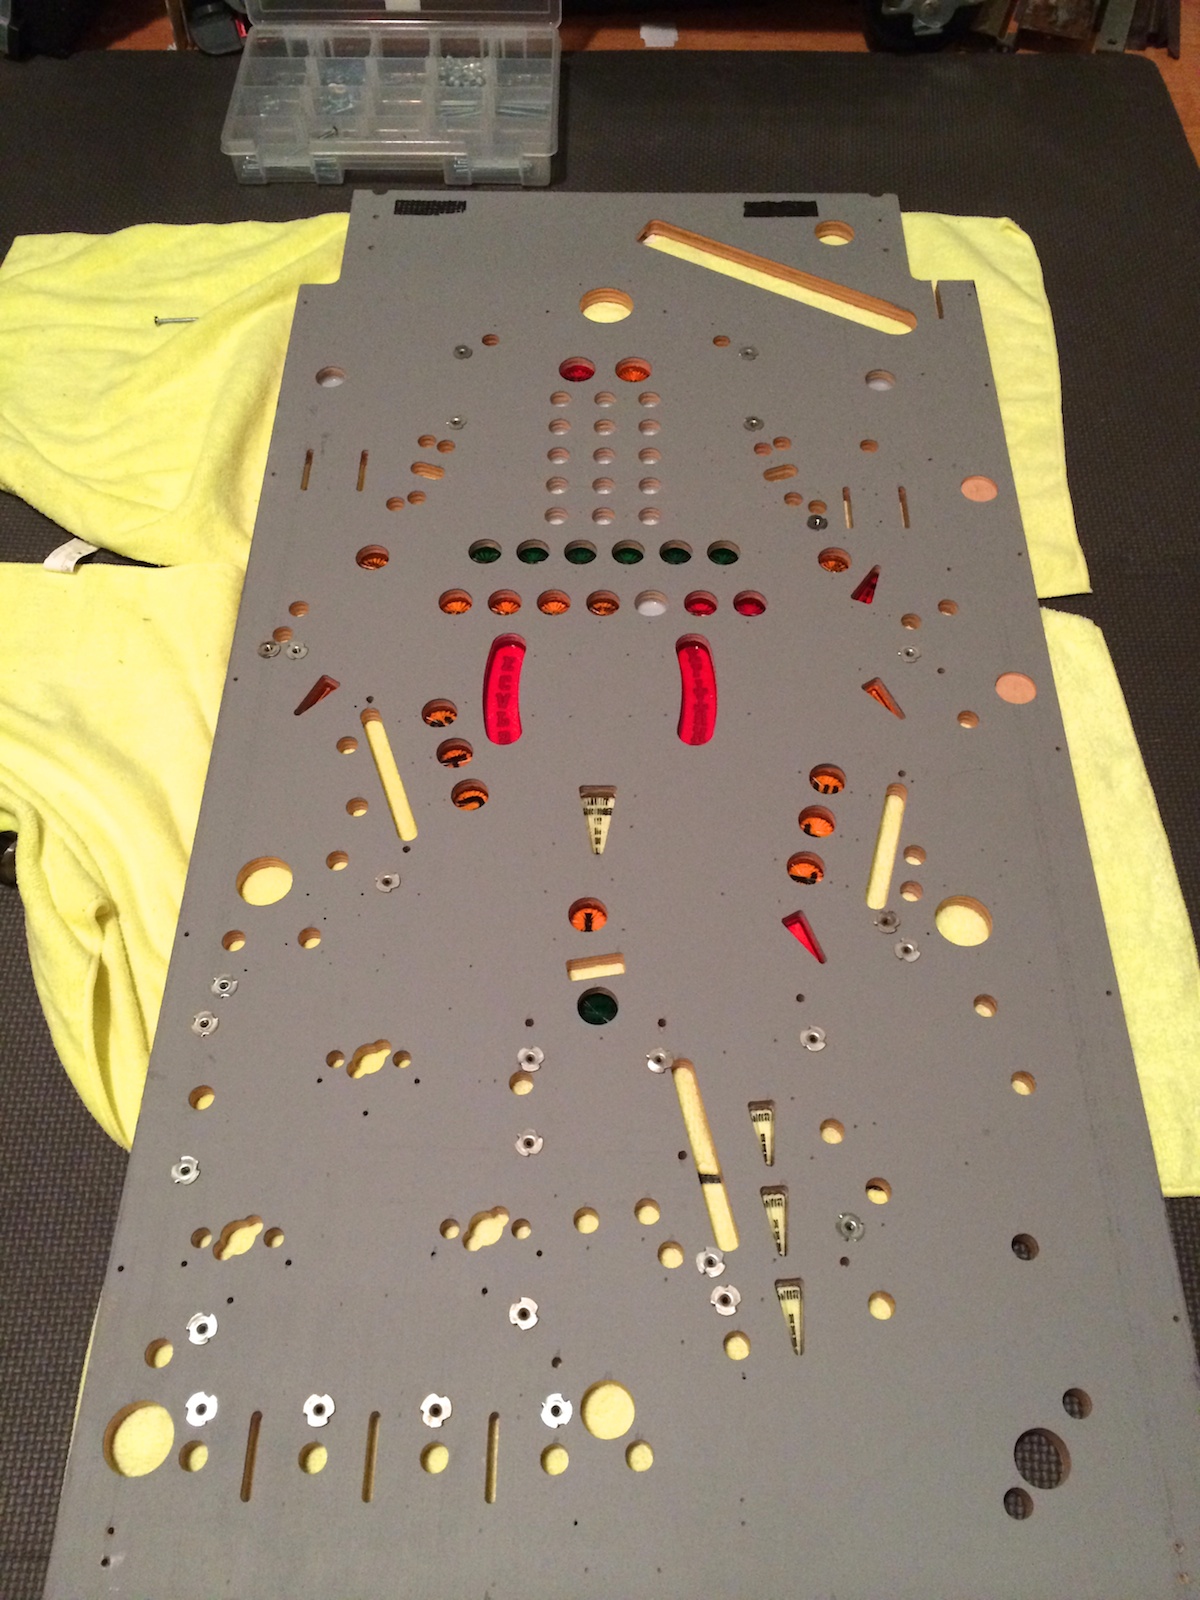
Just a quick update today. It’s time to start installing hardware on the new playfield! I started with the T-nuts (aka tee nuts). I hammered in, so it seems logical to do this first with the playfield still blank. I could also use a machine screw from the top side to install them, but hammering them in from the bottom was much quicker.

TeeNuts

Posted in Space Shuttle | Tagged , , , , | Leave a comment

Modified New Space Shuttle Pinball Playfield for Repro Ramps

It was too cold and rainy to do spray painting today, so I switched back to my other parallel task, the playfield swap.

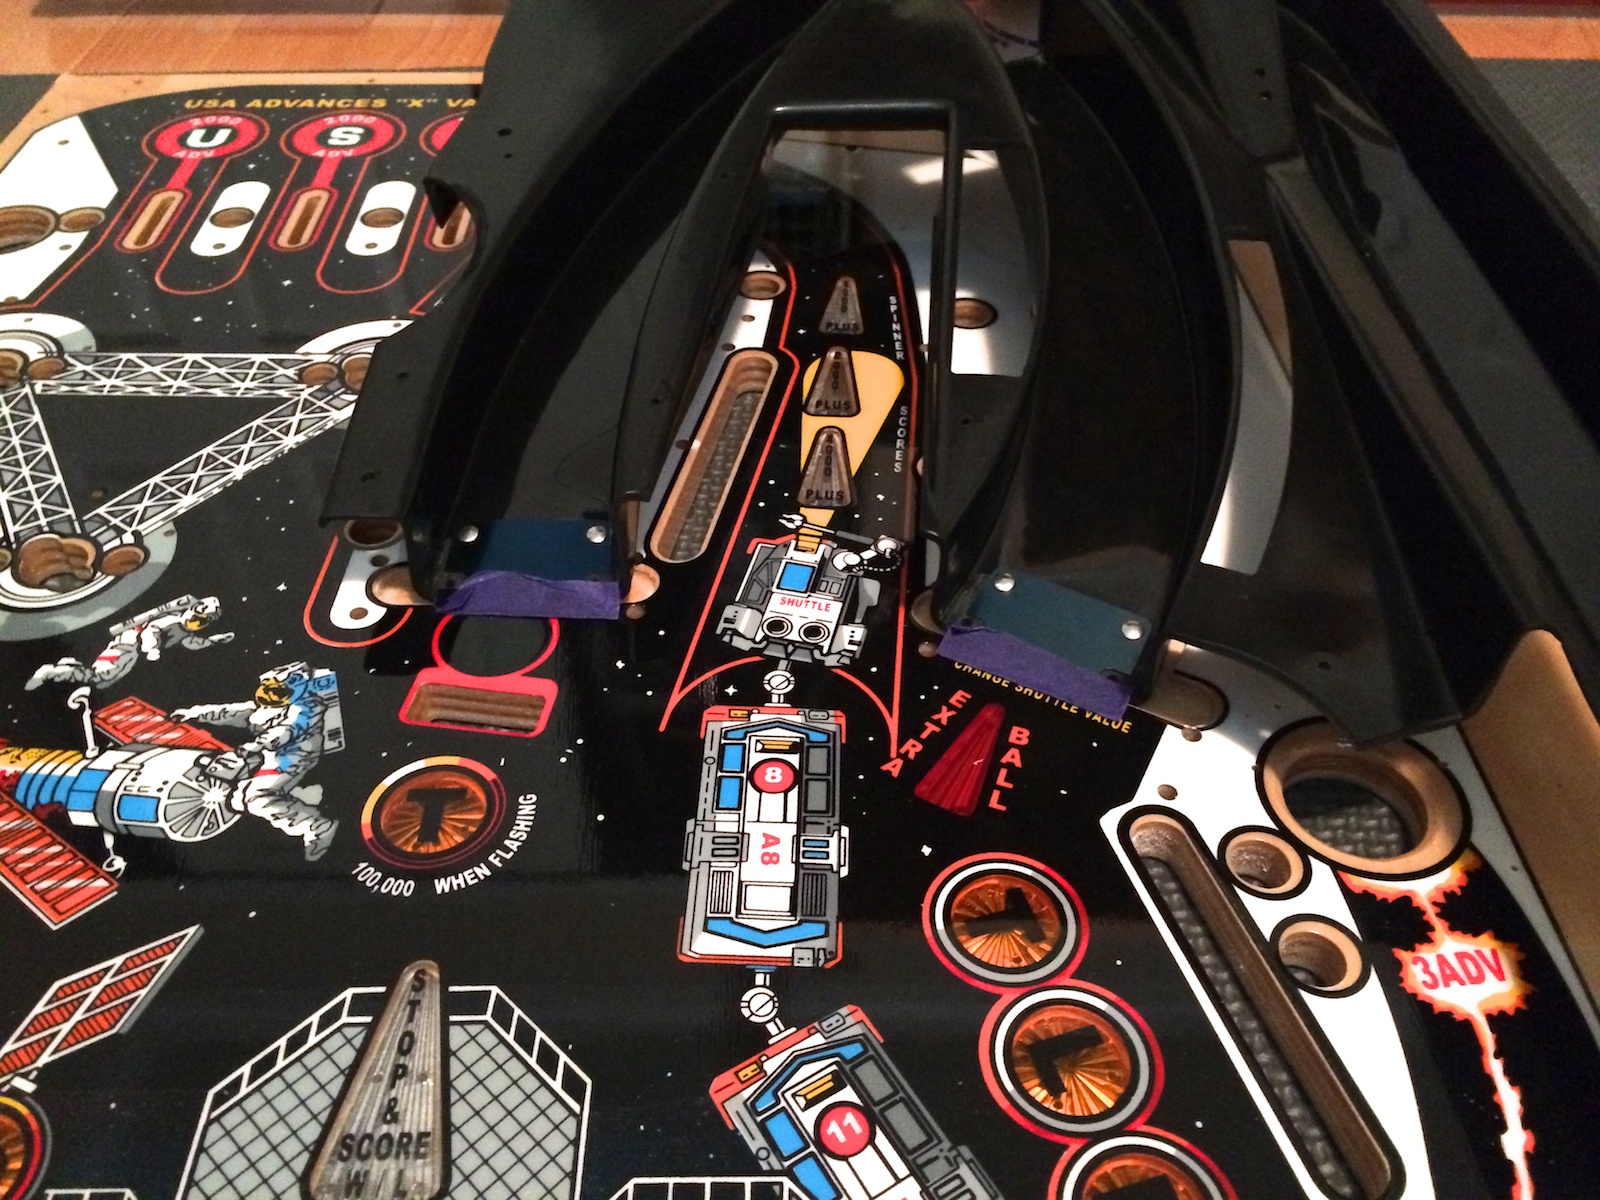
My goal with my Space Shuttle pinball game is for it to look as new as possible when it’s done. To do this, I’m throwing as many new parts at it as possible – all new plastics, playfield, ramp, etc. The new reproduction ramps that are being made are of much thicker plastic – this has the benefit of making for a much tougher ramp that is less likely to crack over time. The downside is that the ramp cannot be installed cleanly into a playfield, as the extra thickness of material causes a clearance problem. The problem and one solution is described pretty clearly in this Pinside thread.

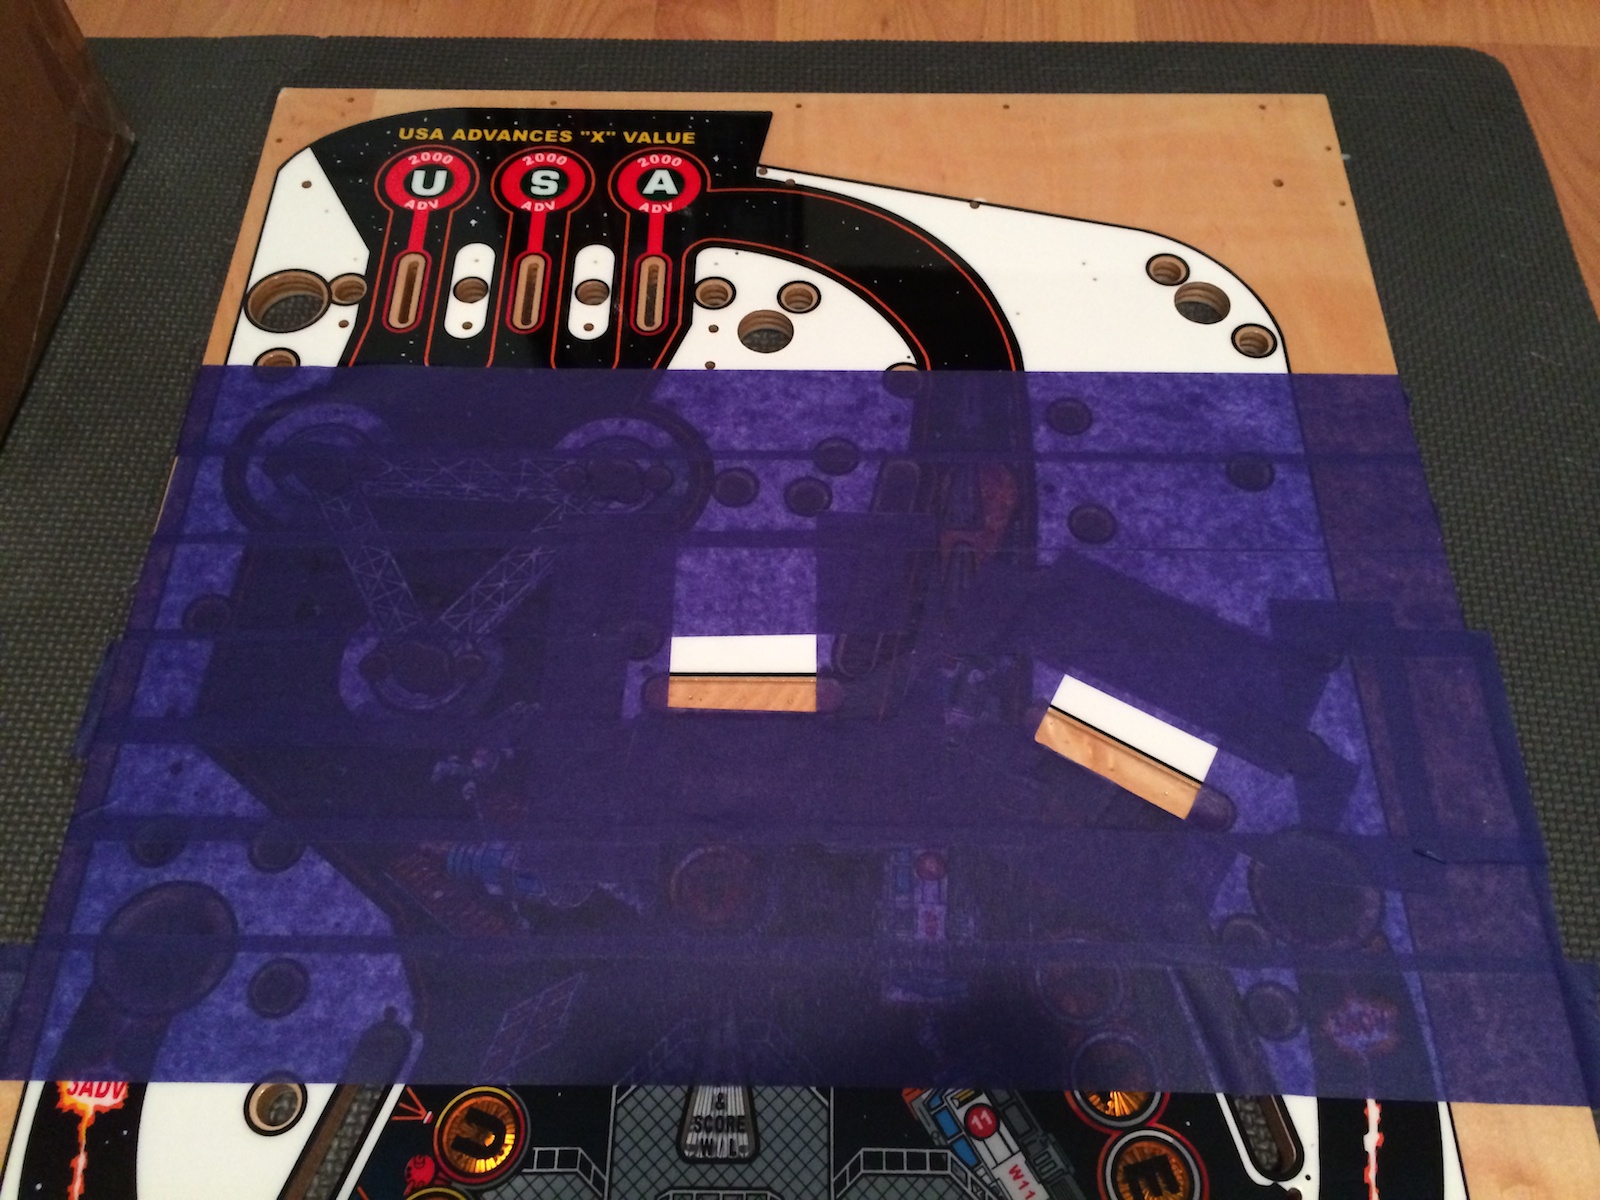
I decided to take the plunge and, while it sounds scary, route out my brand new expensive reproduction Space Shuttle playfield! Here it is with some painters tape to protect the clearcoat and mark out the material that needs to be removed:

RoutedPlayfield-1

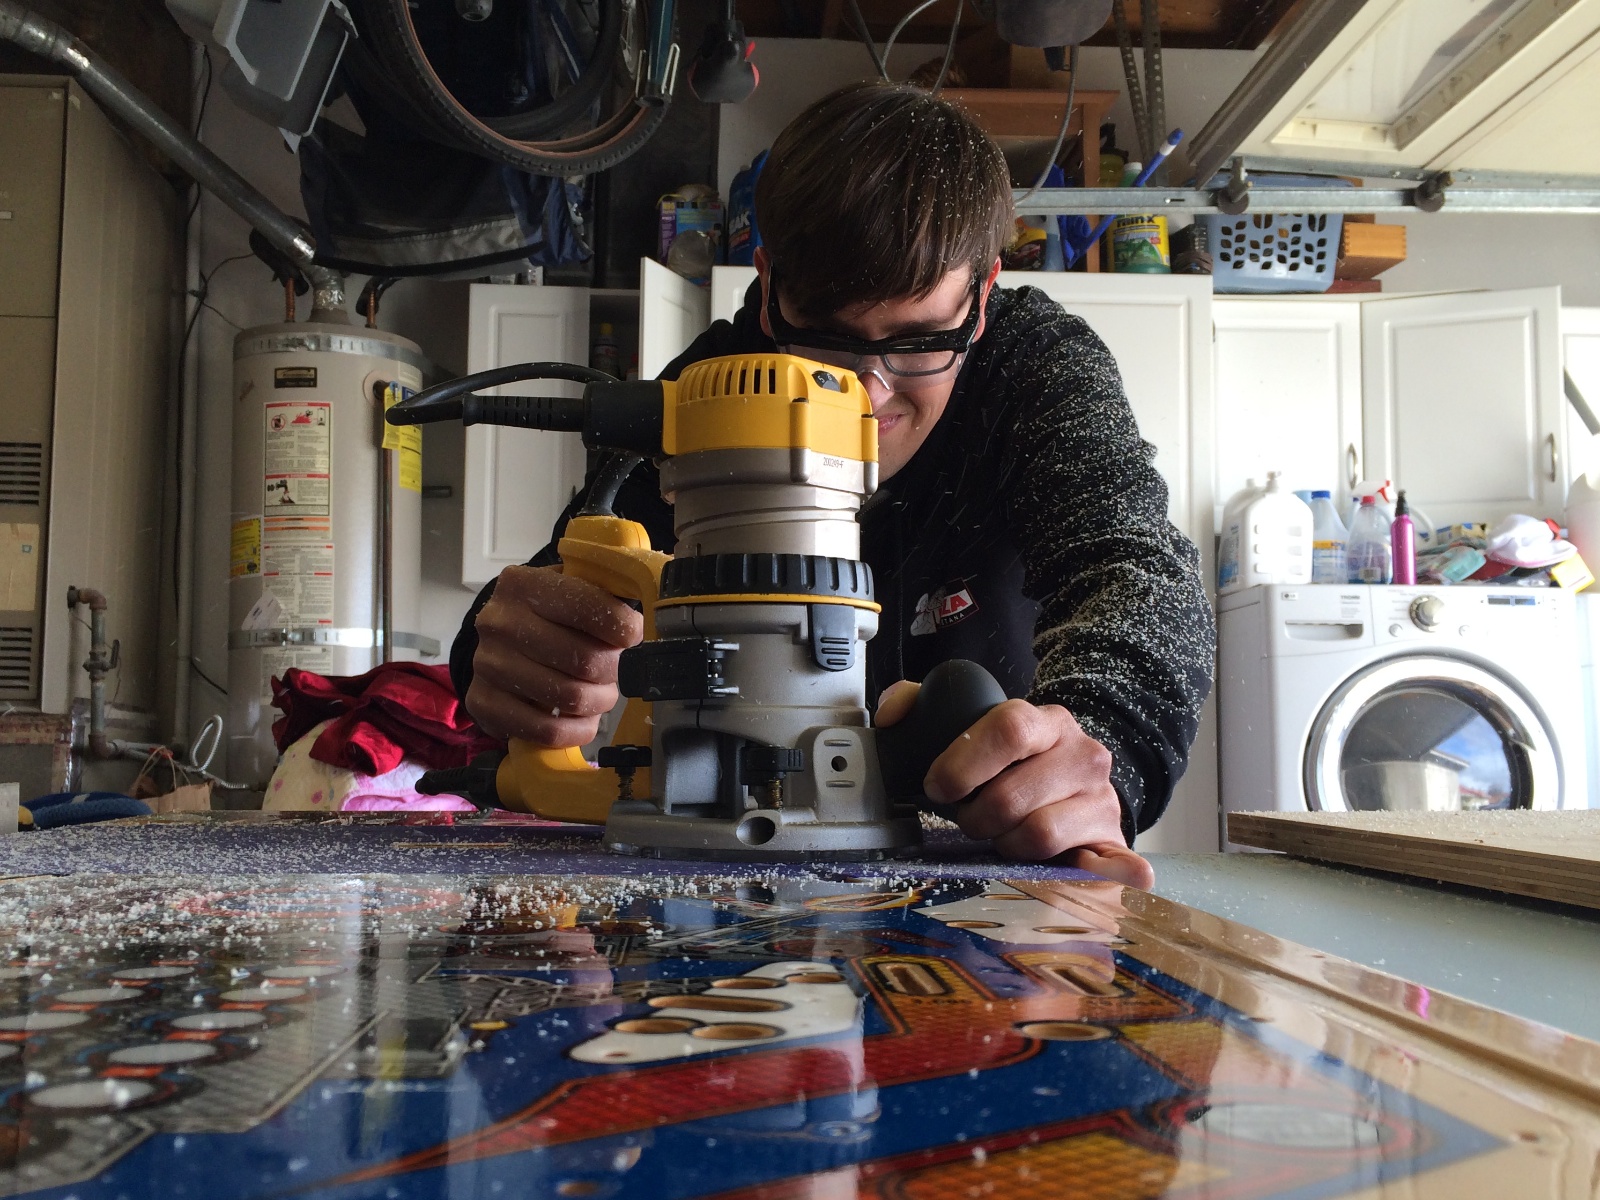
Next, I went to a friend’s house who was kind enough to not only let me use his wood router, but also teach me how to use it and practice on a scrap piece. Let the chips fly!

RoutedPlayfield-2

Here’s the result. I was easily able to stay within a 1/16″ of my taped edge going freehand, which is plenty enough precision for this.

RoutedPlayfield-3

Now the ramp should install cleanly. I won’t know for sure until all the other parts are installed of course, but it looks good so far.

RoutedPlayfield-4

Posted in Space Shuttle | Tagged , , , | 3 Comments