Progress on Space Shuttle Pinball Playfield Swap – 3/5/2014

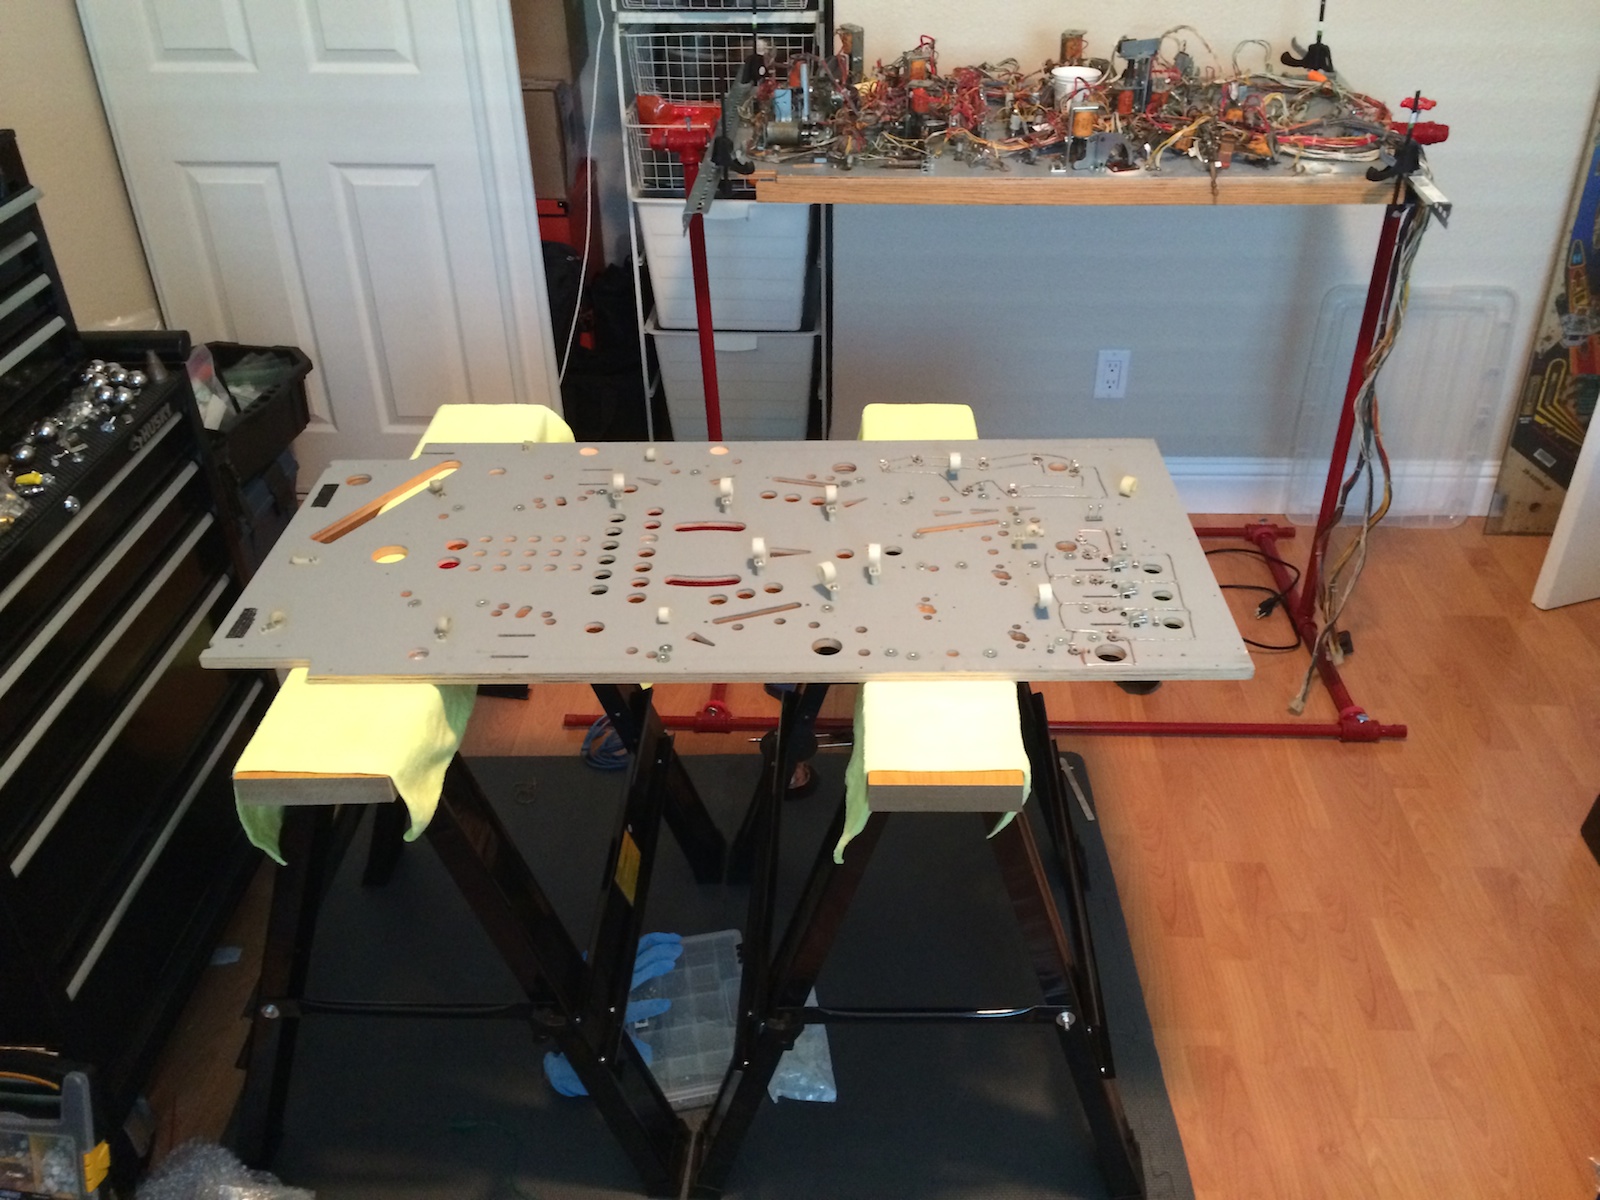
It may not look like much, but I’ve spent some more time on the Space Shuttle playfield swap. Brackets are coming off the old playfield and getting placed/pre-drilled onto the new one. More GI wiring is getting transferred over. And I’m pre-drilling the mounting holes for all the lamp sockets and some of the non-critically-positionned switches. Things are coming along nicely!

MoreGI-2

Below is the old playfield. As I said, it may not look like much progress on the surface, but if you look closely you’ll see that almost everything on there is no longer fastened down. I’m getting pretty close to be being able to transfer the whole wiring harness over.

MoreGI-1

Posted in Space Shuttle | Tagged , , , , , | 3 Comments

pinballproject Is Now Alpha Bravo Pinball!

You may have noticed visiting the site now redirects you to abpinball.com – going forward, that will be the new home of the blog! pinballproject.com was already taken so I figured it was time for a name change 🙂 Updates should continue as before, and the old URL will continue to work for some time.

Posted in Alpha Bravo Pinball | Leave a comment

Installed Pop Bumper Bracket Screws on Space Shuttle Pinball

I’m still debating whether to build a second rotisserie or not. I still have a couple more playfield swaps lined up after Space Shuttle, but for now I settled on getting a new set of sawhorses at Harbor Freight. The cheap plastic ones are lightweight and wobbly, so for this task I stepped up to their nice steel ones which have a nice, big, flat fake-wood surface. Since they’re made of steel, they are much heavier and more stable than the cheap plastic ones. It’s a decent enough way to get the new playfield off the floor anyway 🙂 Once I’m further along in the playfield swap, the new playfield will go in the rotisserie, of course, but there’s still plenty of work left before that can happen…

PopBumperScrews-1

Onto the task at hand for today – installing the screws that hold the metal pop bumper brackets under the playfield. There’s three per pop bumper, and as you can see in the picture below, they have machine screw threads as well as wood threads. Obviously, the wood threads go into the playfield and the machine screw threads take the nuts that hold the bracket down.

PopBumperScrews-2

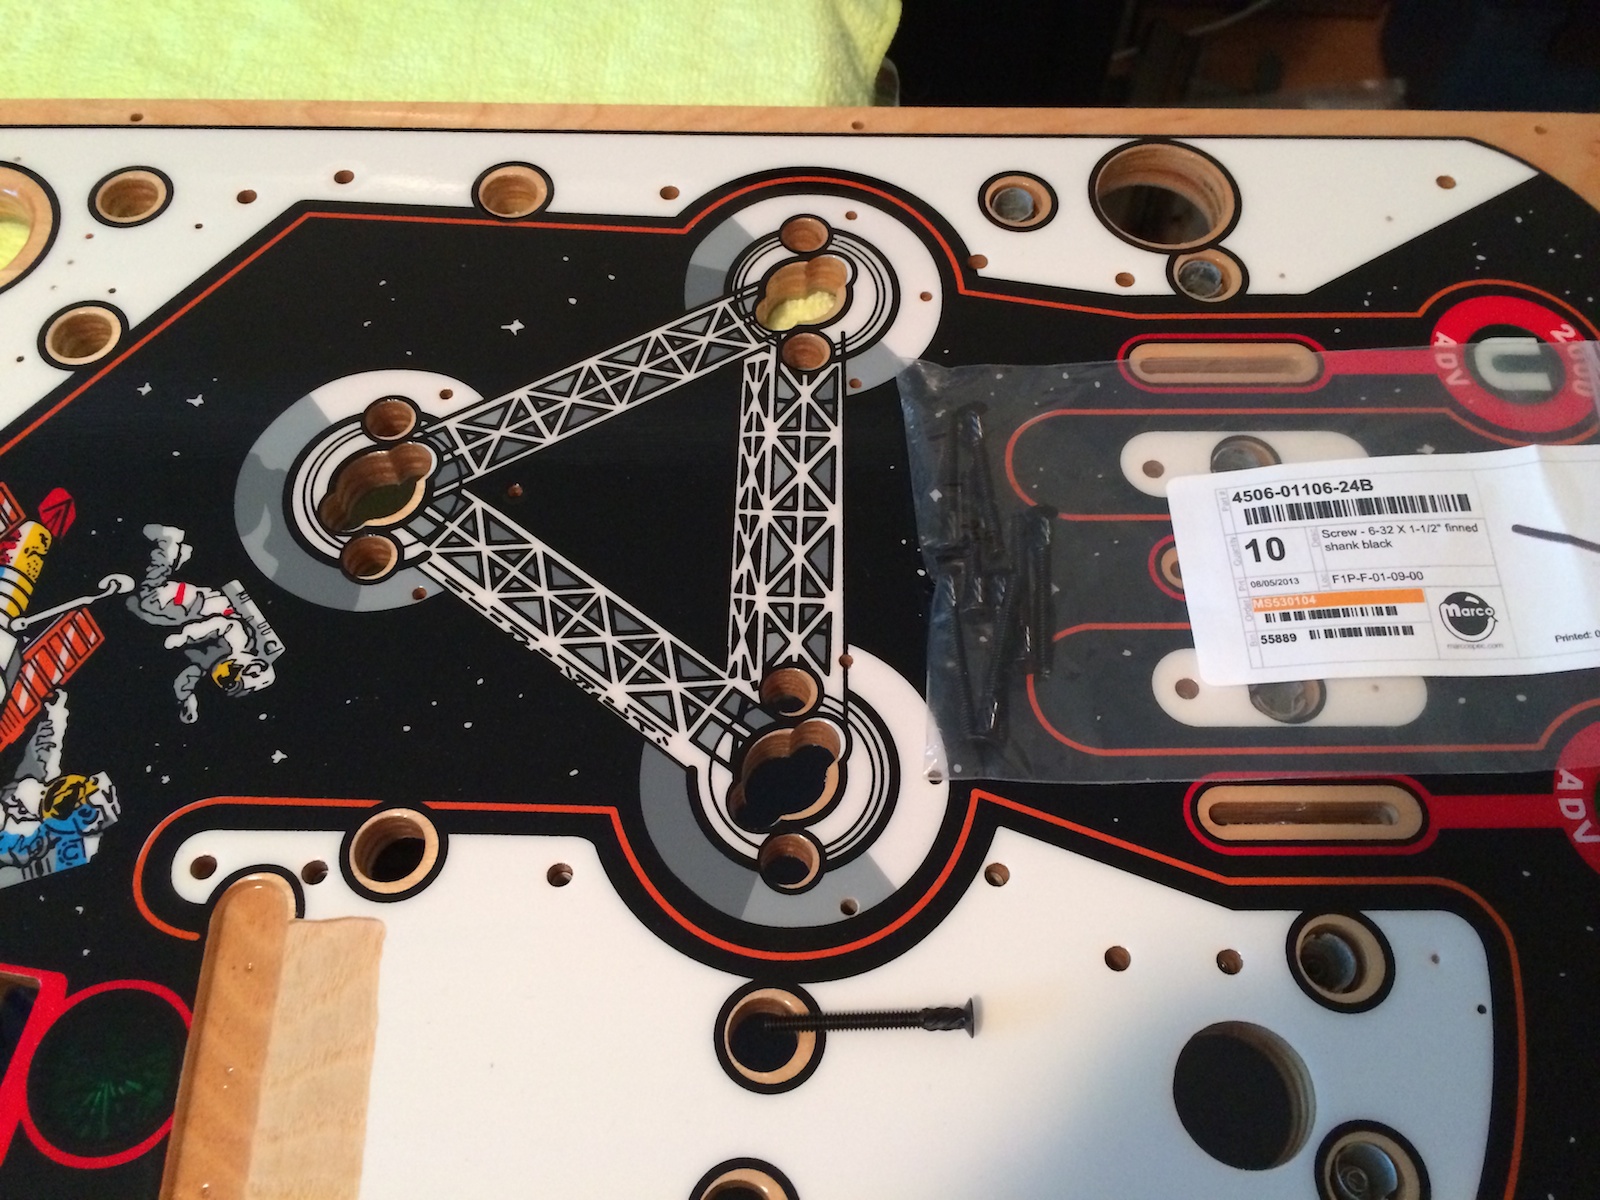
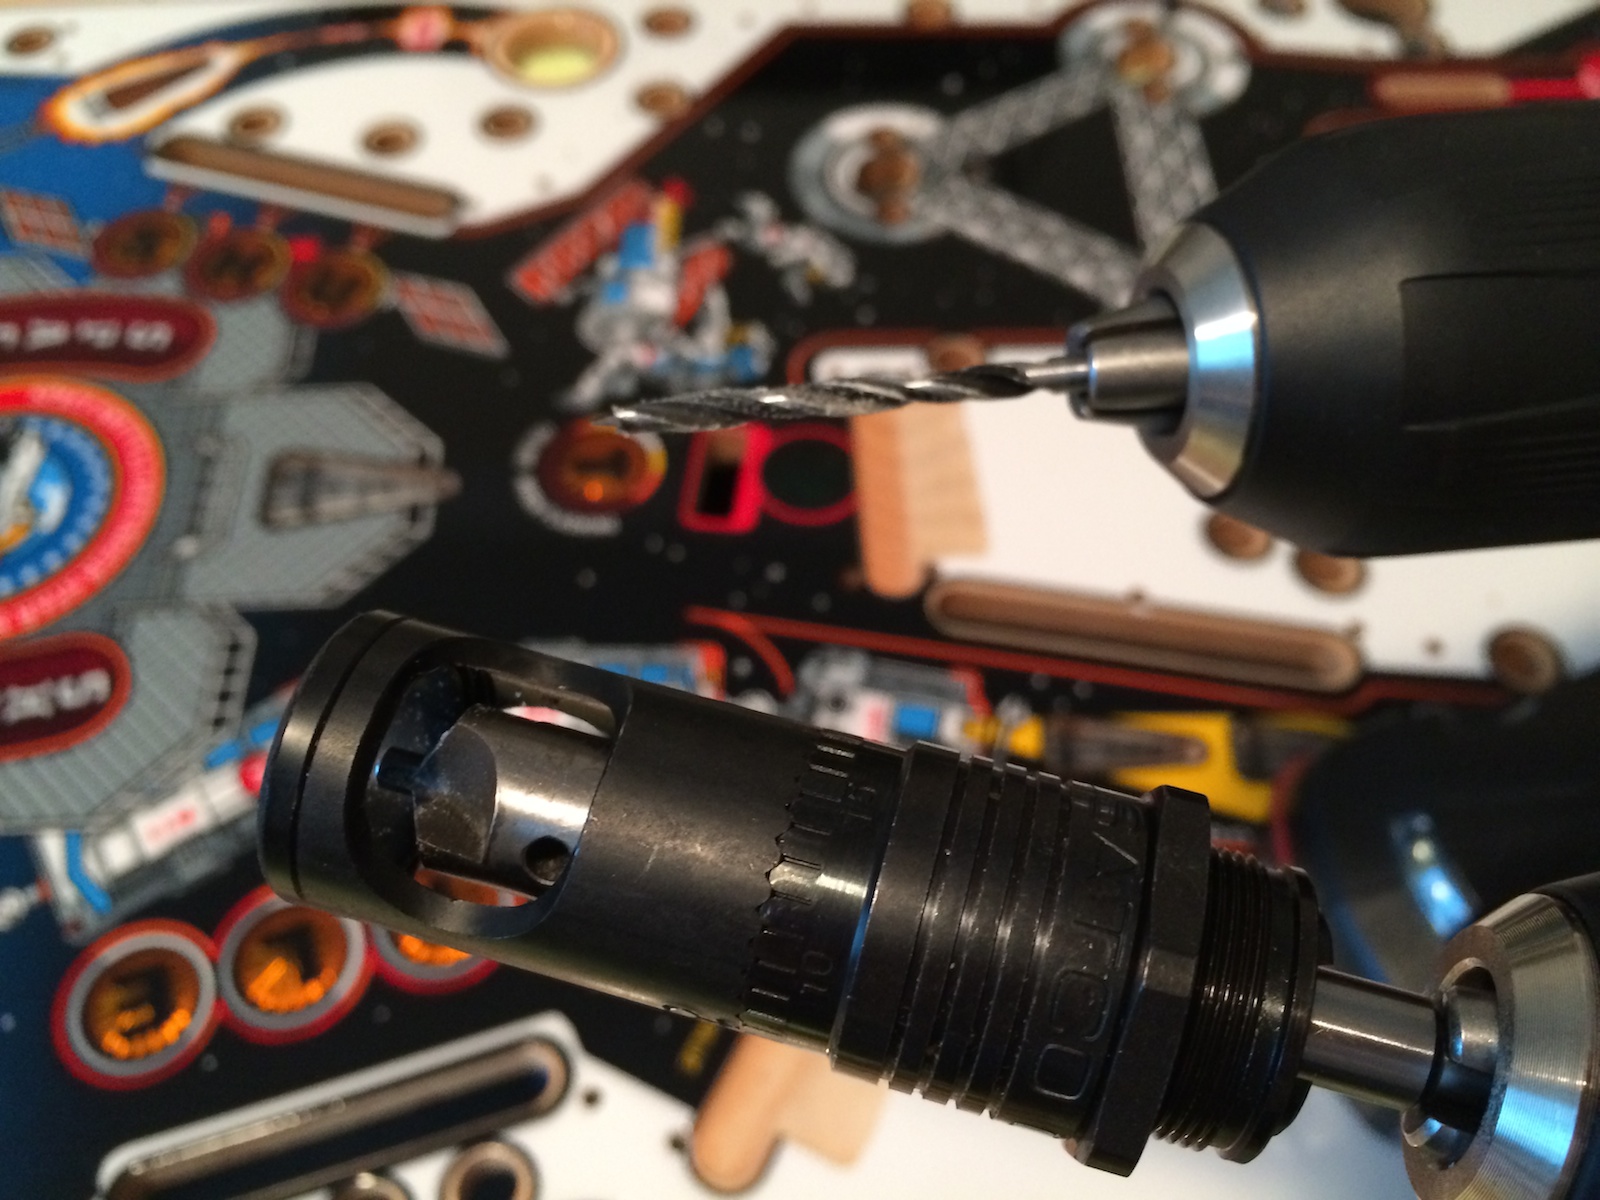
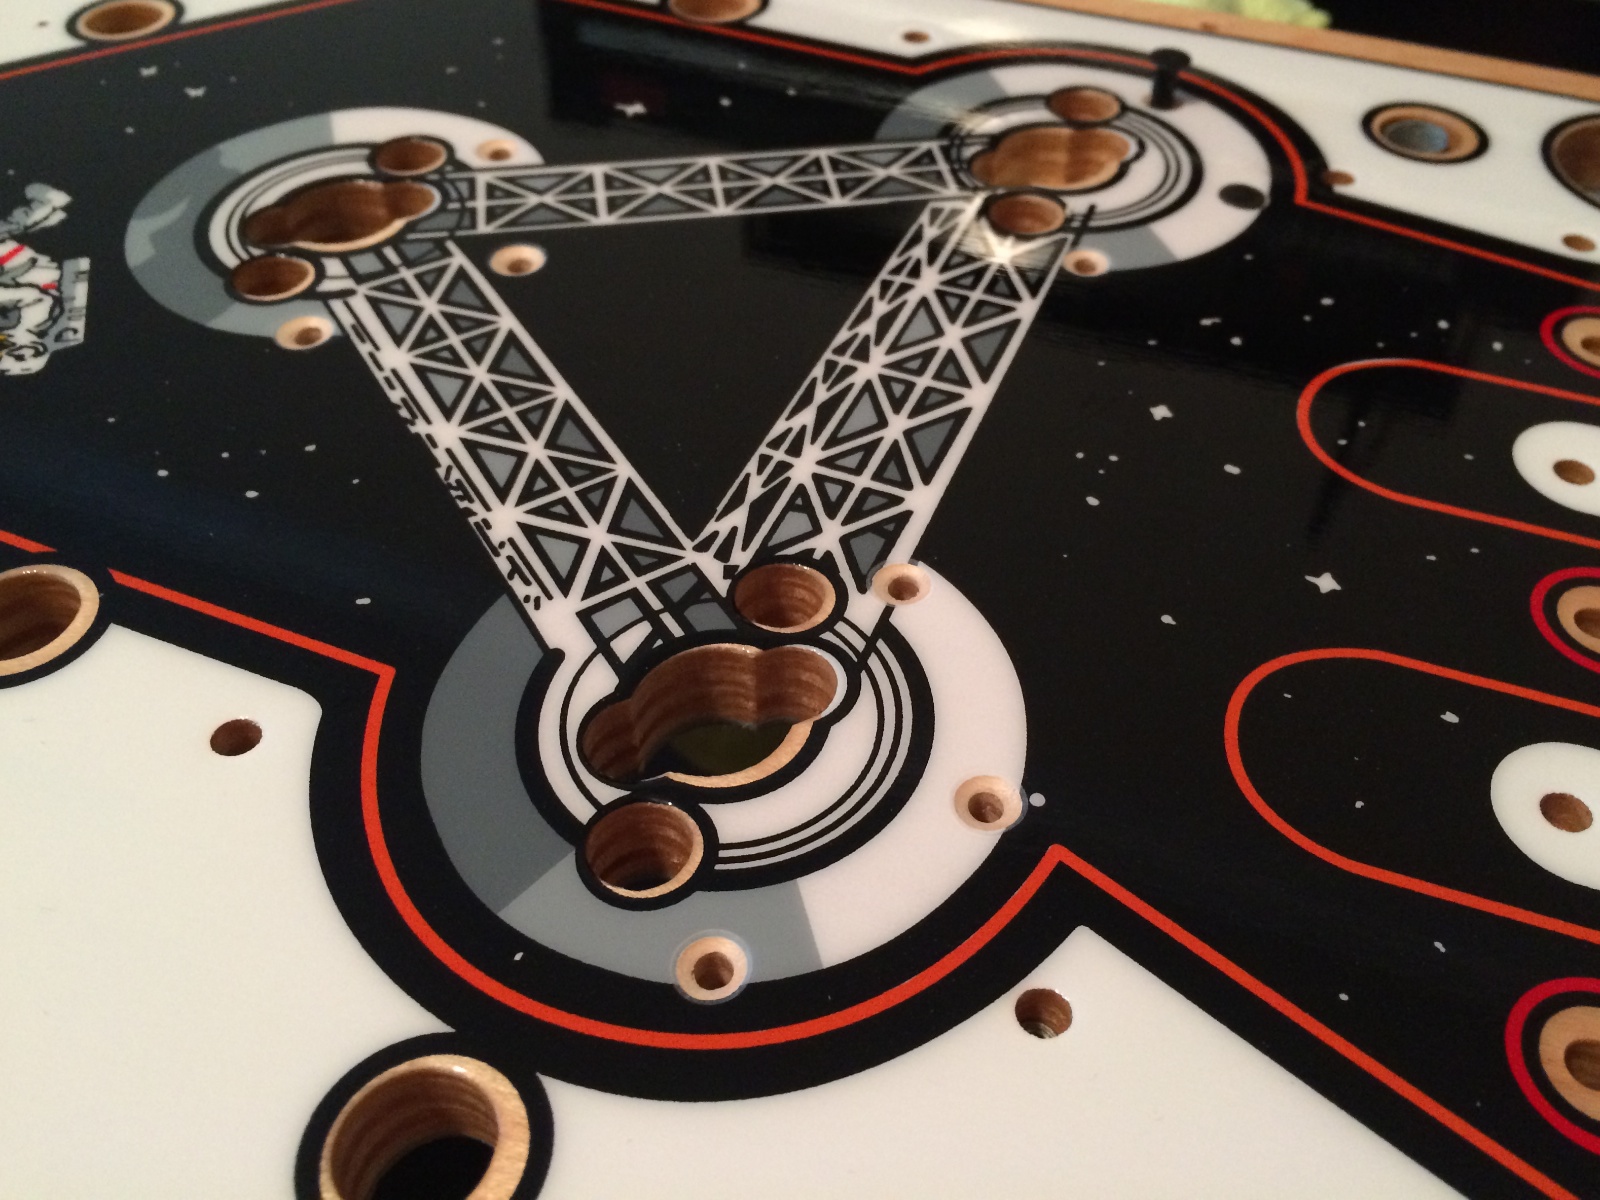
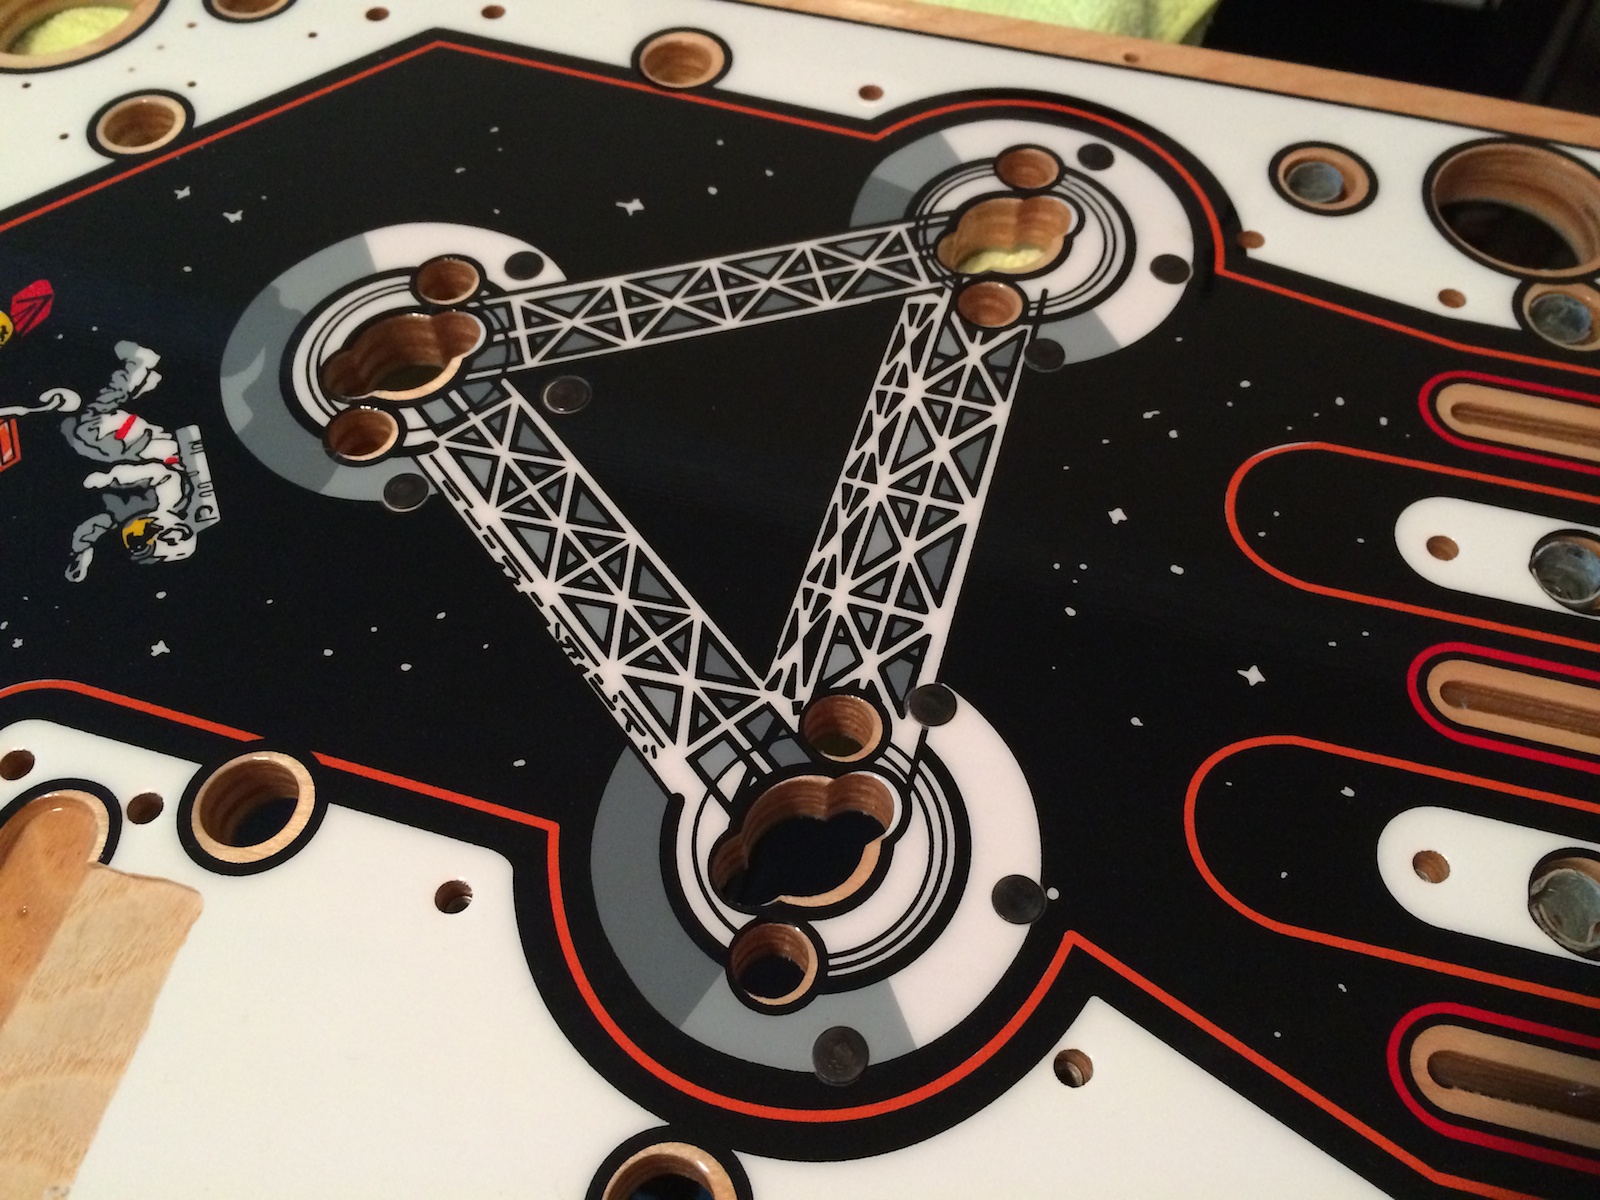
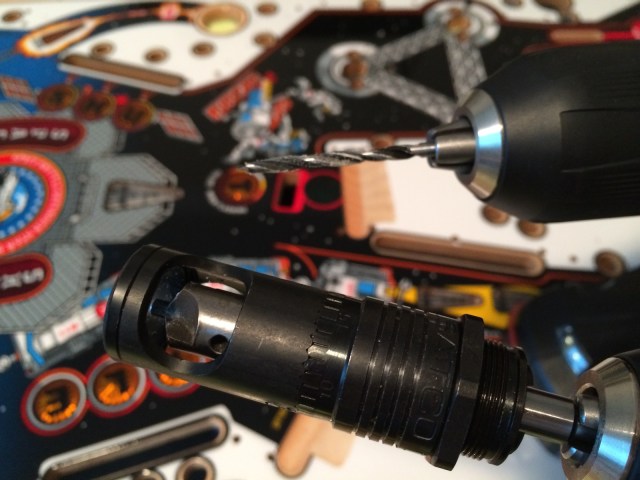
Thankfully my new playfield already has the holes drilled out for these screws, but unfortunately the holes were too small. Also notice that the factory holes aren’t countersunk – There’s no way the head of the screws can sit flush with the playfield unless some material is remove to make room for the heads. So, after thinking about it for a while and debating which size drill bit to use, I went ahead and enlarged the holes with a 9/64″ drill bit and used a micro-stop countersink cutter to countersink the holes.
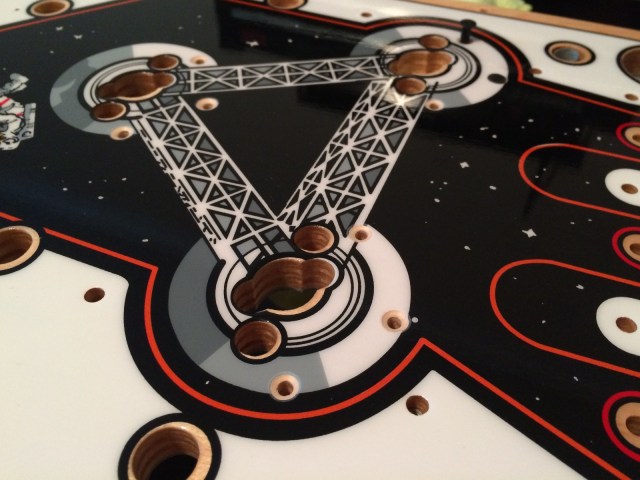
PopBumperScrews-3PopBumperScrews-4

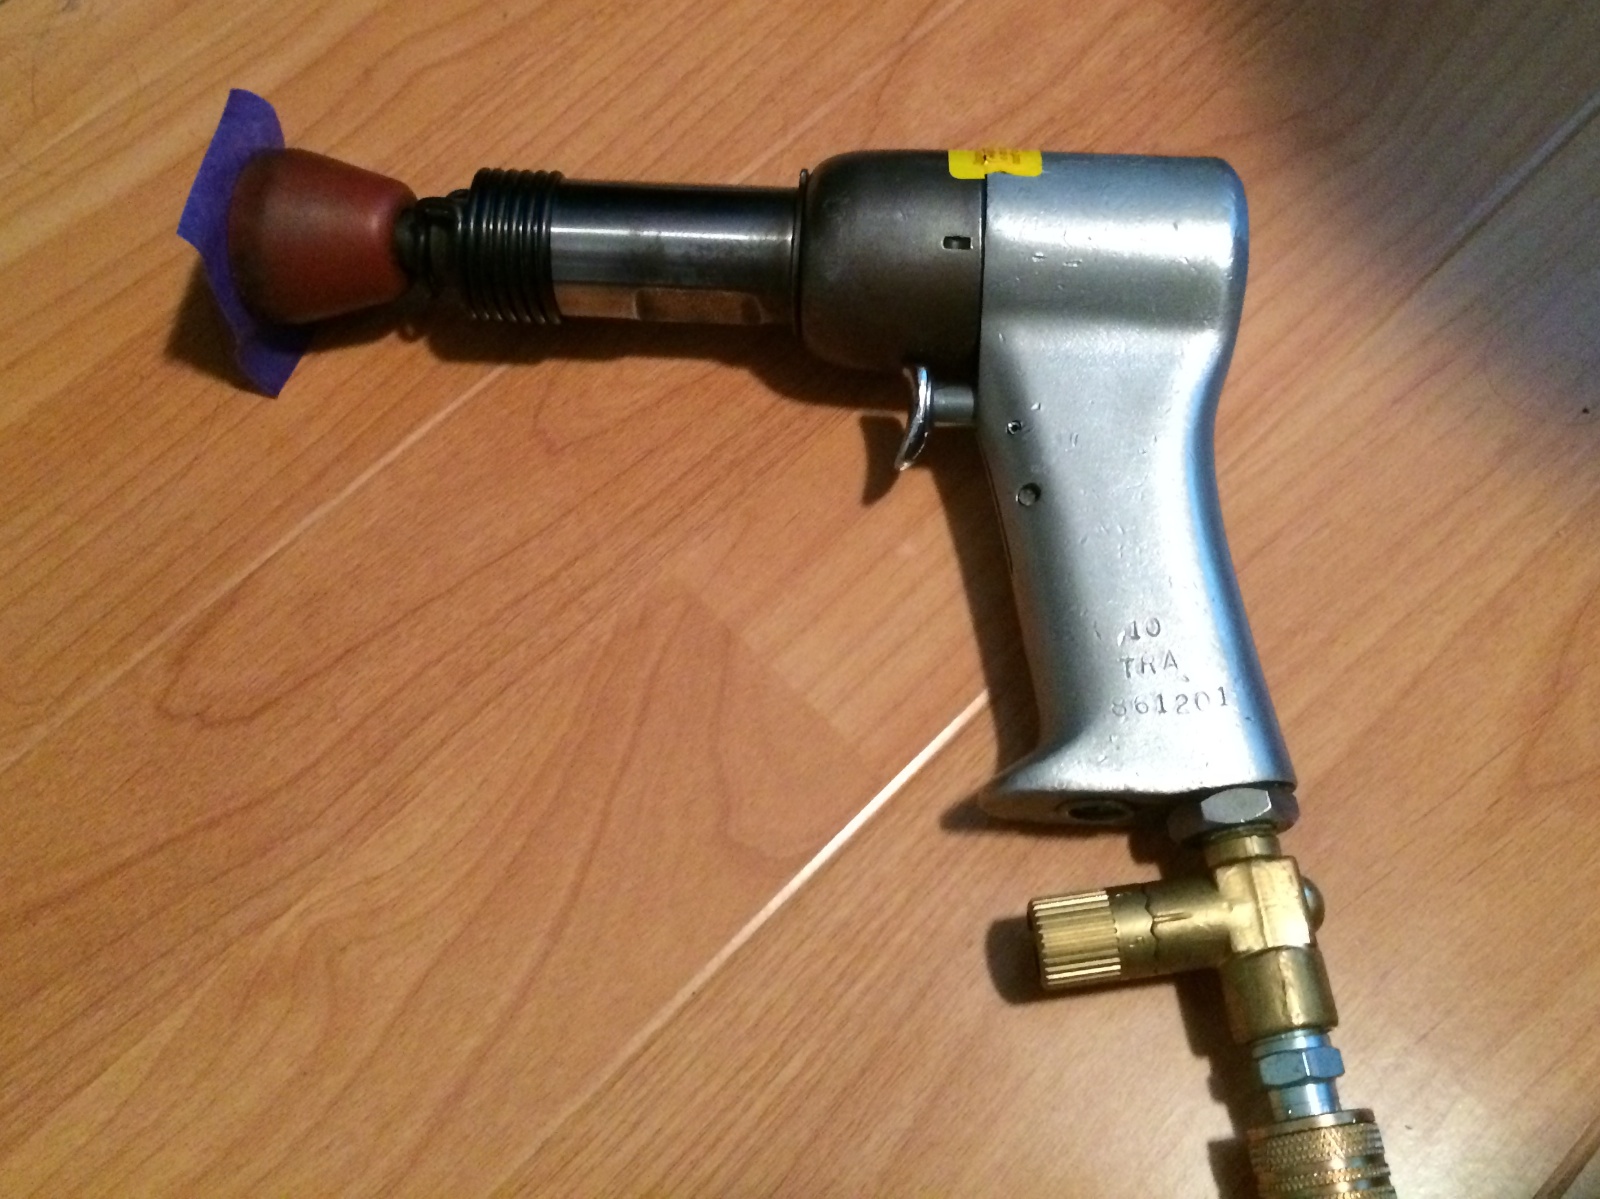
The microstop countersink cage allows for drilling very nice countersinks with great consistency from hole to hole. The screws would now fit in the holes, but they still need to be hammered in all the way such that they are flush. I couldn’t picture myself doing this with a regular hammer without hitting the artwork (especially once the screws get close to flush), so I used another aviation tool – a rivet gun with a flush mushroom set:
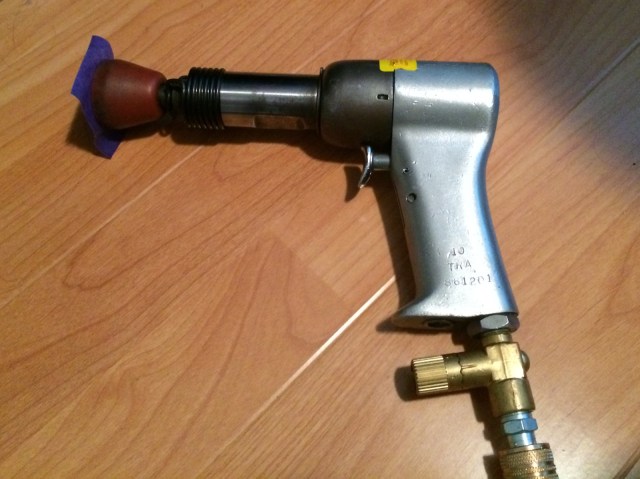
PopBumperScrews-5

The painter’s tape is there to prevent scratches on the surface. The rivet gun had no problem at all driving the screw-nails in and they sit perfectly flush! Awesome!
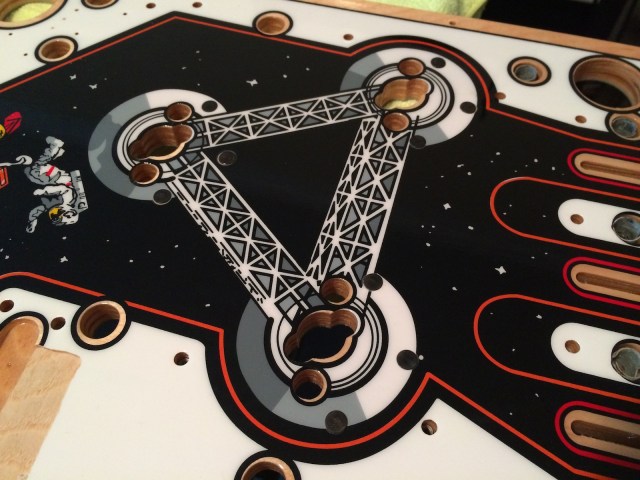
PopBumperScrews-6

Here’s a view from the underside, where the machine screw ends are ready to accept the pop bumper assemblies.


PopBumperScrews-7

Posted in Space Shuttle | Tagged , , , , , | 2 Comments

Stapled Space Shuttle Pinball Playfield General Illumination Wiring

I made a bit more progress on the Space Shuttle playfield swap today, and had fun using a new tool! It was time to tackle the General Illumination wiring. General Illumination is a term in pinball that refers to lamps that light up the game (as opposed to lamps for targets/scoring). Since they aren’t controlled individually, multiple lights can be wired together on a common circuit. Here’s a photo of one section of general illumination wiring on the old playfield. As you can see, Williams (and I’m sure others) used bare exposed wire for these circuits!

StapledGI-2

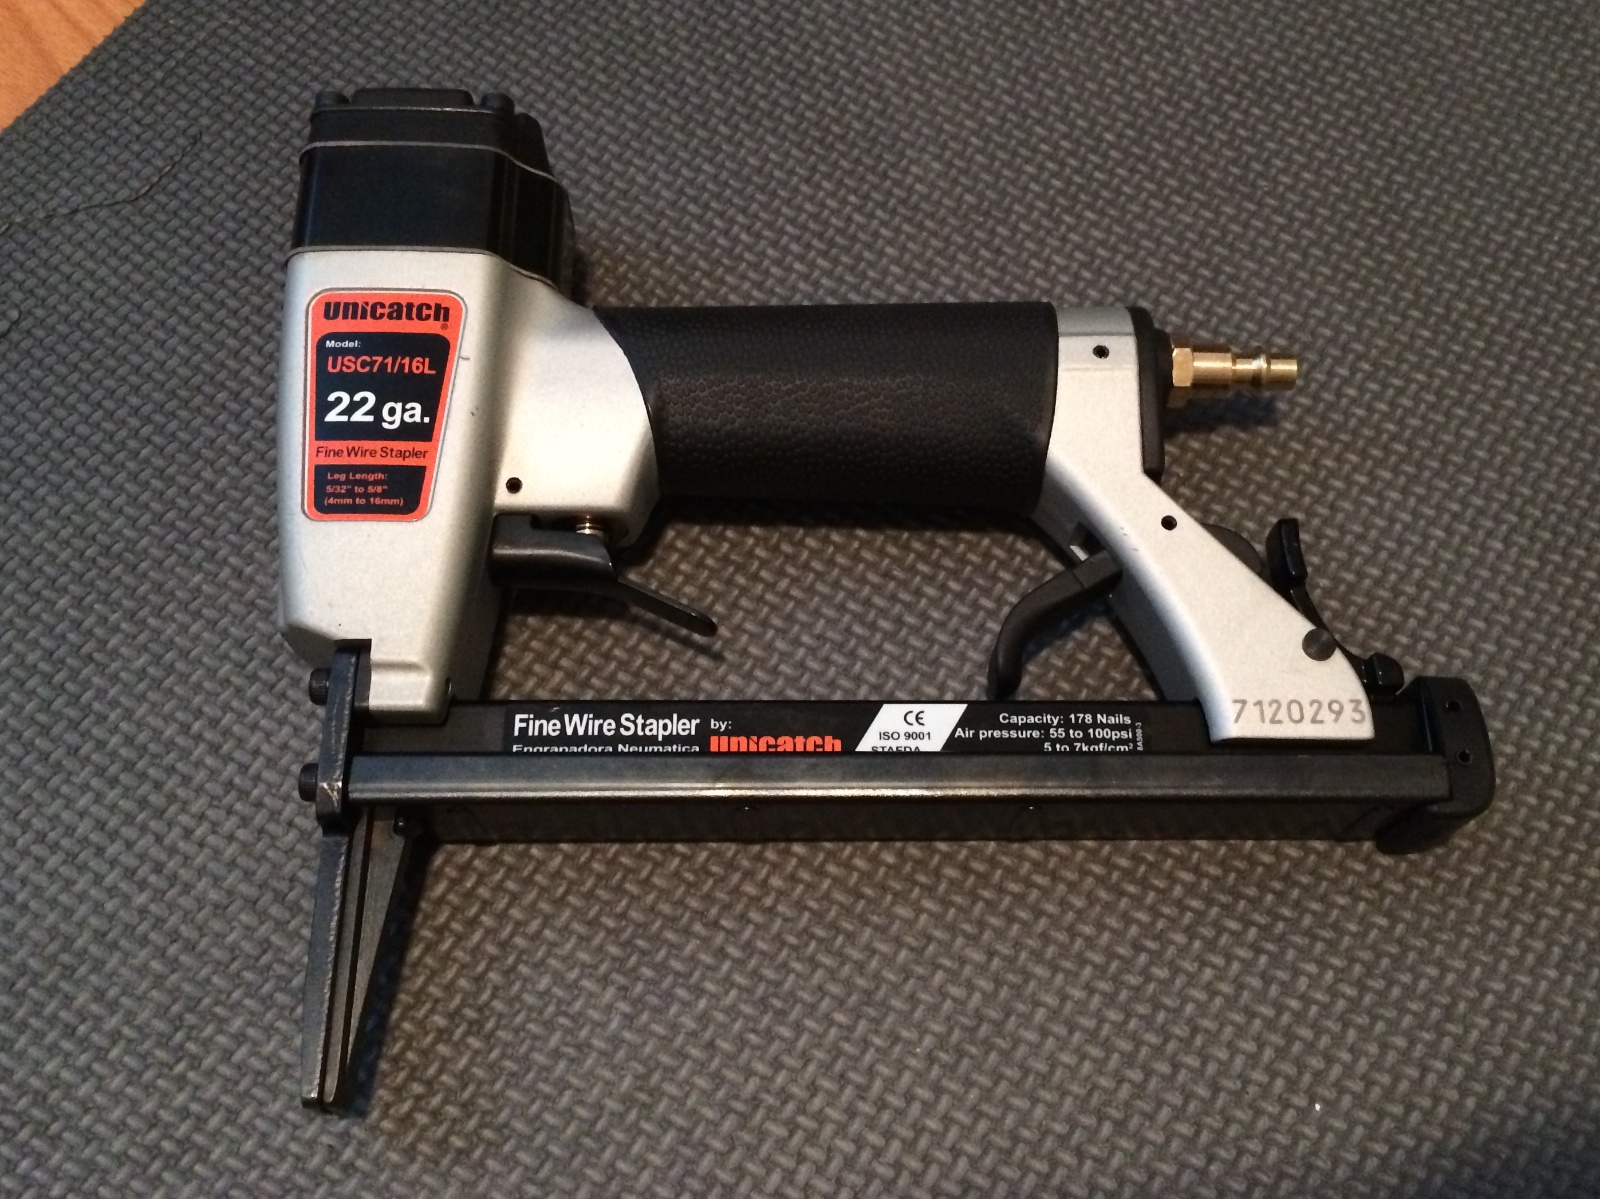
Notice the staples holding down both the lamp sockets and the wires themselves. This is my first playfield swap, so I had to investigate which stapler to get to transfer this over to the new playfield. From what I gathered online, it wasn’t even worth trying with a manual or electric stapler, so I went straight to the big boy tools and got an air-powered one. It shoots 22-gauge fine wire staples which are 3/8″ wide, and I’m using the 1/4″ long (deep) ones for the playfield. 

StapledGI-3

Notice the tool has a long nose, which makes it possible to reach through mechanisms and wiring harnesses if needed. I started transferring some of the circuits over and the stapler works like a charm – it fires staples into the new playfield like it’s not even trying. I even had to dial back the pressure after a staple sliced right through one of my wires! Here’s my progress so far. The biggest GI circuits are done, but there’s a few more smaller ones still left to do.

StapledGI-1

Except for the new shiny copper wire segments, I transferred all the wires over from the old playfield and re-used them. I was also able to test and re-used most of the lamp sockets – only two needed to be replaced.

Posted in Space Shuttle | Tagged , , , , , , , | Leave a comment