Kraylix Assembly – Day 2

Today I finished assembly of the cabinet. The glue around the arch had set overnight, so I removed the clamps and took a look at the results – pretty good! Some filler will be needed to seamlessly blend the top arch to the side arms, but that should be a fairly straightforward task.
Kraylix-assembly-d2 005

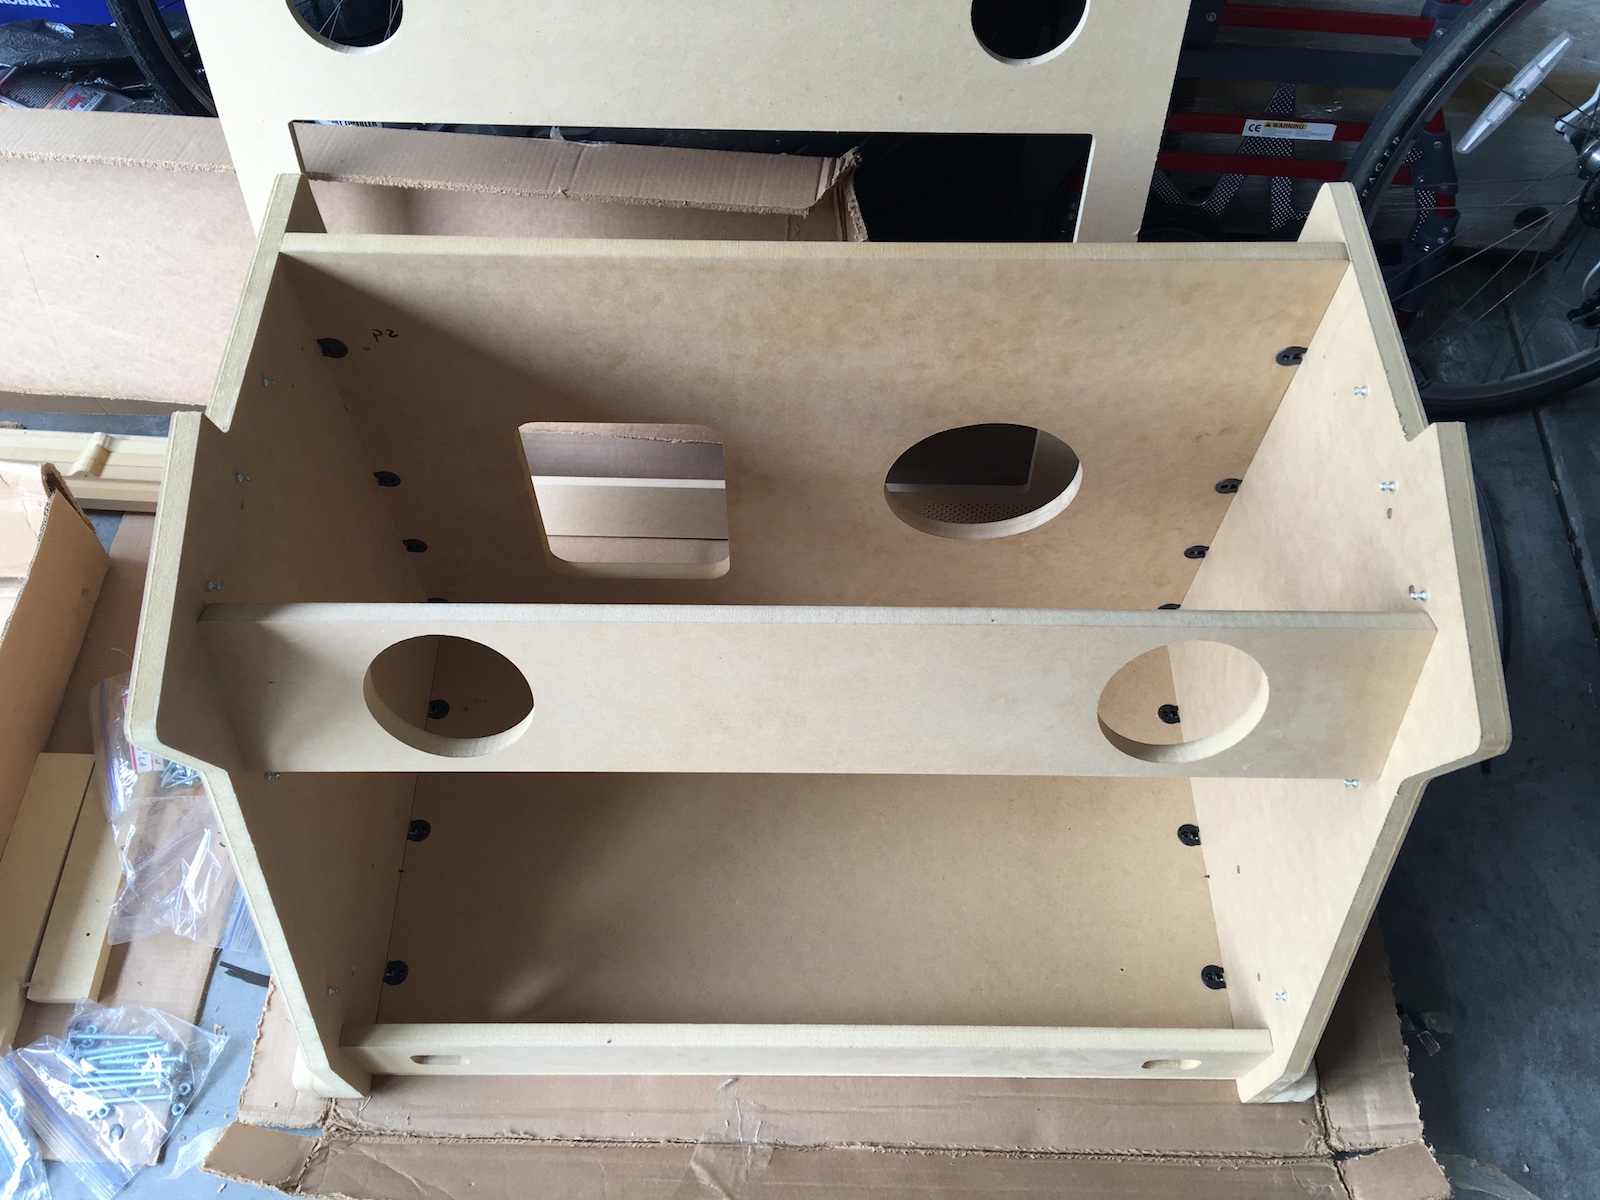
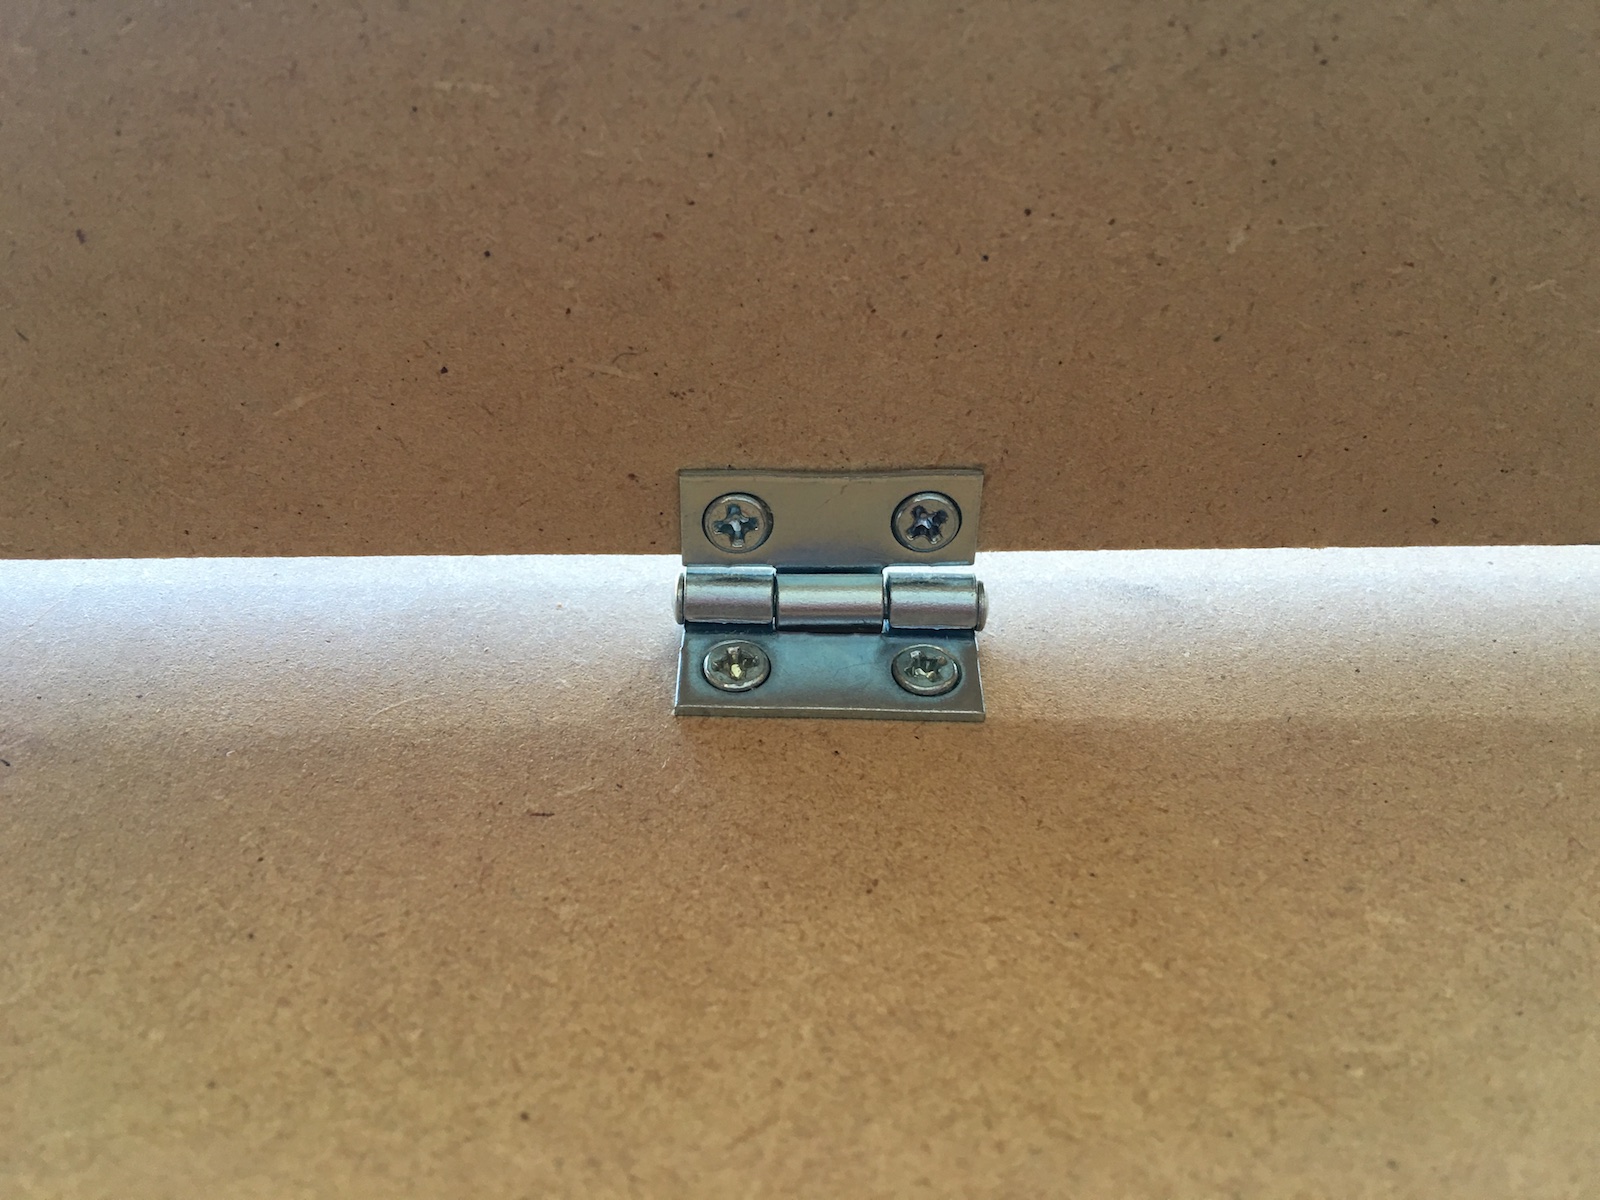
Next up was to install the screen bezel – it is secured with six wood screws, three on each side. In general I have found the Kraylix kit to be extremely sturdy and well built, but this is one area where I feel some extra bracing could improve the design further. The screen bezel is fairly thin and somewhat flexible, and the design leaves it unsupported across the top and bottom. Once installed I could definitely flex it quite a bit with relatively little force. Since the panels above and below don’t form a 90-degree angle with it, though, how best to add some bracing? You could fabricate a wooden piece built to just the right angle, but I came up with something way easier – I used some small hinges from the hardware store. The hinge conforms to the angle needed, but nevertheless adds the rigidity needed to prevent the screen bezel from flexing away from the support piece that runs along its edge. Note the light shining through between the two pieces, as they don’t even touch each other! That’s very much intentional as this edge won’t be visible in the completed machine.Kraylix-assembly-d2 001
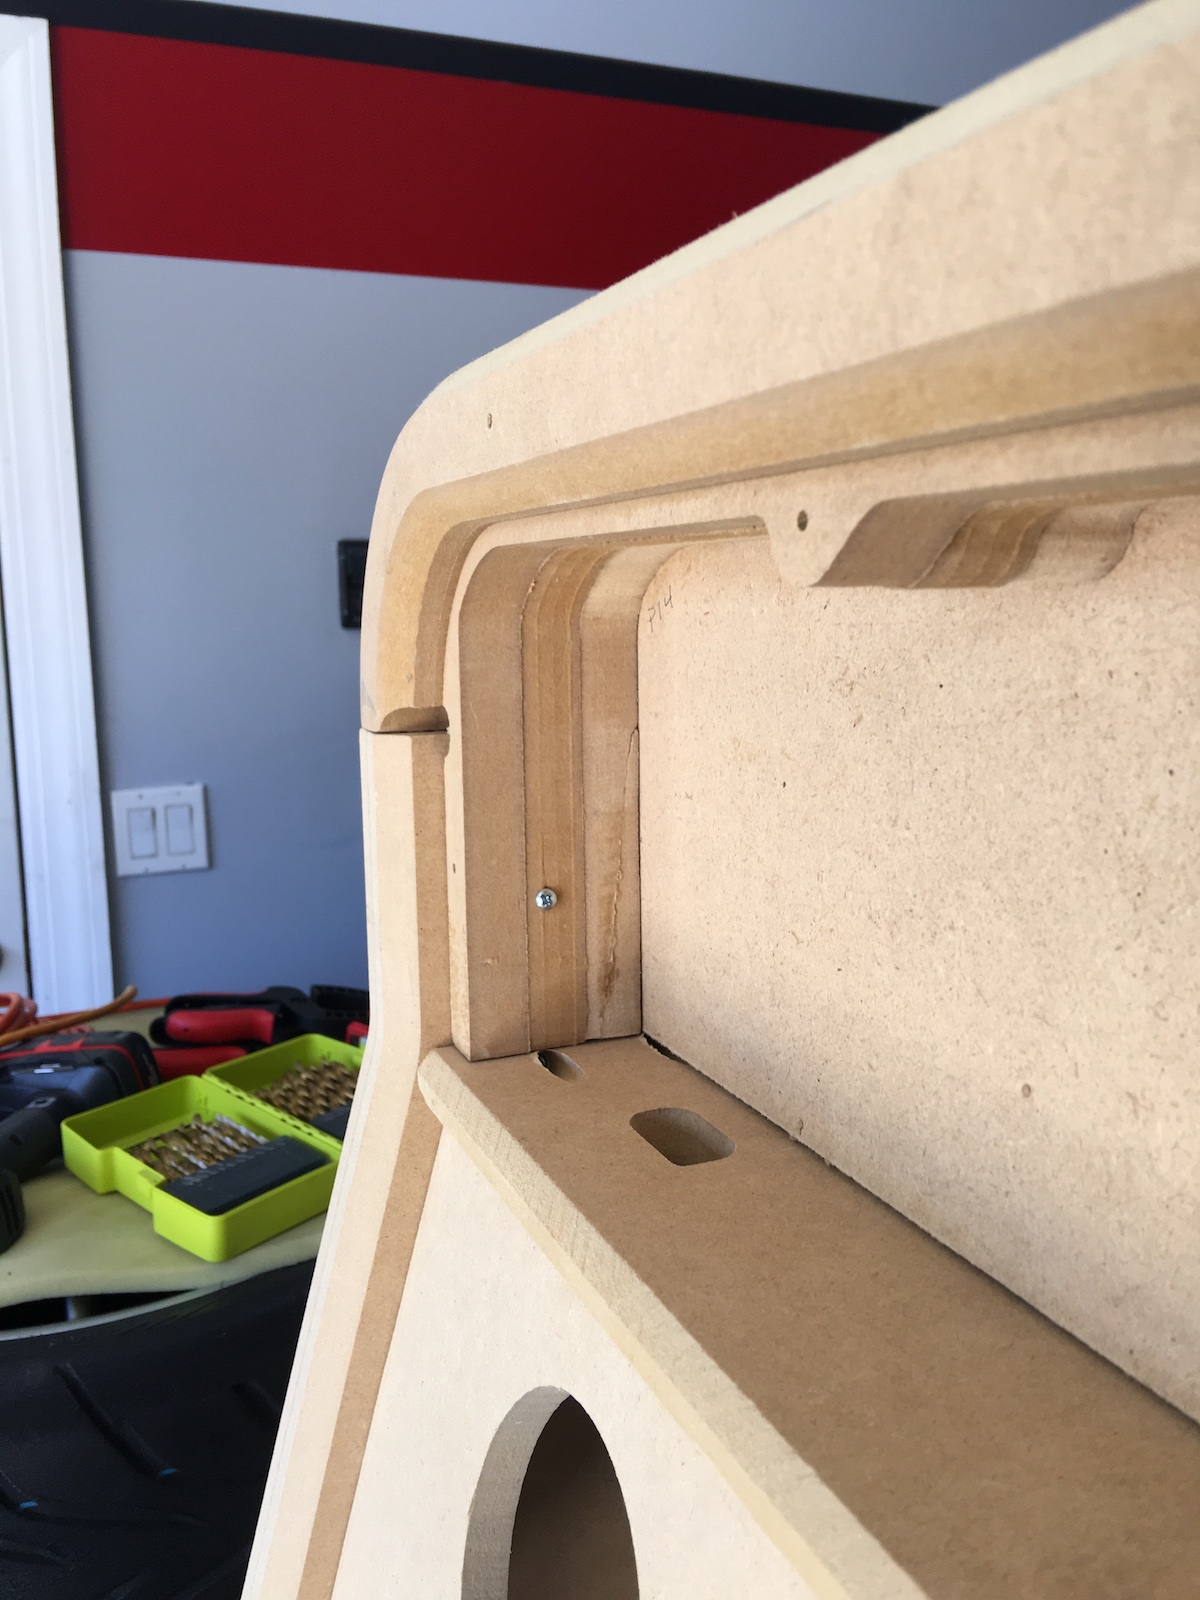
Perhaps the most complex part of the kit is the control panel, but thankfully it comes pre-assembled and pretty much ready to go! I removed the top and bottom panels to take a look inside – all the necessary routing to mount joysticks and buttons has been already done by Kray. The only thing the control panel will need is a bit of sanding and lots of dust removal before paint. Here’s the view of the upside-down panel, where you can see the inner routed channels for the controls.Kraylix-assembly-d2 002
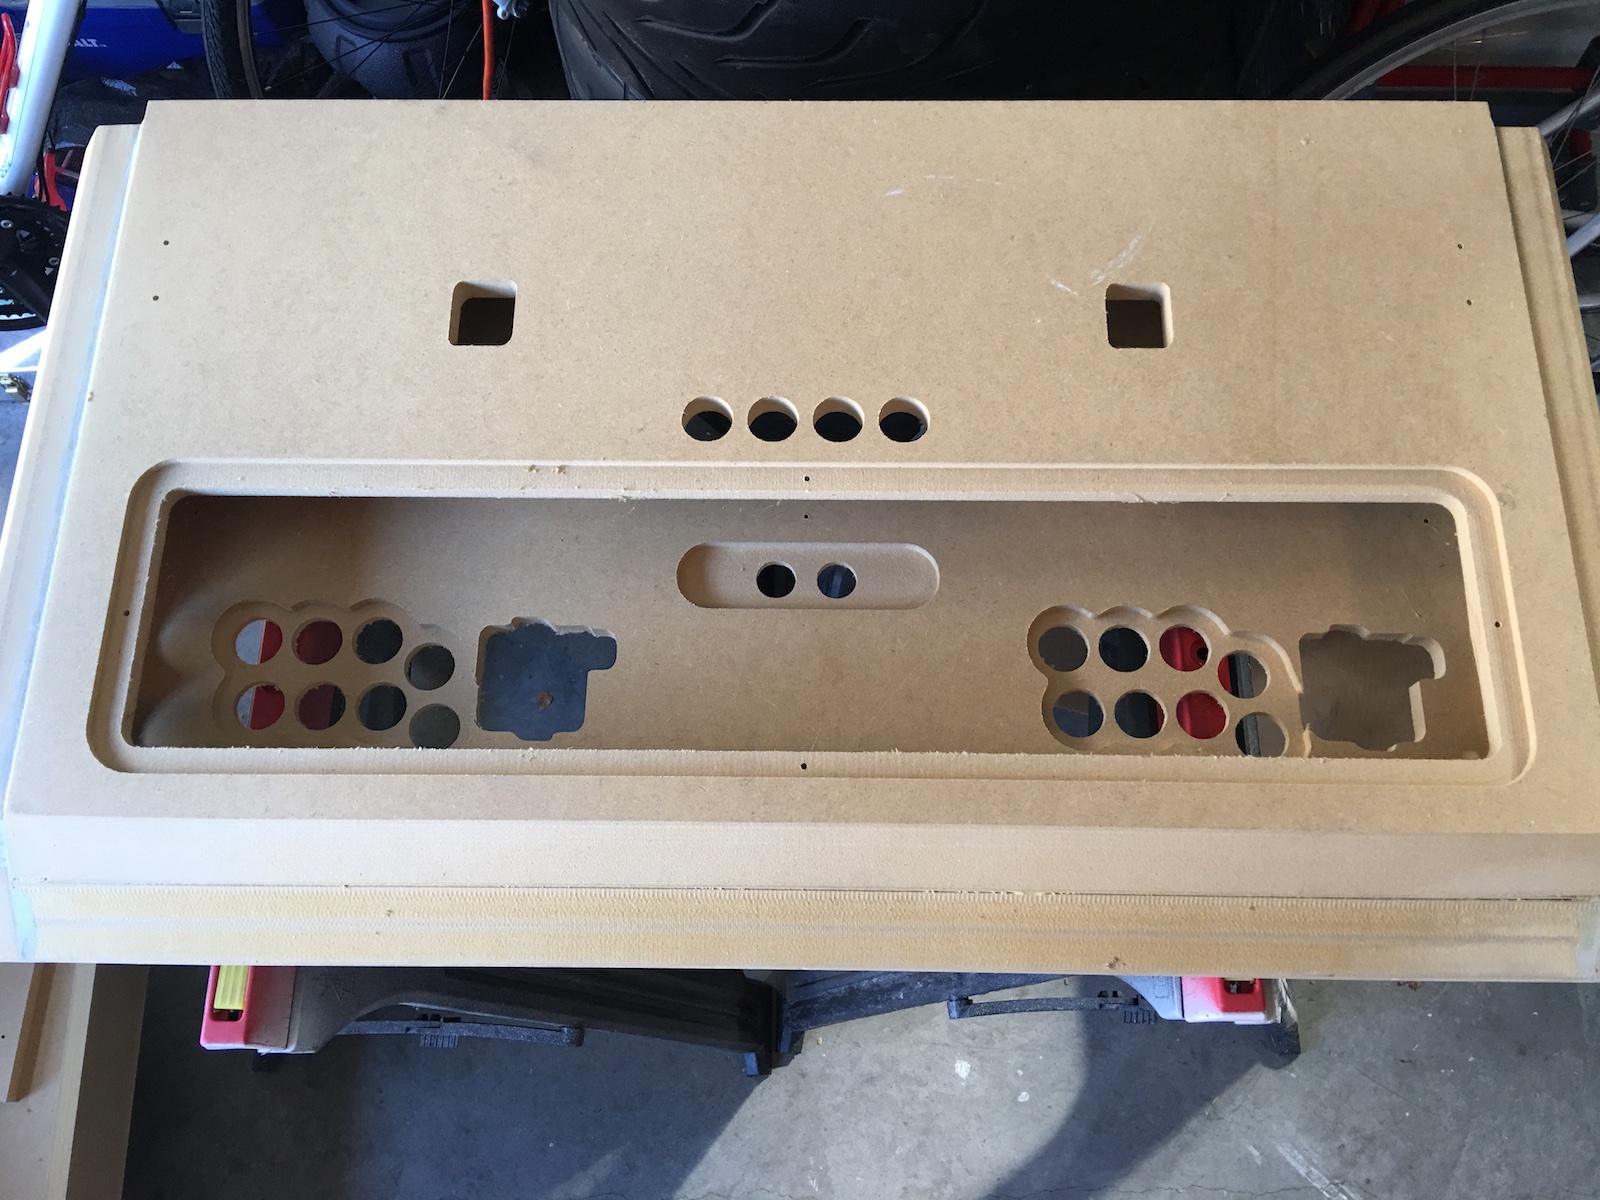
Note that in addition to the 8+8+2 top-side buttons, there is room for 4 more buttons on the bottom. What you can’t see on the photo is that there is also room for side-mounted buttons, two on each side. I can’t imagine running out of buttons on this panel…

One other task I did today was to test-fit my screen to the cabinet. No photos, unfortunately, as I was too busy holding the screen up to take a photo. The kit comes with a wood mounting bracket with holes pre-cut to some popular monitor/TV mounting patterns. For this project I’m using a Vizio D32-D1 and I’m happy to report it fit the cabinet just fine. It also worked great with the kit’s mounting bracket which didn’t require any modifications whatsoever. Once I was satisfied the screen would work out, I removed it and stashed it away in a safe place – it won’t go back into the cabinet until after painting is done.

Here’s a photo of the state of things after day 2 – rough assembly complete! Kraylix-assembly-d2 004
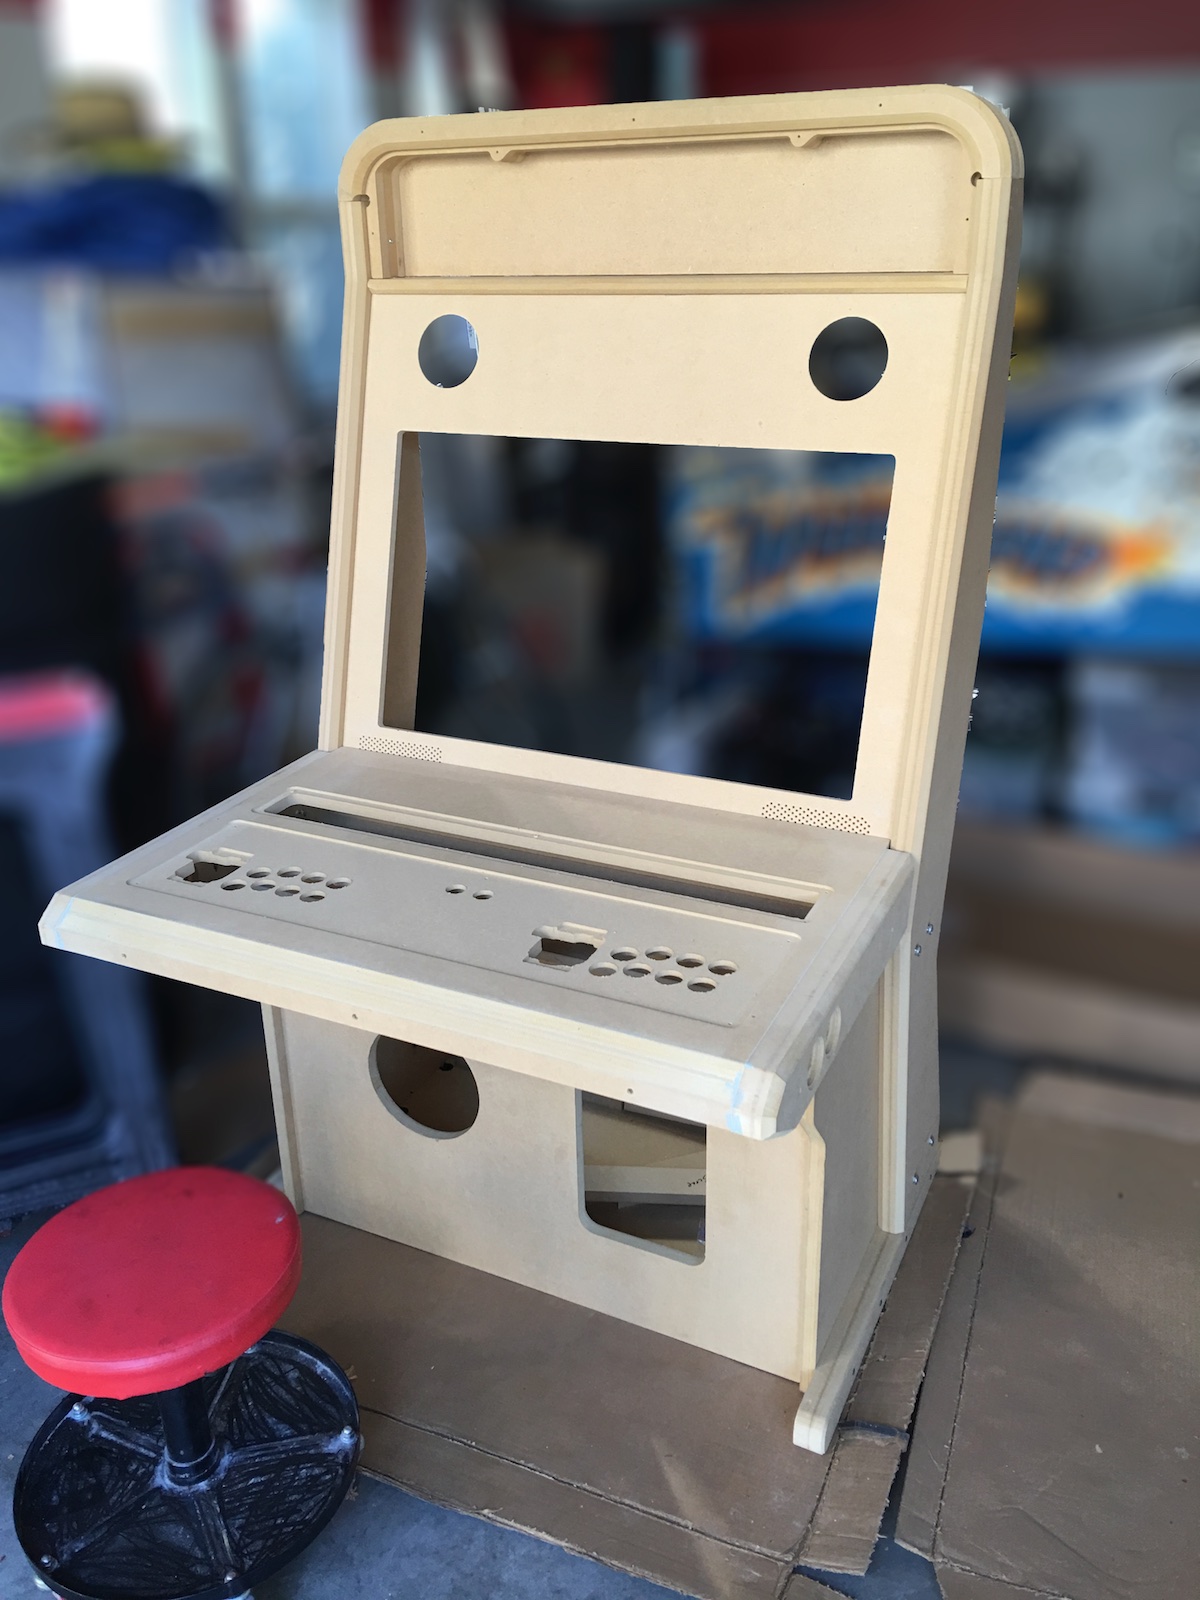
Next up will be patching with filler and sanding to get ready for paint! It’s remarkable how easy the kit was to assemble and how quickly it went together. At this point I can wholeheartedly recommend the kit without any hesitation if you’re interested in such a design – it really is a nice piece of work. See the Kraylix Arcade website for it and other variations Kray sells.
Posted in Kraylix | Tagged , , , , , , | Leave a comment

Kraylix Assembly – Day 1

Today I started putting together the Kraylix kit! But before the first screw even goes in, it’s time for my first mod.

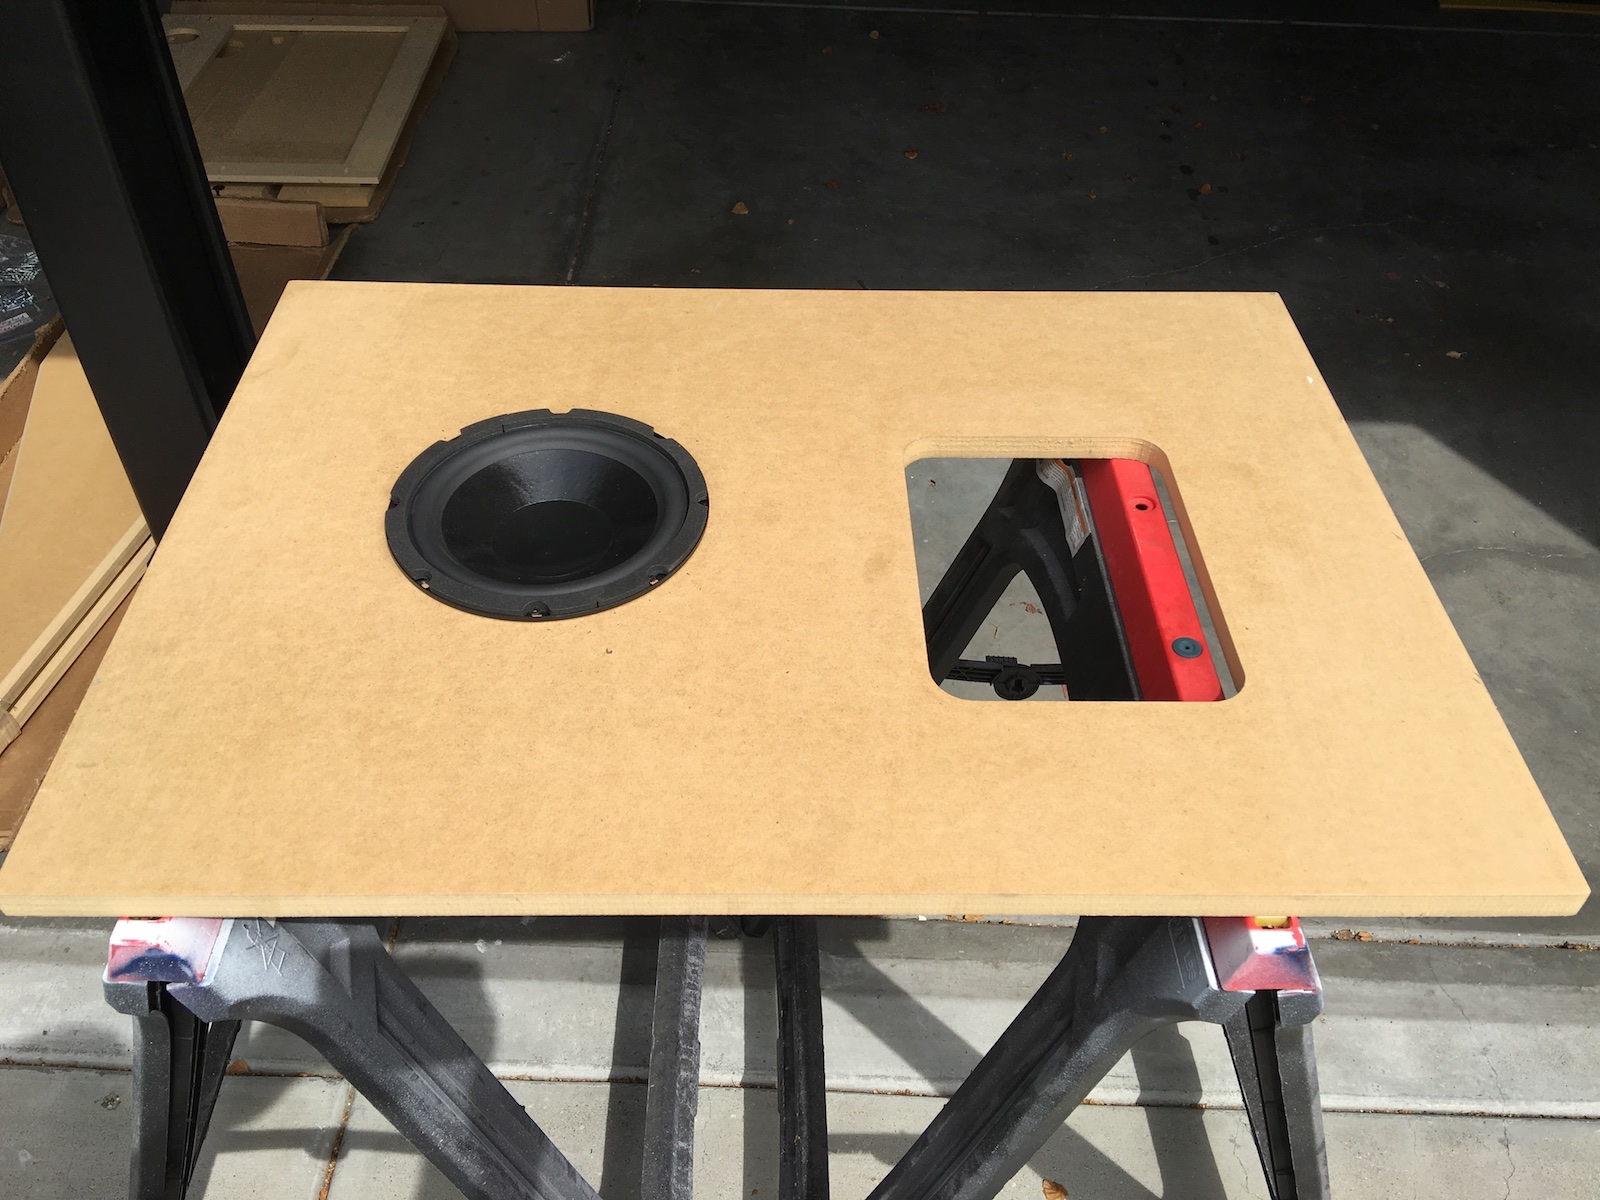
One of the nice things about building a kit vs buying a pre-made cabinet is it’s quite easy to customize it to your needs. The Kraylix V4 2-player comes standard with holes for two 4″ speakers – That’s certainly fine for midrange and treble, but what about bass? I definitely think something a bit bigger is in order to get good full-range sound… So I started planning for the addition of a woofer to the cabinet. I happened to have a spare woofer from a subwoofer box whose amp overheated and fried itself dead – the woofer cone was fine, though, so this is a good way to re-use it! I cut a hole on the front panel and test fit the woofer – perfect fit!

Kraylix-assembly 001

Okay, I admit, I cheated a bit – I took this panel to a local car audio shop and they cut the hole for me. I don’t have a router and wanted a super clean cut circle… Car audio shops do this all the time since they commonly build speaker enclosures, so they did it for me – took them a whole minute and a half! The woofer as seen above may look small, but it’s an 8″ diameter speaker. The hole on the right is for a coin door, in case you’re curious.

Much easier to cut this hole before the panel built into the cabinet, of course. That was the next step, building the bottom of the cabinet. It went together super easily, pretty much like any flat-pack furniture would. Kray uses a combination of wood screws and locking cam-on-dowels. Here’s the bottom of the cabinet assembled – it took about 30 minutes of work at most: Kraylix-assembly 002

Next the tall side arms are installed and affixed using nuts and bolts (for easy disassembly later if needed), and the top arch is installed using wood screws and glue (hence the clamps). The glue will set overnight, so that’s it for today. Boy, this is starting to look like a real arcade game! Pretty cool!Kraylix-assembly 003

Posted in Kraylix | Tagged , , , | Leave a comment

And now for something completely different…

Recently I got the itch to add something other than pinball to my home arcade. I’ve always been a fan of the Street Fighter series and thought it would be really nice to have a video arcade cabinet alongside the pinballs. But what cabinet to get? It turns out a lot of the cabinets you’d find Street Fighter games in during the 90’s were generic JAMMA cabinets. Having a standard such as JAMMA meant operators could swap games in and out as they were released. As cool as it would be to own a 90’s CRT cabinet, though, they are quite large and getting a CRT tube in excellent condition is only getting harder. It’s possible to repair them, of course, but nevertheless I started looking at more modern cabinets with HD screens. This wouldn’t look quite as authentic with classic games, but it would have the advantage of being able to play newer high-resolution Street Fighter games such as SFIV and SFV.

One of the cabinets you’d find SFIV on in arcades in Japan, from what I’ve been able to discover online, is a Taito Vewlix. This cabinet is popular enough that some kits are available to build your own cabinet in a shape inspired by the Vewlix. I bought one such kit, the Kraylix V4 2-player cabinet! This project is going to occupy my time for the next few months at least, and I will document the build as I go here.

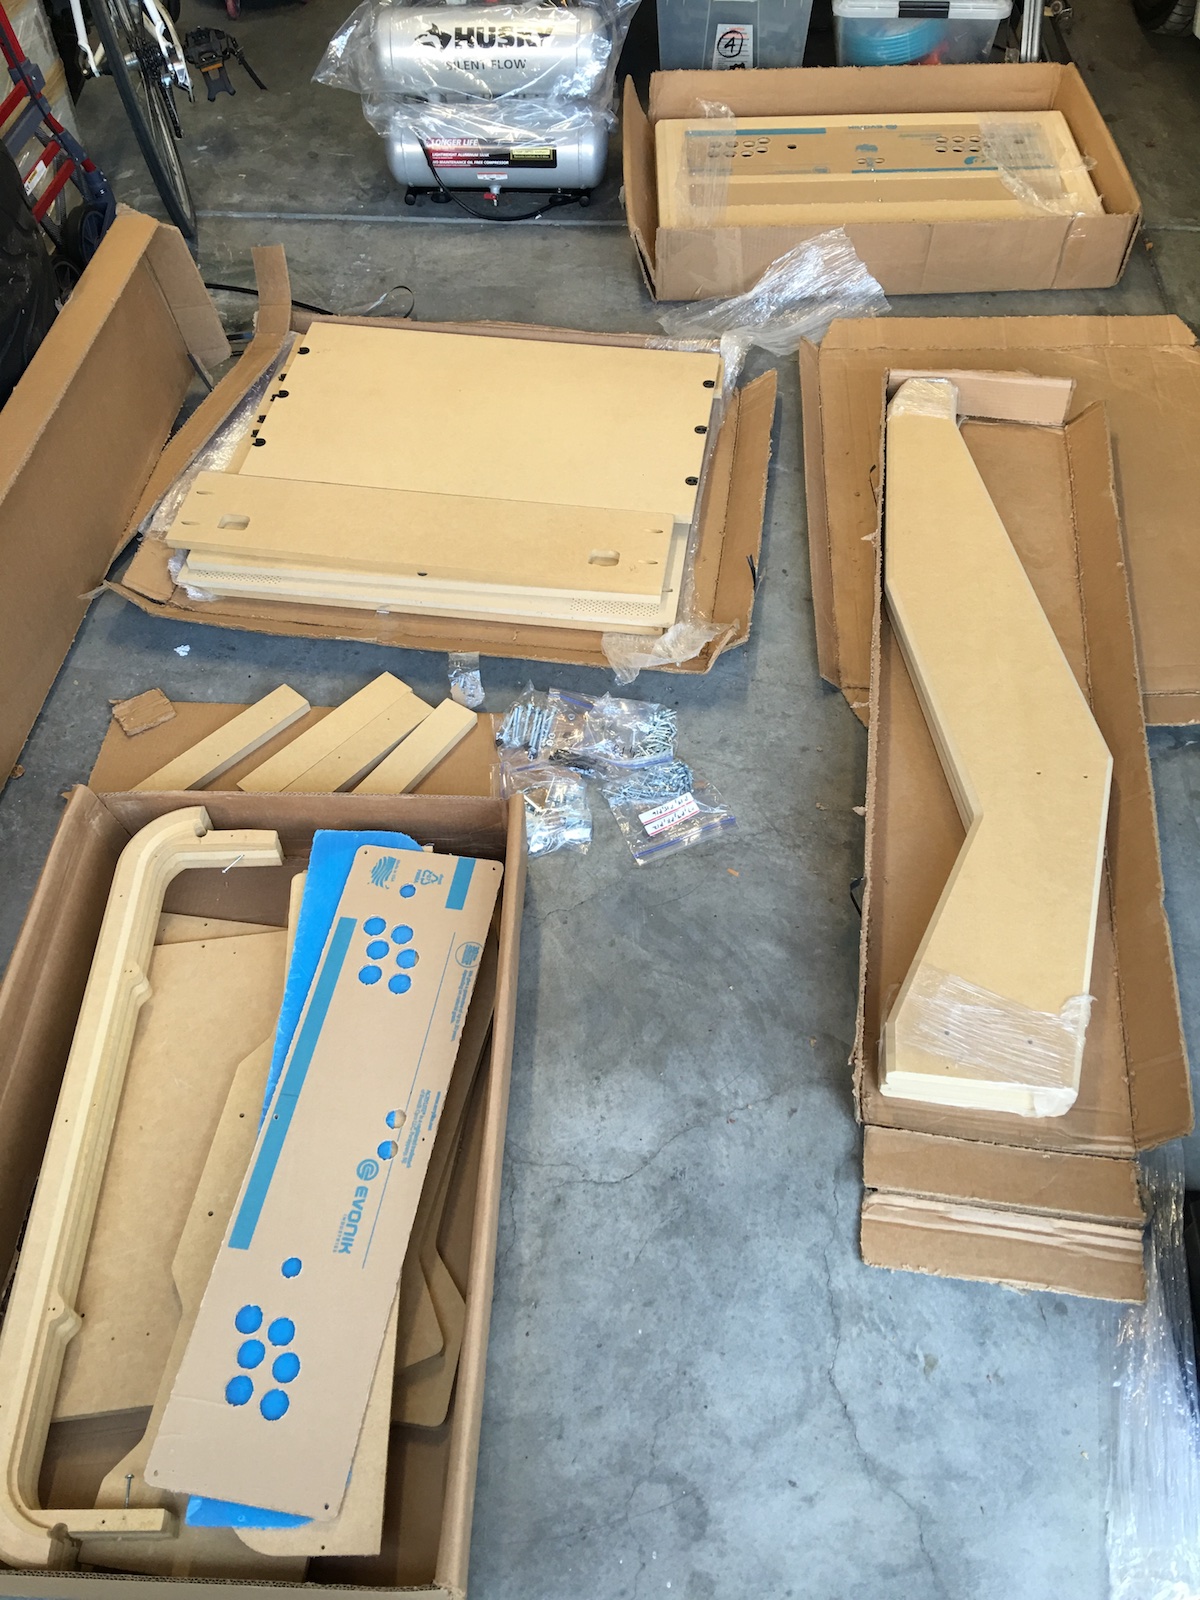
Today the kit came in the mail. I opened the three boxes it came in to check out all the parts and ensure nothing was damaged. The construction was definitely beefier than I was expecting – very nice stuff! Everything was packed nicely and there was only very minor damage to one small piece – should be a trivial repair with some wood glue.

Let the build begin!Kraylix-Unbox 001


Posted in Kraylix | Tagged , , , , | 1 Comment

Shopping out a World Cup Soccer 94 Pinball

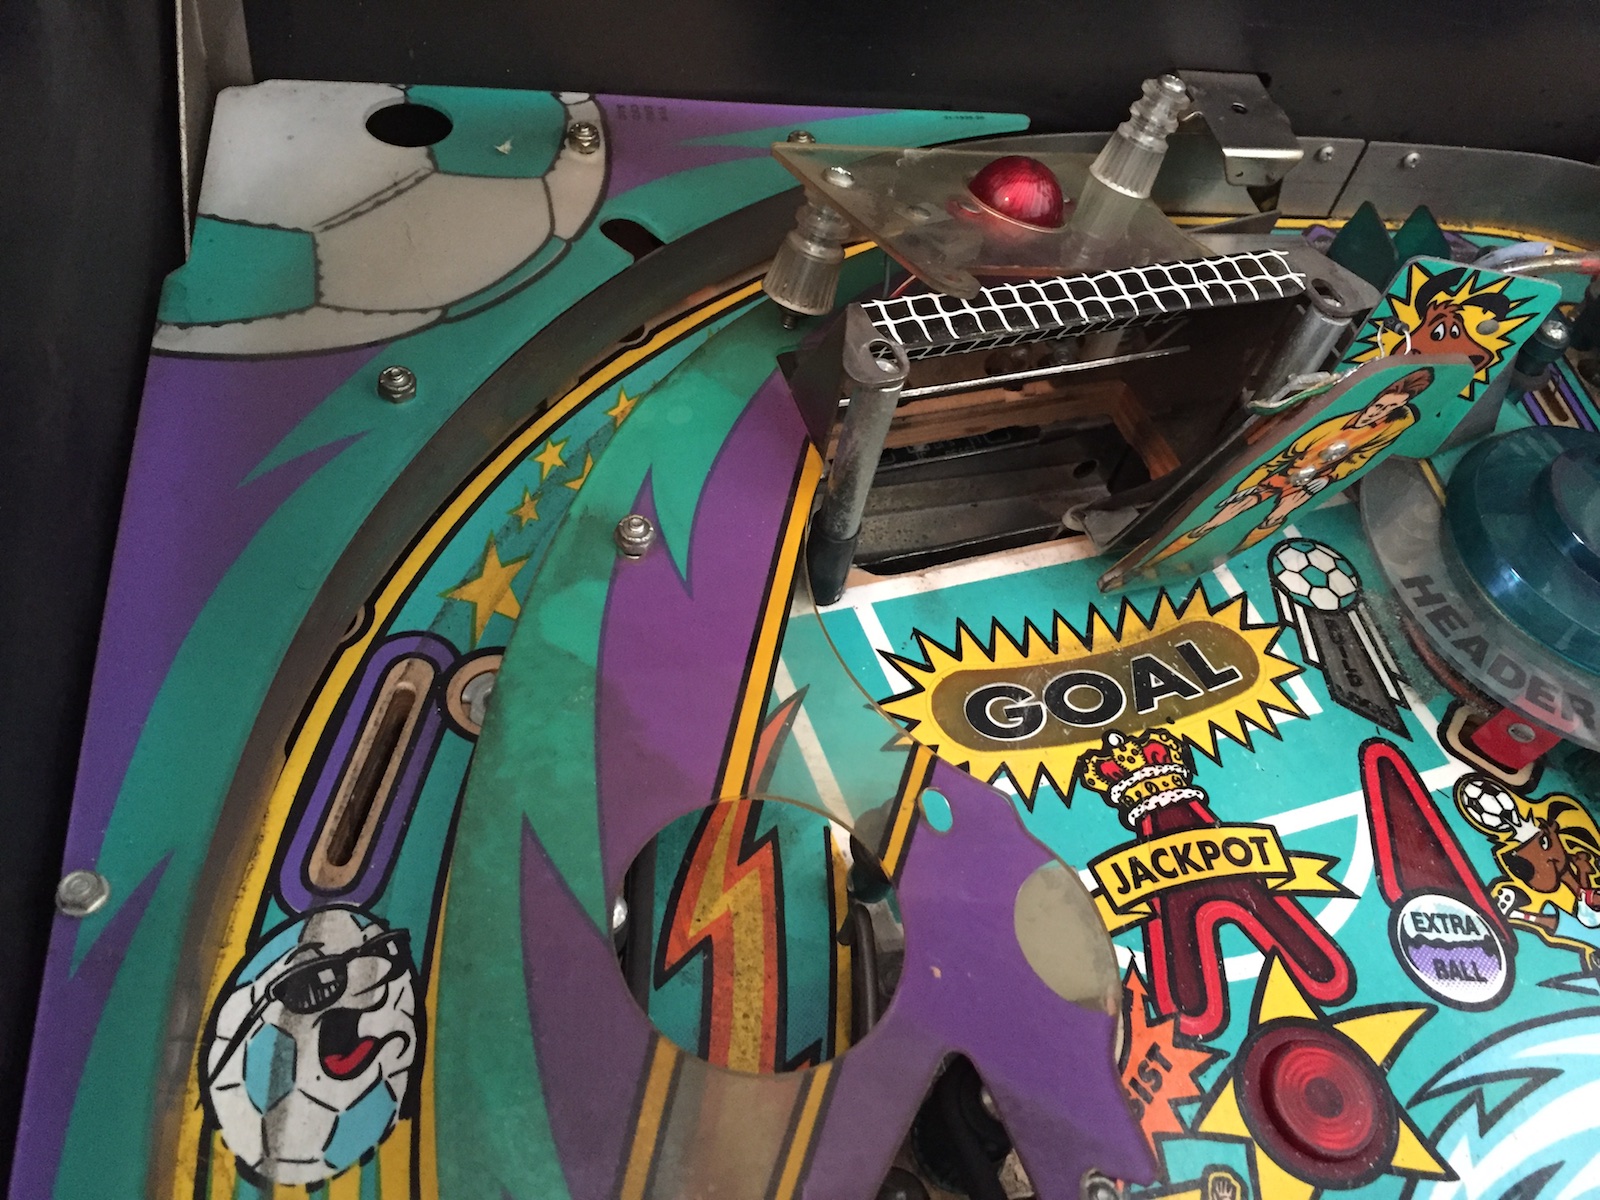
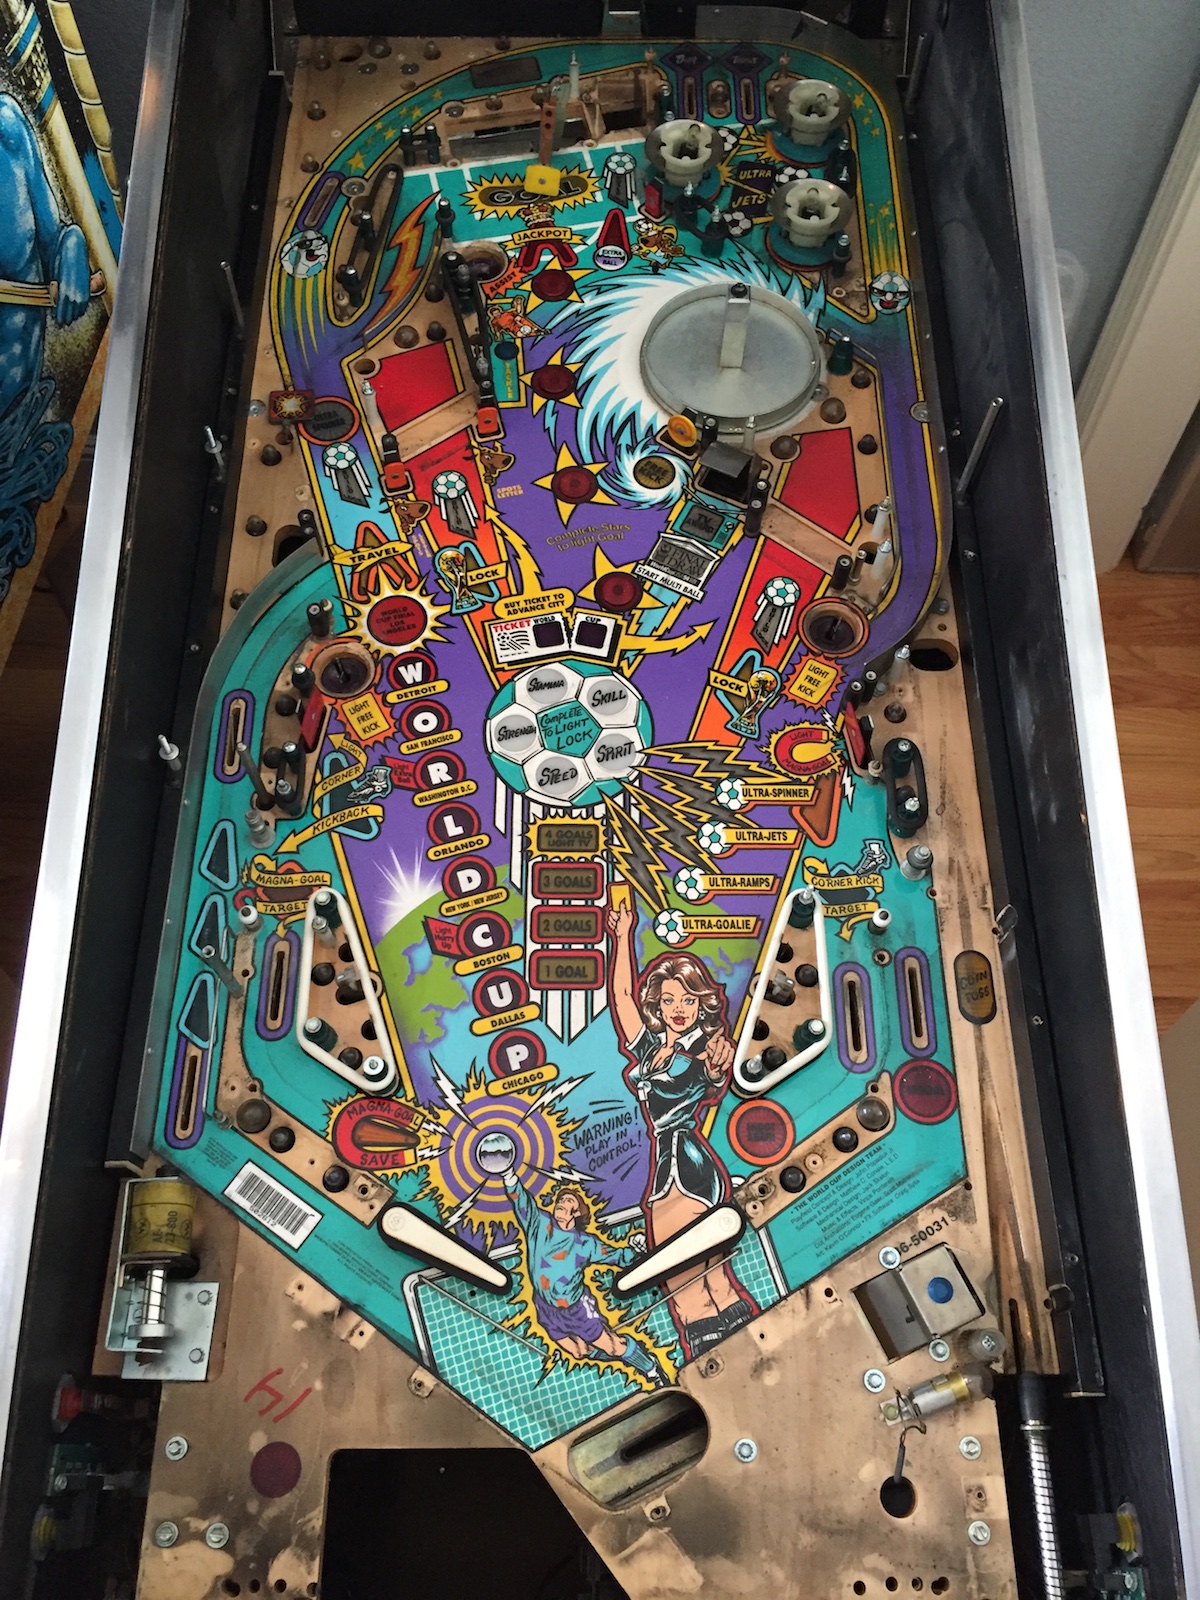
Wow, it’s been a while since I last posted! Time to do some catching up. This past winter I finally tore down my World Cup Soccer 94 to give it a good cleaning. I’m not sure of the history of the game as I’ve only owned it for a few years, but based on the condition of some of the crumbling rubbers it wouldn’t surprise me at all if this was the first time the game had ever been torn down and completely cleaned. As you’ll see below, it was VERY dirty, especially in the back which is covered by a few layers of ramps – definitely not possible to get back there on this game without quite a bit of disassembly.

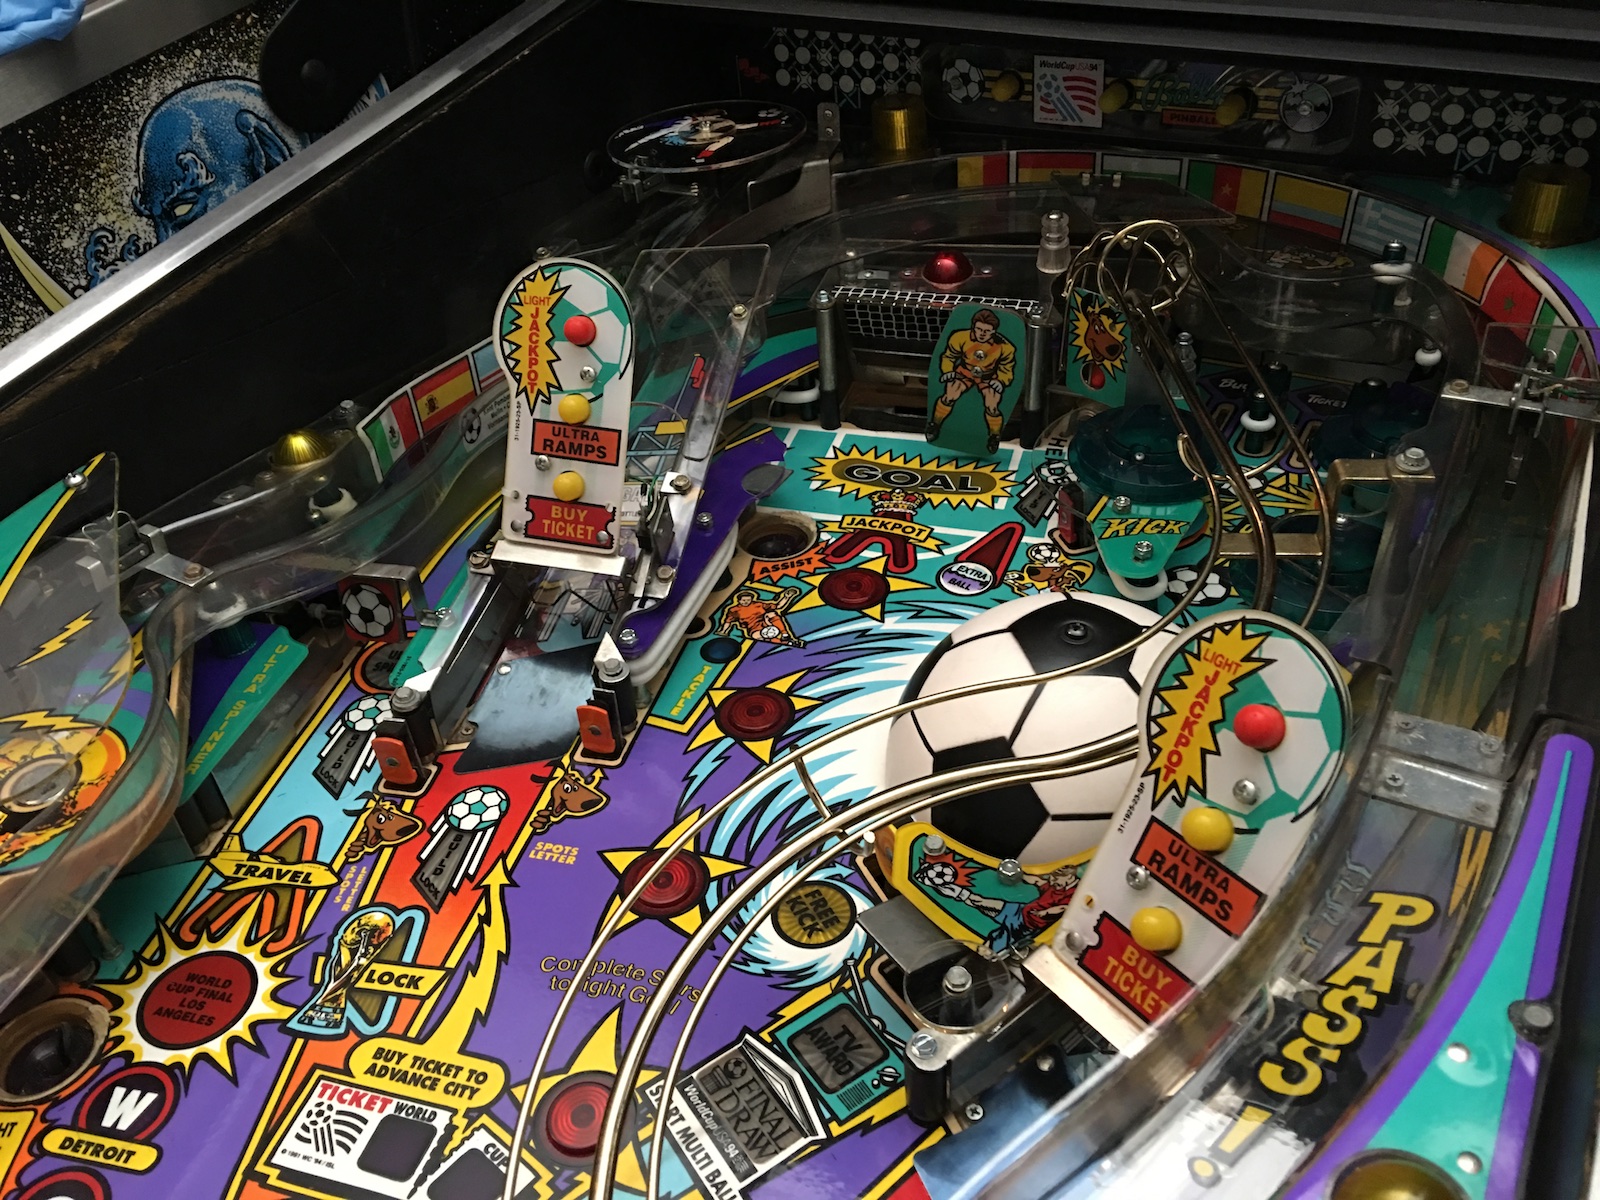
Here’s how the game started – lots of old yellowed plastics and crumbling rubbers (including the soccer ball), but otherwise in very decent shape:WCS-Shopped 001

Luckily the ramps were in decent shapes and just needed disassembly and cleaning, not replacement. Check out the level of dirt built up!WCS-Shopped 002 WCS-Shopped 003 WCS-Shopped 004 WCS-Shopped 006

But thankfully, underneath all that dirt the playfield was in excellent shape. Check out the shine after cleaning the mostly-bare playfield.

WCS-Shopped 007

In the end I got a new set of plastics, rubbers, a new soccer ball and brass wireform ramp (because why not!) and the game looked completely transformed. Probably the most time consuming part was the number of riveted plastics that required drilling out and re-riveting. Here’s the pile of old yellowed plastics ready to go into the “just in case I ever need this” drawer: WCS-Shopped 008

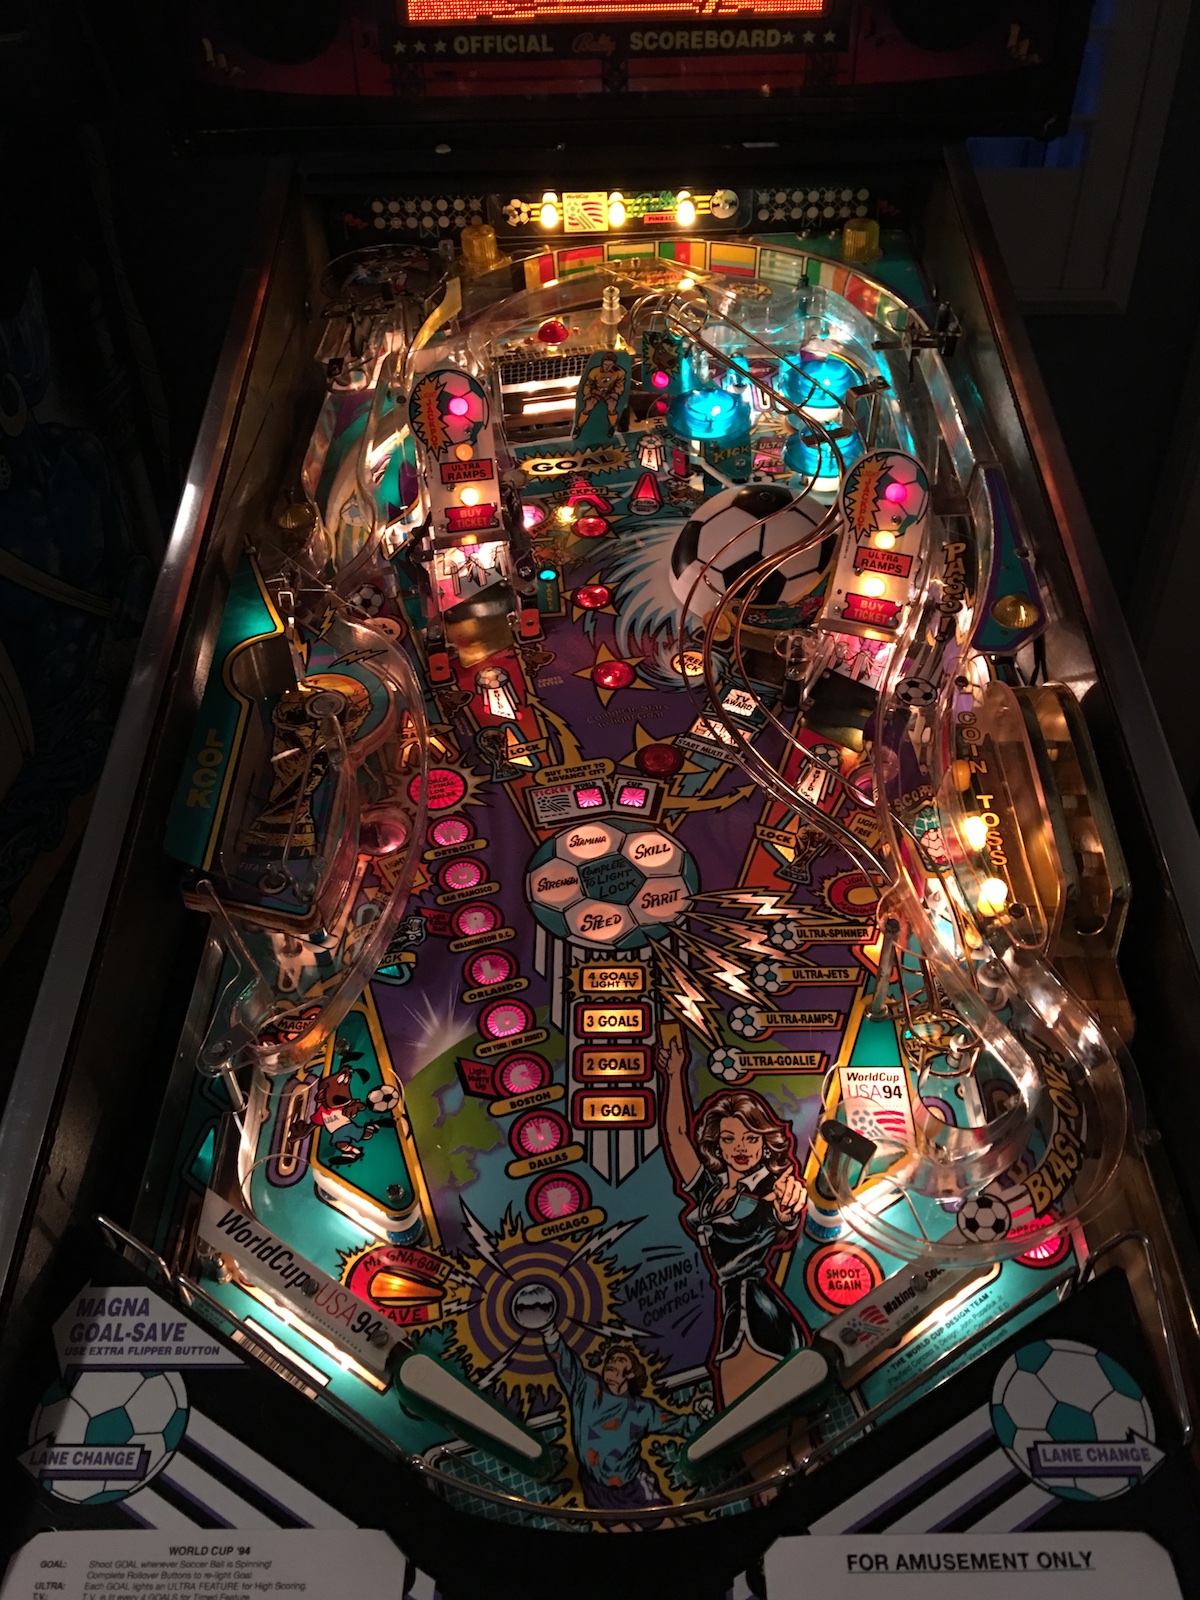
And finally a few photos of the re-assembled game. Much better!WCS-Shopped 009 WCS-Shopped 010

Posted in World Cup Soccer | Tagged , , , , , , | Leave a comment