
Today I finished assembly of the cabinet. The glue around the arch had set overnight, so I removed the clamps and took a look at the results – pretty good! Some filler will be needed to seamlessly blend the top arch to the side arms, but that should be a fairly straightforward task.
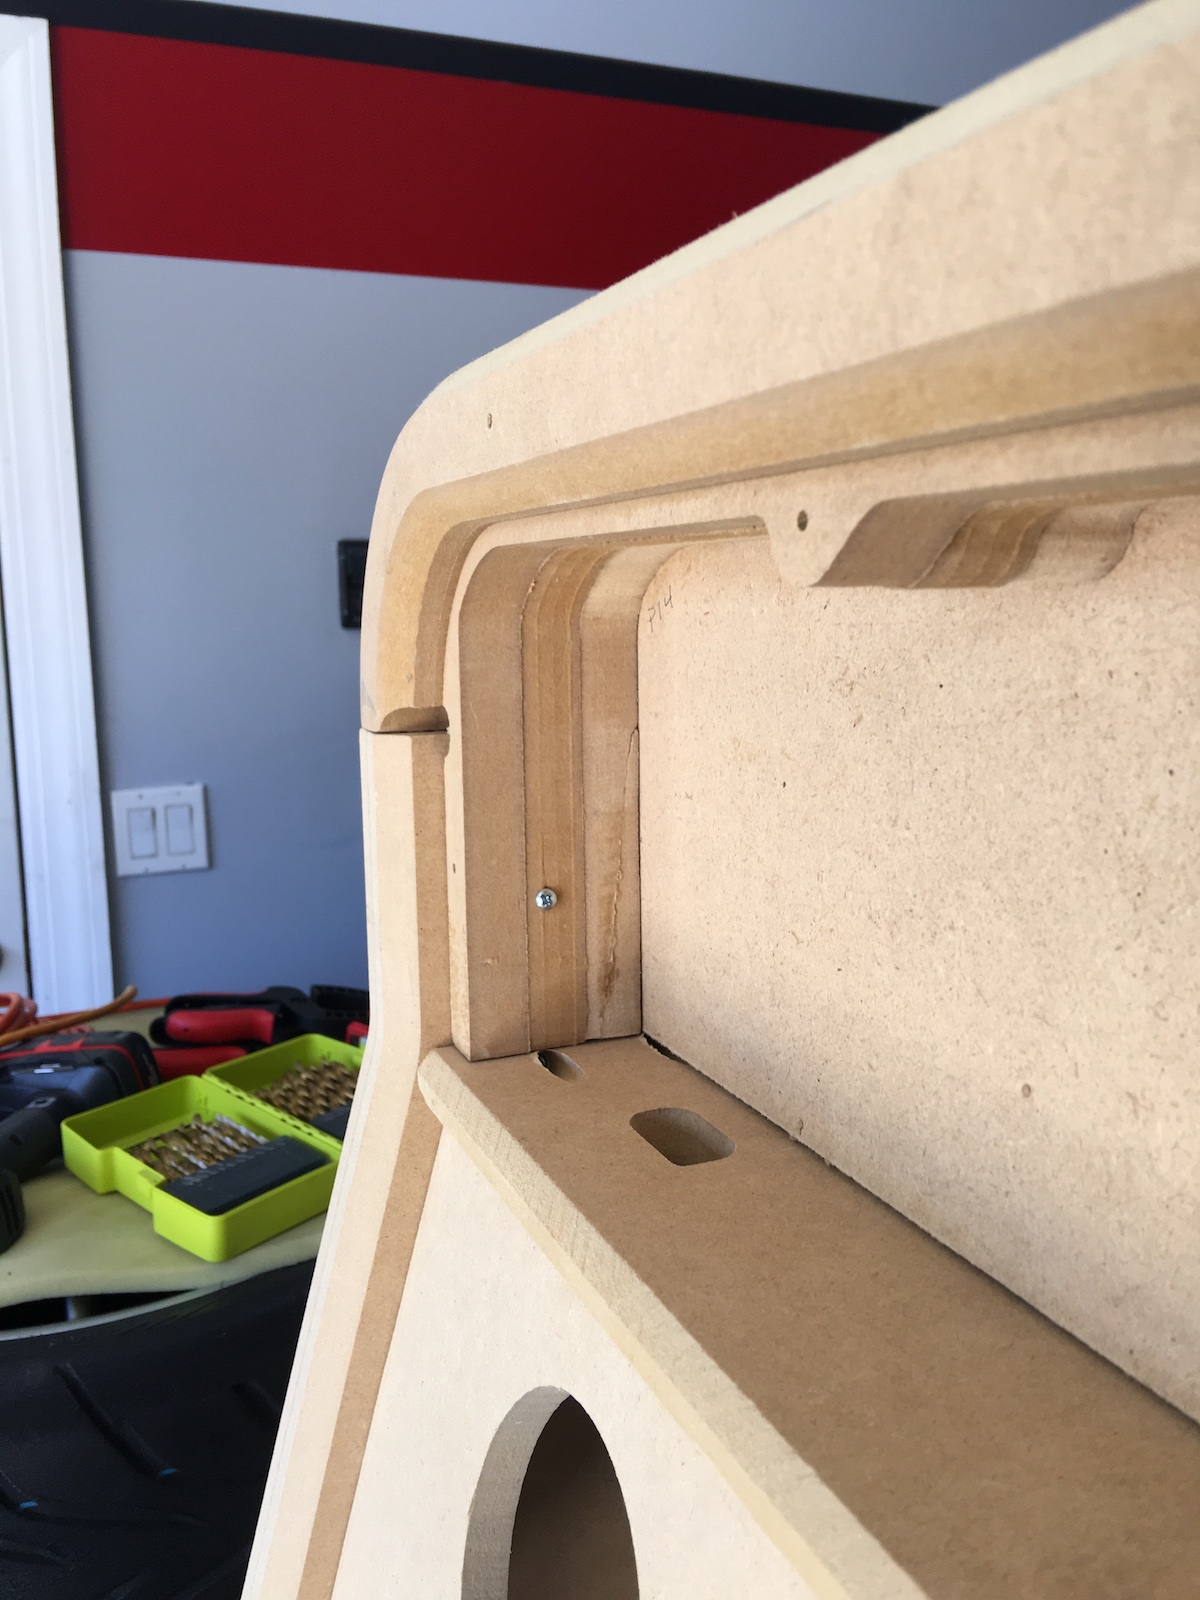
Next up was to install the screen bezel – it is secured with six wood screws, three on each side. In general I have found the Kraylix kit to be extremely sturdy and well built, but this is one area where I feel some extra bracing could improve the design further. The screen bezel is fairly thin and somewhat flexible, and the design leaves it unsupported across the top and bottom. Once installed I could definitely flex it quite a bit with relatively little force. Since the panels above and below don’t form a 90-degree angle with it, though, how best to add some bracing? You could fabricate a wooden piece built to just the right angle, but I came up with something way easier – I used some small hinges from the hardware store. The hinge conforms to the angle needed, but nevertheless adds the rigidity needed to prevent the screen bezel from flexing away from the support piece that runs along its edge. Note the light shining through between the two pieces, as they don’t even touch each other! That’s very much intentional as this edge won’t be visible in the completed machine.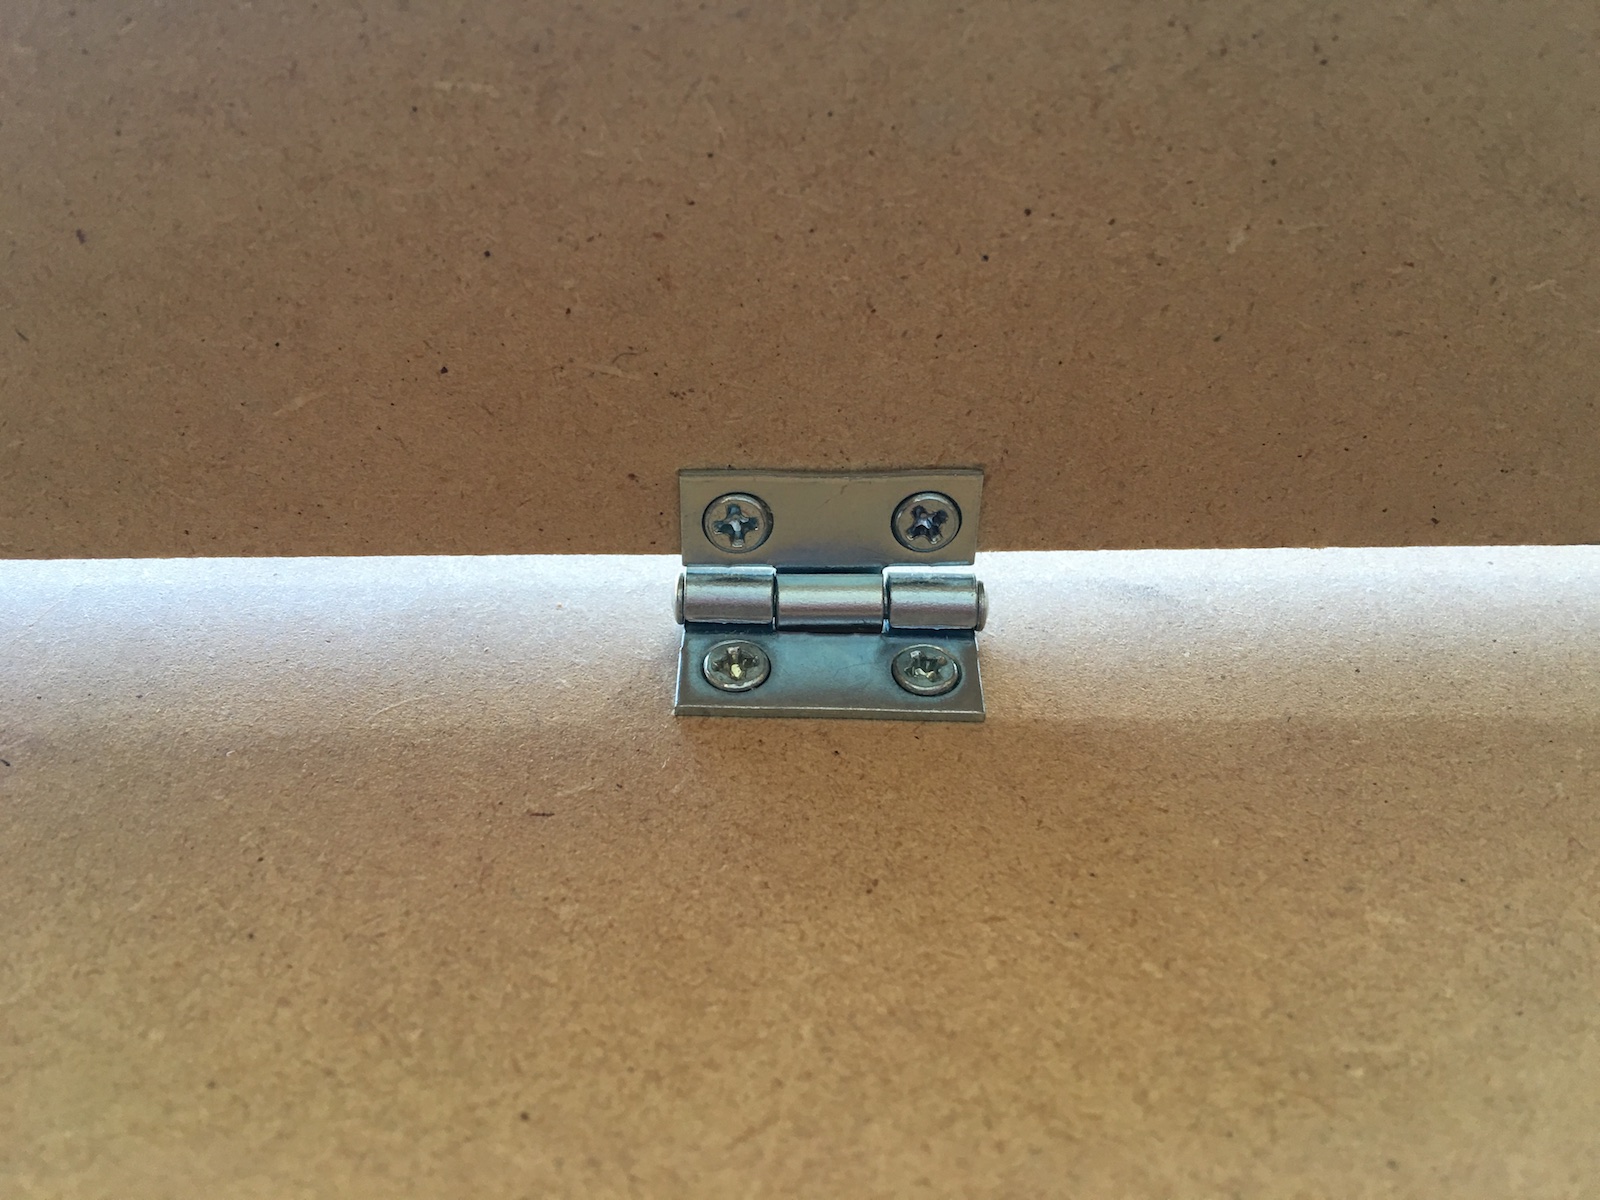
Perhaps the most complex part of the kit is the control panel, but thankfully it comes pre-assembled and pretty much ready to go! I removed the top and bottom panels to take a look inside – all the necessary routing to mount joysticks and buttons has been already done by Kray. The only thing the control panel will need is a bit of sanding and lots of dust removal before paint. Here’s the view of the upside-down panel, where you can see the inner routed channels for the controls.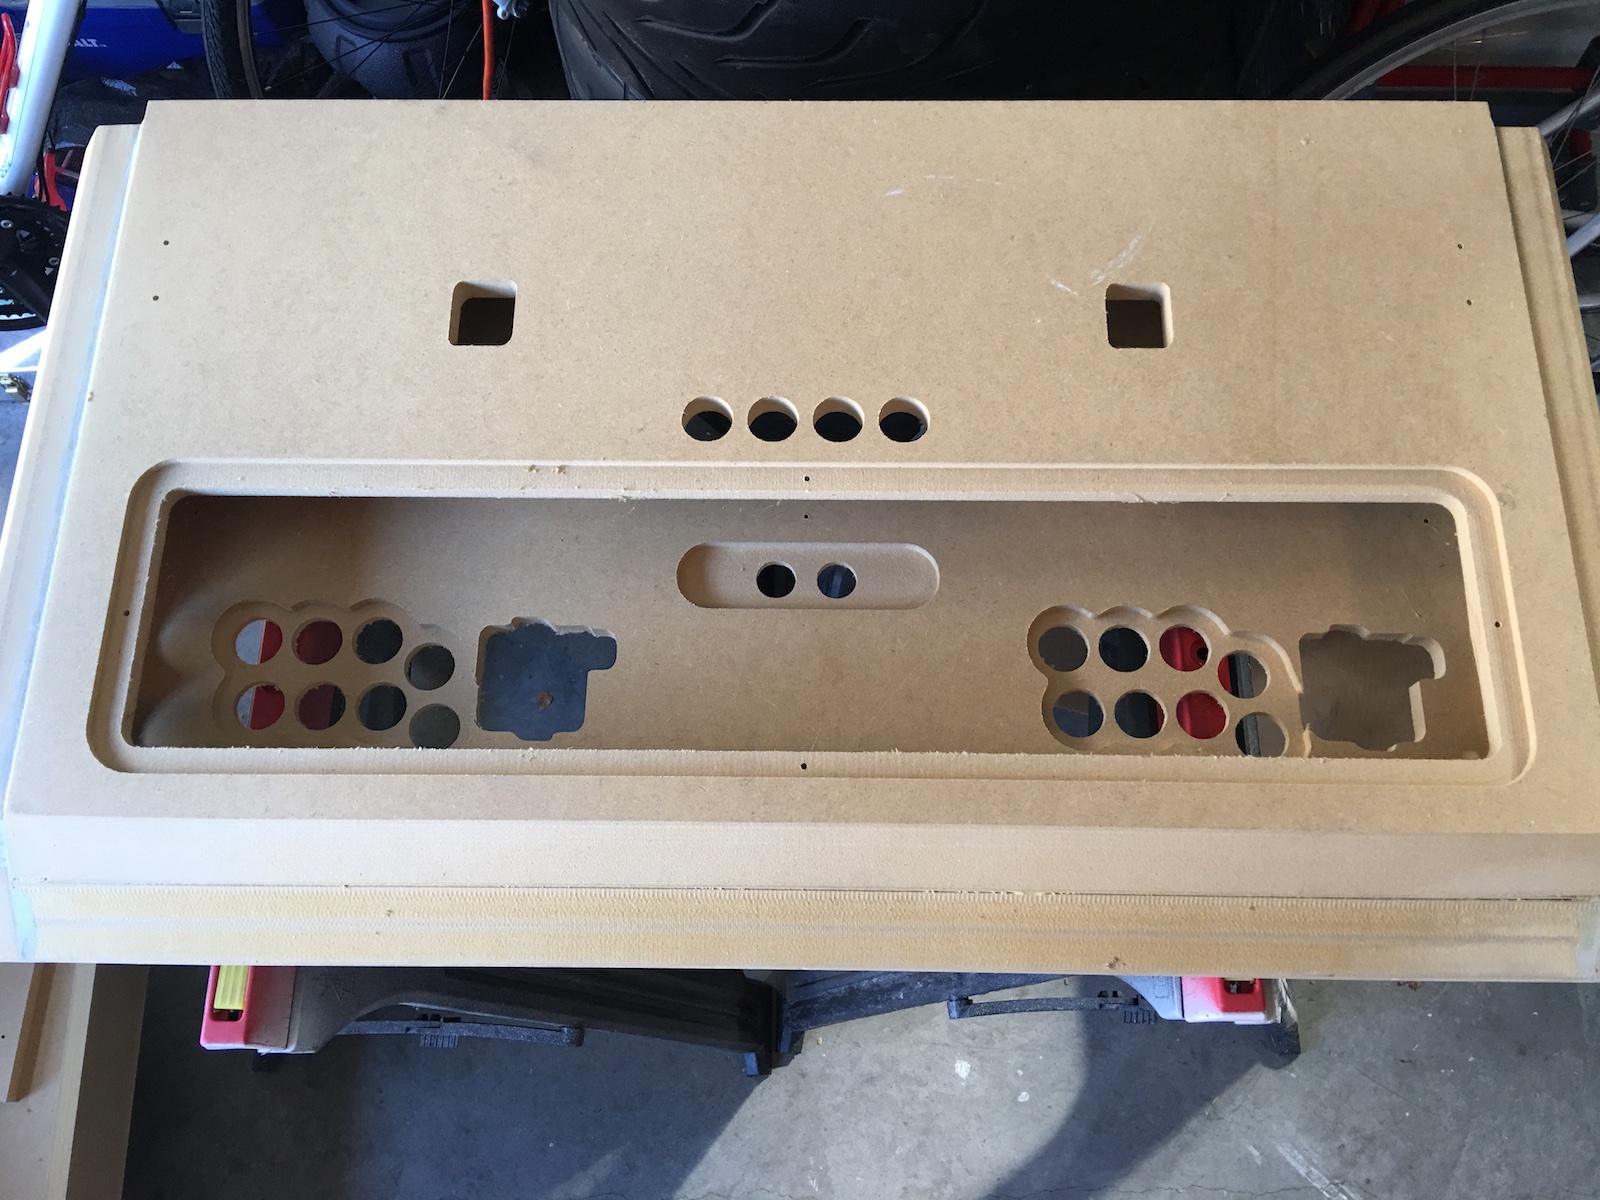
Note that in addition to the 8+8+2 top-side buttons, there is room for 4 more buttons on the bottom. What you can’t see on the photo is that there is also room for side-mounted buttons, two on each side. I can’t imagine running out of buttons on this panel…
One other task I did today was to test-fit my screen to the cabinet. No photos, unfortunately, as I was too busy holding the screen up to take a photo. The kit comes with a wood mounting bracket with holes pre-cut to some popular monitor/TV mounting patterns. For this project I’m using a Vizio D32-D1 and I’m happy to report it fit the cabinet just fine. It also worked great with the kit’s mounting bracket which didn’t require any modifications whatsoever. Once I was satisfied the screen would work out, I removed it and stashed it away in a safe place – it won’t go back into the cabinet until after painting is done.
Here’s a photo of the state of things after day 2 – rough assembly complete! 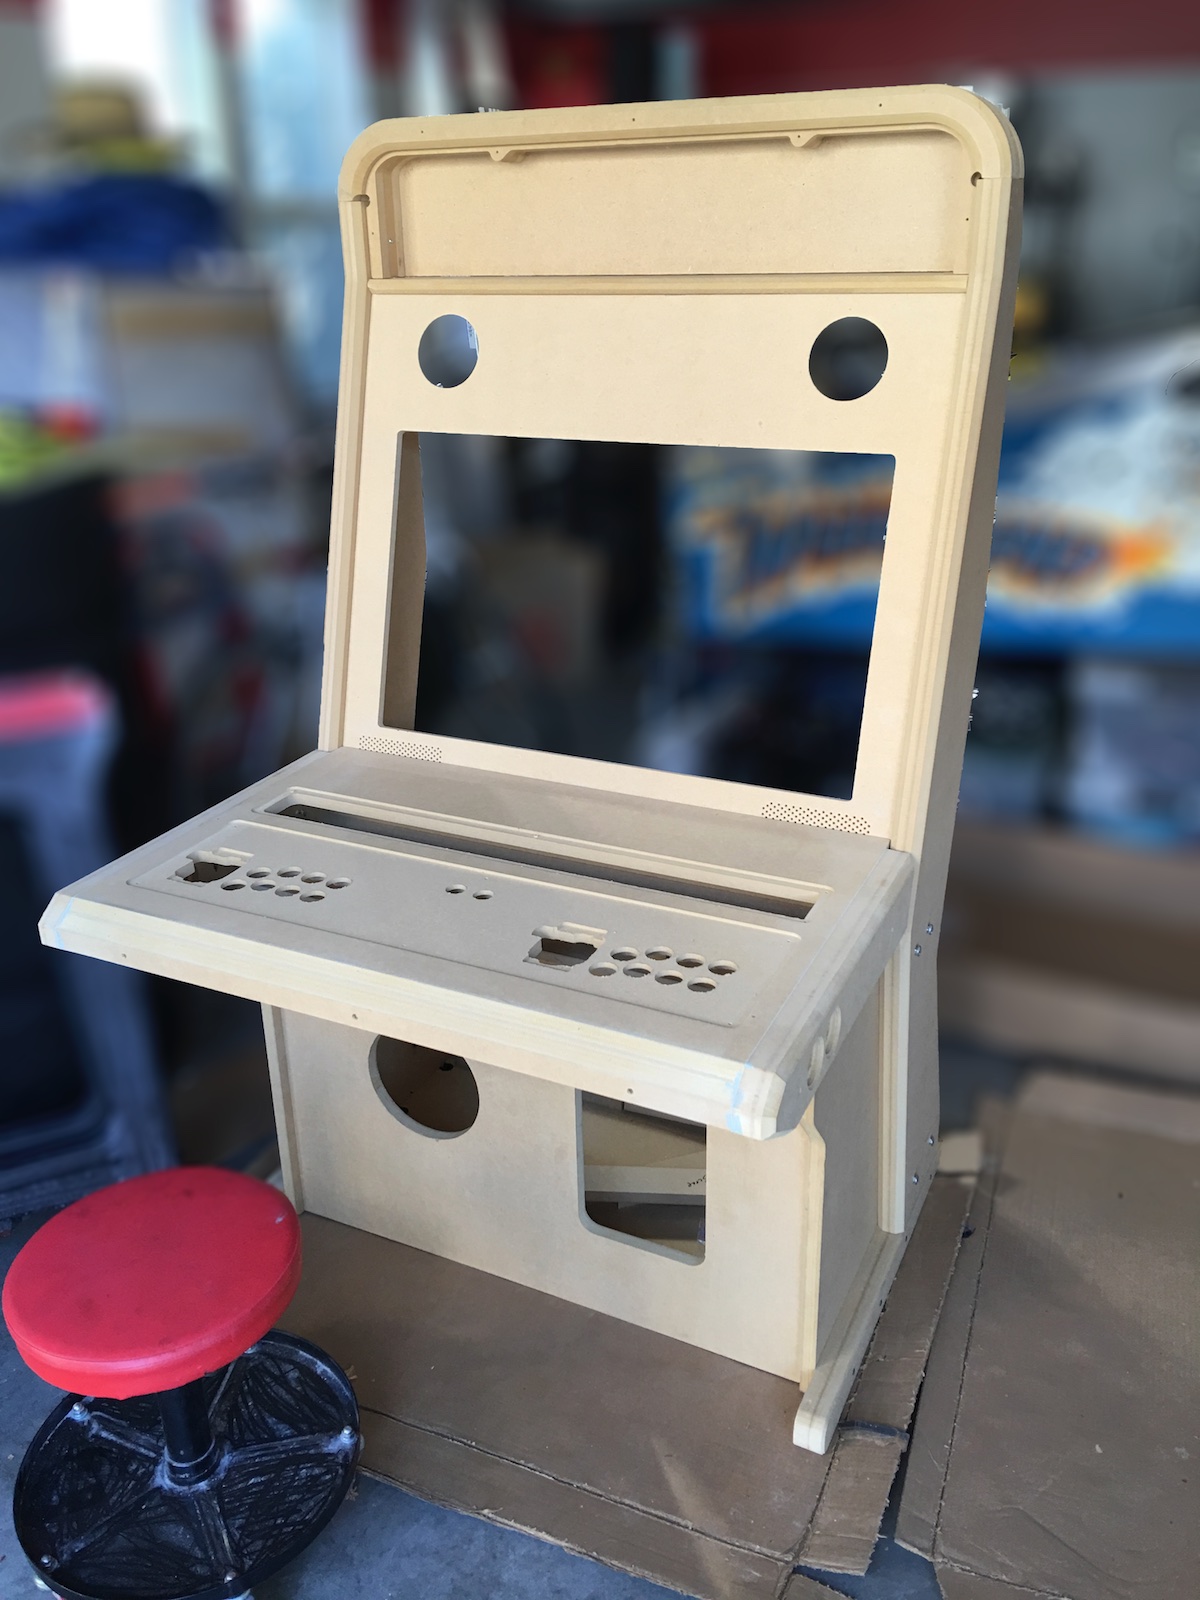
Next up will be patching with filler and sanding to get ready for paint! It’s remarkable how easy the kit was to assemble and how quickly it went together. At this point I can wholeheartedly recommend the kit without any hesitation if you’re interested in such a design – it really is a nice piece of work. See the Kraylix Arcade website for it and other variations Kray sells.
