
With the Kraylix cabinet assembly complete, it was now time to prepare it for paint. The Kraylix has many chamfered edges which need to be sanded down smooth. Thankfully MDF (which the cabinet is made of ) sands down very easily – I able to get through most of it with just one evening’s worth of work. Boy does it ever make a mess though, you’ll rapidly get sawdust all over when sanding MDF! I recommend wearing a dust mask or respirator to avoid breathing that stuff in. MDF thankfully mean the surfaces of the panels themselves are super smooth and don’t require much prep.
Perhaps the biggest piece that required prep before paint was the top arch. It’s a sandwich of multiple layers of MDF (pre-fabricated by Kray) – although the edges line up pretty close with the cabinet, it’s definitely not perfect and some type of filler is necessary to seamlessly blend the pieces together. Here’s a look before any filler was applied:
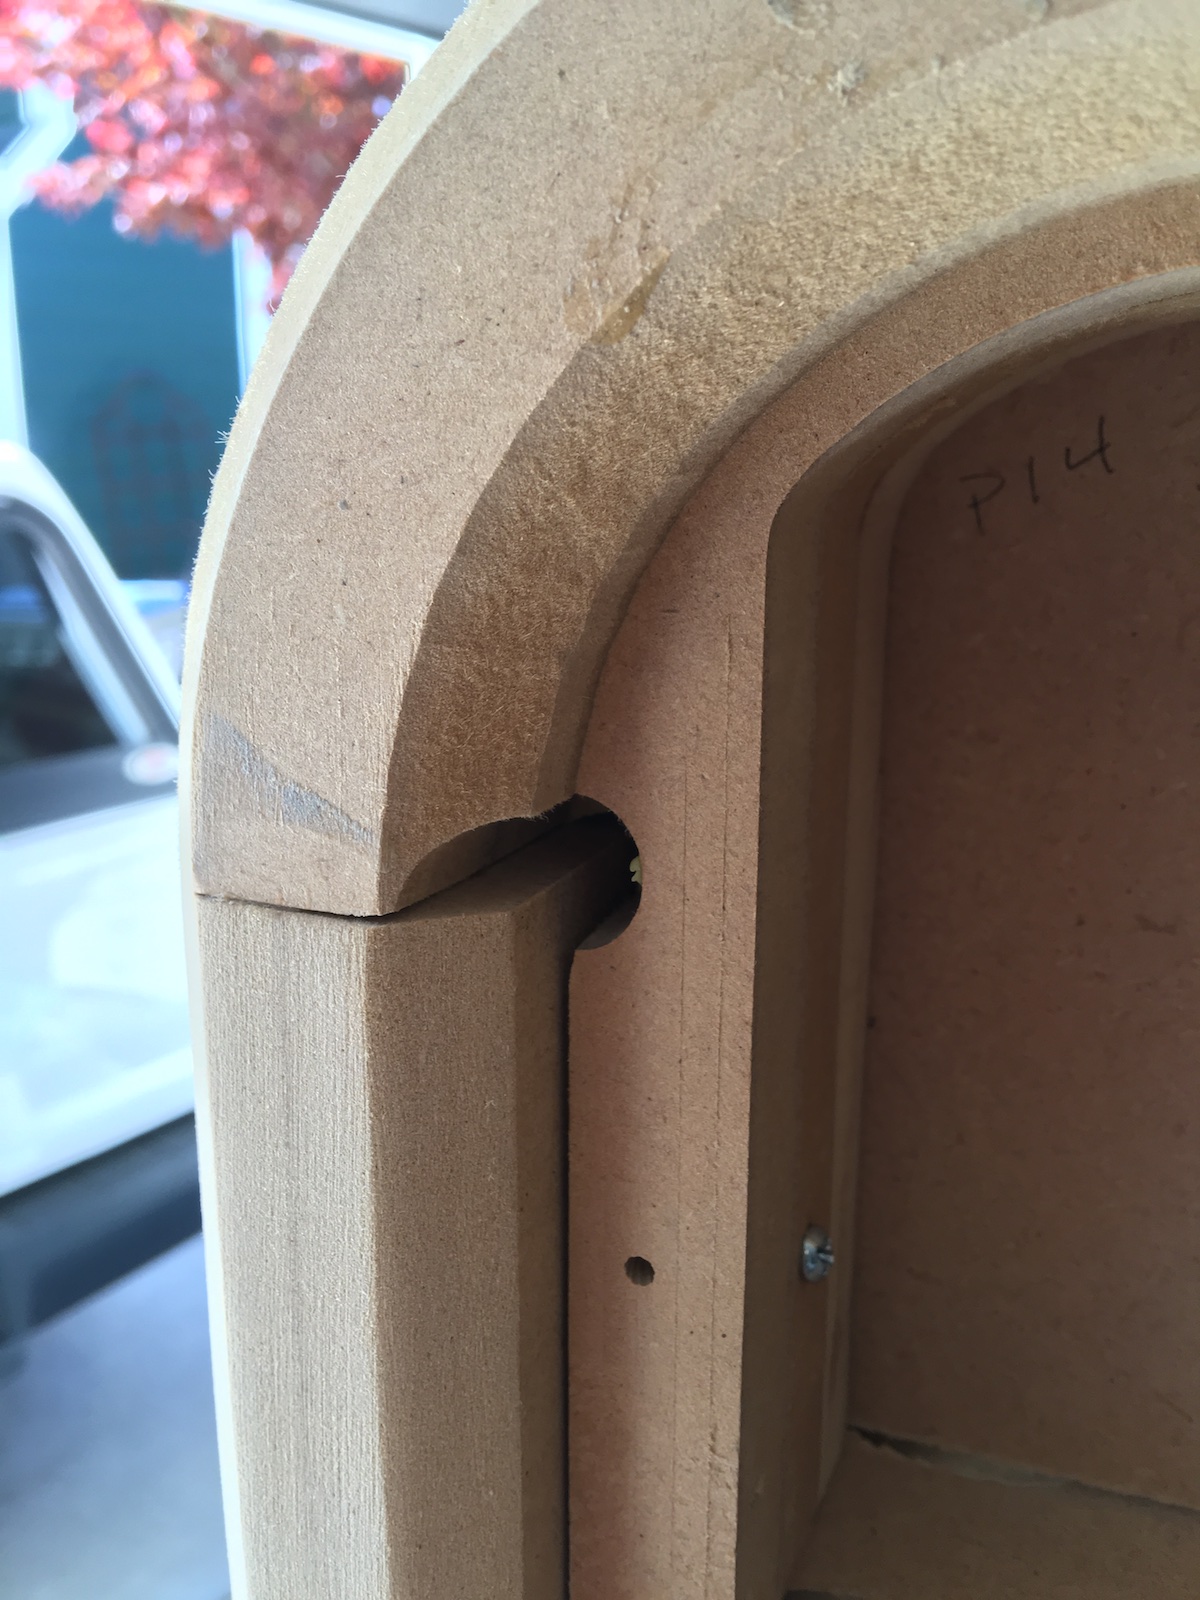
Notice the big quarter-circle gap in the chamfered edge in particular – that will need to be filled in. I used Bondo Gold as I had problems when working on the Space Shuttle cabinet with Bondo (the regular kind) clogging up my sandpaper very rapidly – the Gold kind definitely seemed to perform a bit better in that regard.
Here’s a view of the outside edge of the arch – the sandwich layers are clearly visible, but what you can’t see as well is even though I’ve started with the sanding, the layers don’t feel completely flush to each other. That will also need filler. Anything that you can catch your fingernail on would be completely obvious once painted, and the goal is for this to look like one smooth continuous surface. There’s also obviously a gap between the arch and the side arm below that will need filler as well.
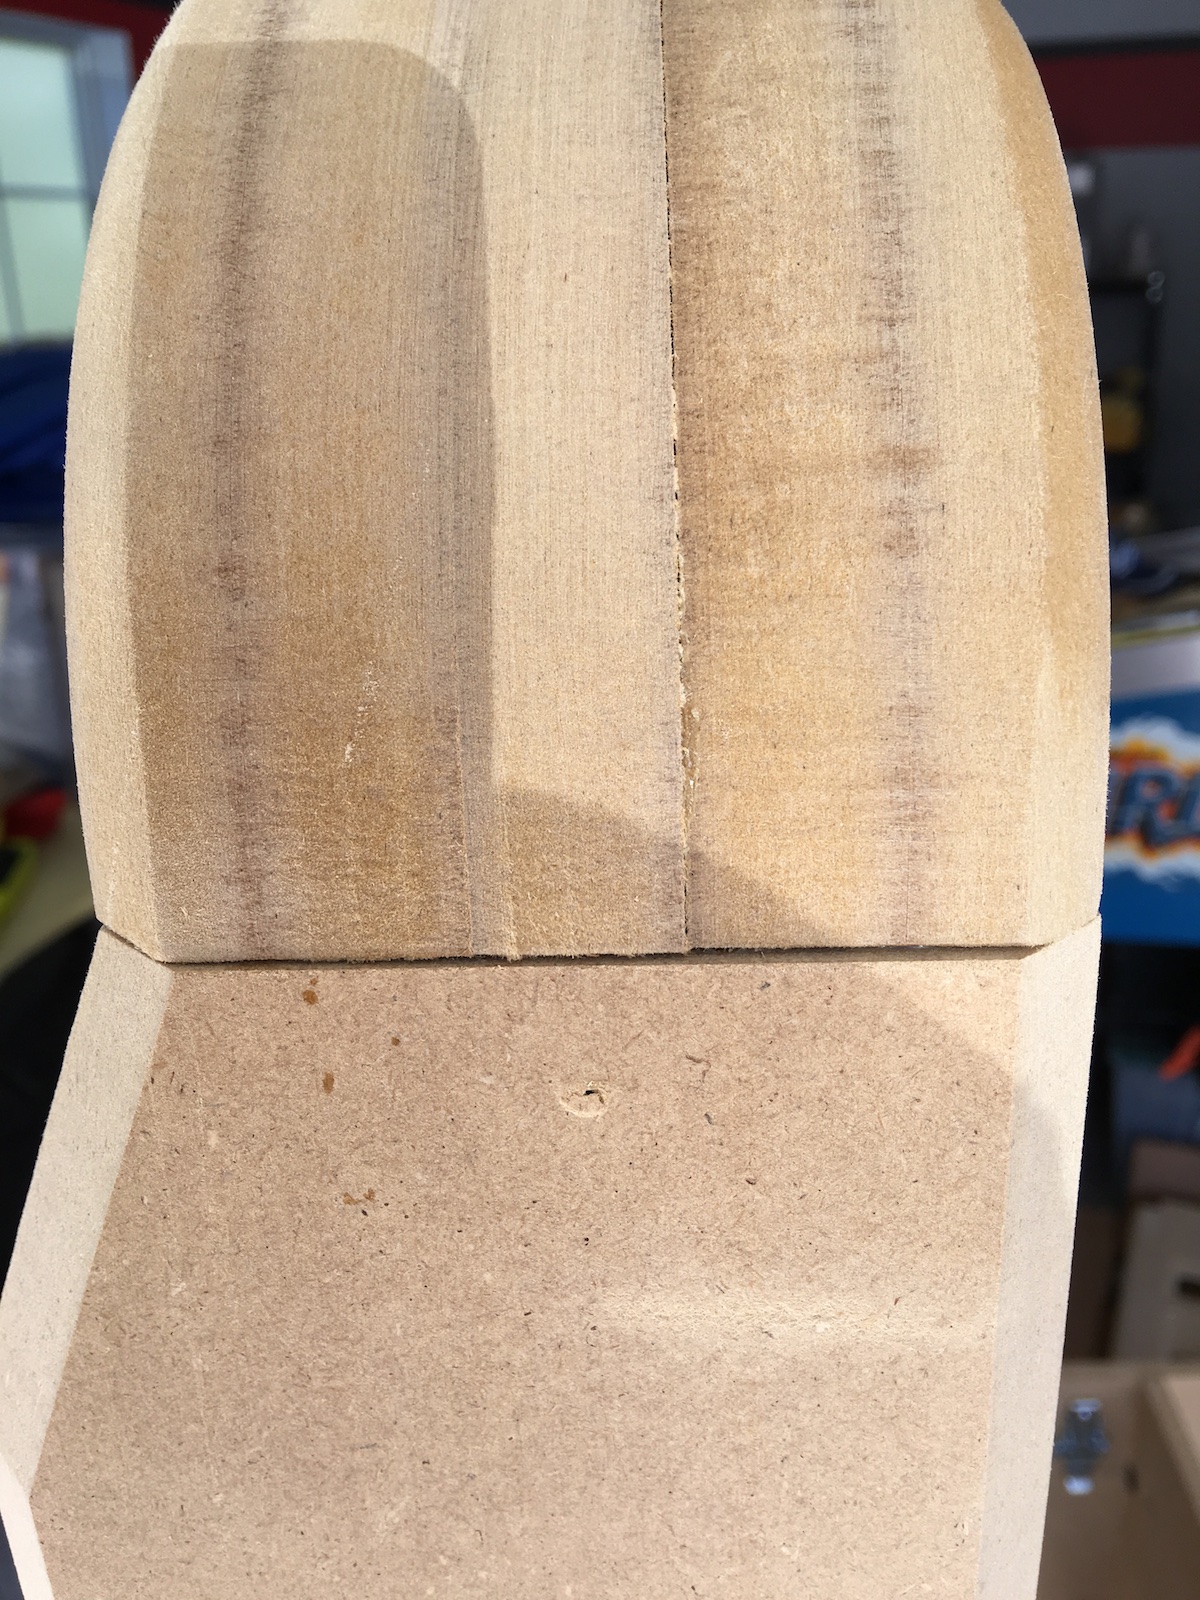
Here’s the inside of the left part of the arch after a few rounds of Bondo and sanding. More sanding is still needed, but the quarter-circle gap is gone! Note that the half-circle gap you see will be behind the marquee and hence not visible, so it’s not worth filling it in. 
And here’s the outside of the arch once close to finished – a pretty smooth transition between each of the faces and edges now!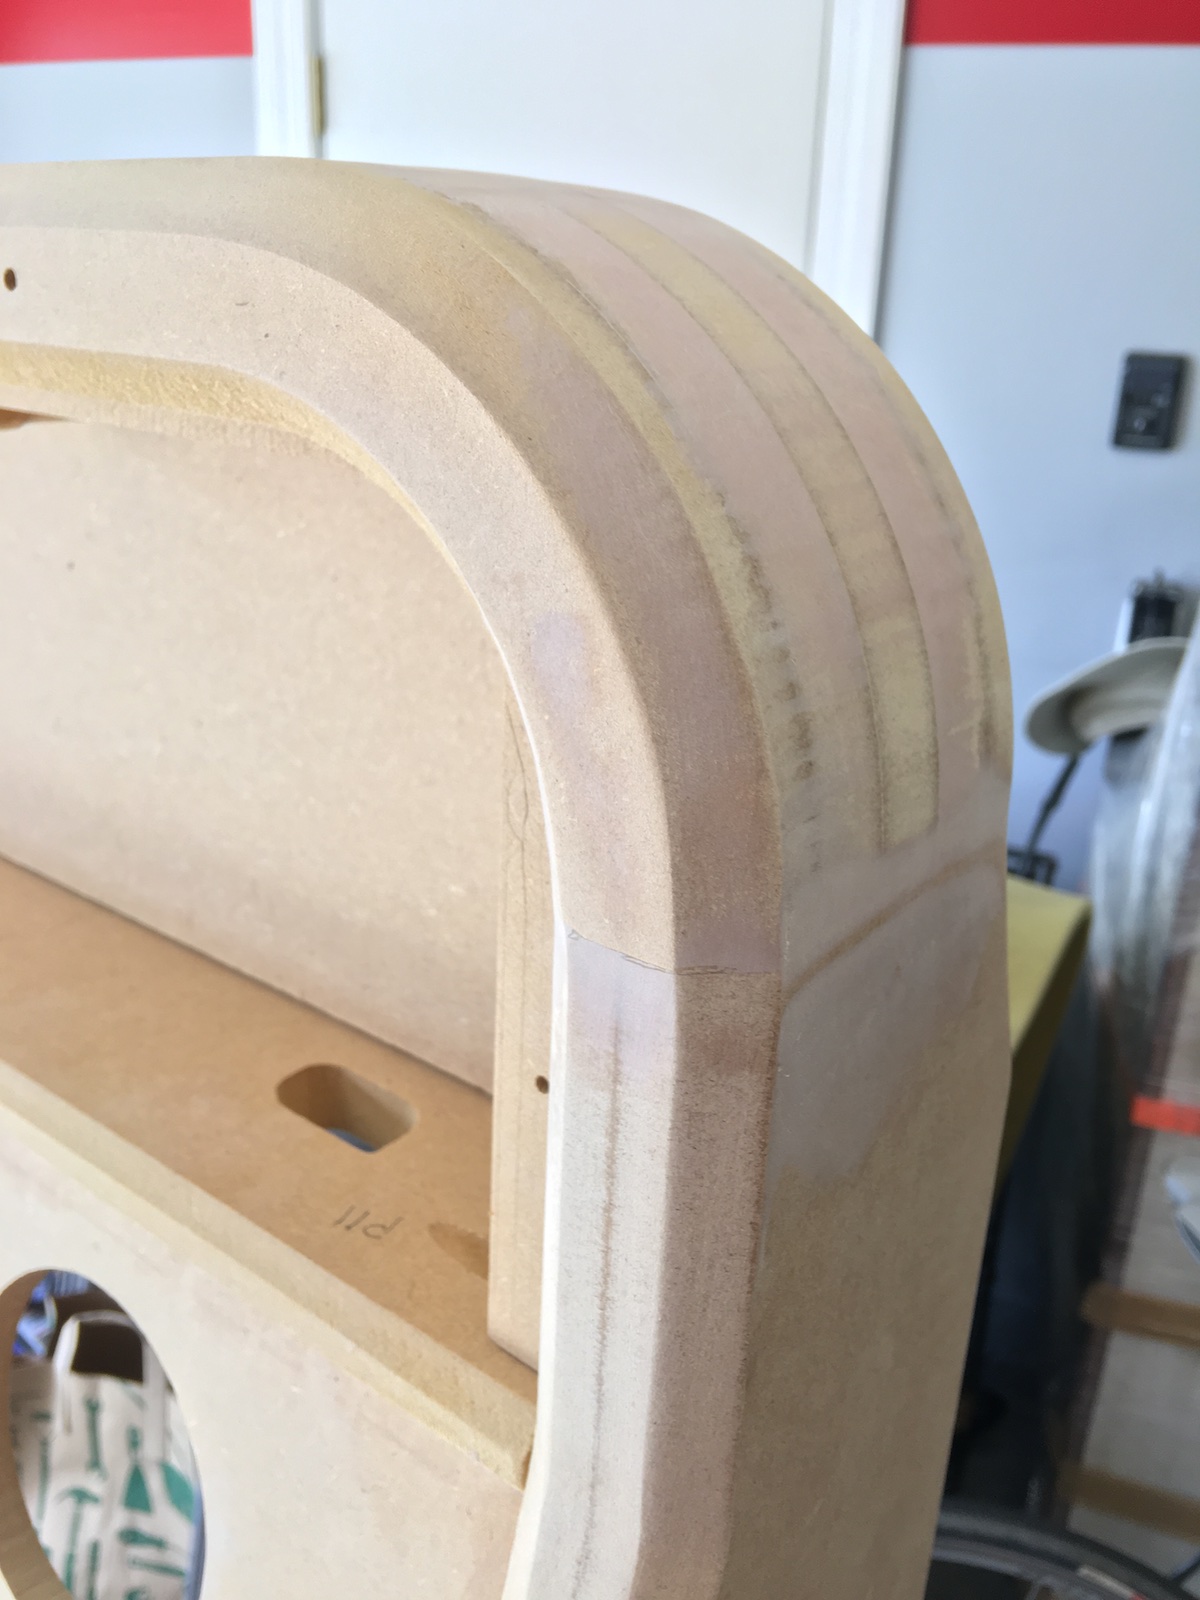
I got the top arch and a few minor other patches over the rest of the cabinet done in about a day’s work on the weekend.
A few tips on using body filler:
- Mix small batches at a time as it will start to cure the moment the two parts are mixed together. I seemed to have a few minutes working time at the most before my filler would start to solidify and be hard to spread. Fast curing does mean less of a wait to shape & sand, though!
- Apply as little as possible to get the desired results. Any time you use more than required, the excess will need to be sanded which makes a mess and isn’t fun.
- Before the filler fully solidifies, you can carve out any excess with a blade – the “cheese grater” approach. Indeed, it kind of feels like slicing through cheddar cheese!
- If you have a large area to fill in, multiple passes are needed. Build layer upon layer instead of trying to fill it in all at once.
- Don’t breathe that stuff in as you sand – wear a mask or respirator!
Same procedure for the control panel, which I completed the next day. This is the part your hands will rest on when playing, so I definitely took the time to sand everything down completely smooth. Kray ships the control panel pre-assembled and there was already filler between some parts, but some screw holes on the side edges need to be filled in and I went ahead and patched a few other areas smooth as well. Here it is sanded and ready to go!

At this point the cabinet is ready for paint! It’s looking like I’m going to hire that part out, as I don’t really have a great place to do it and I like the idea of using automotive paint (which I definitely can’t do at home) since it’s so durable. The most time consuming part is prep, though, and since I’ve done that I should be able to have it painted fairly affordably.

Pingback: Painting the Kraylix Cabinet | Alpha Bravo Pinball
Pingback: Kraylix Arcade Project – Sisyphus Gaming