More Red Paint for Space Shuttle Pinball Cabinet

With the help of the Pinside Space Shuttle thread, it looks like the mystery of the backbox not matching the stencil is solved – Williams produced games with two different styles of backboxes! The stencil I bought to repaint the cabinet was made for the “narrow” style backbox, but I have the wider-at-the-bottom backbox.

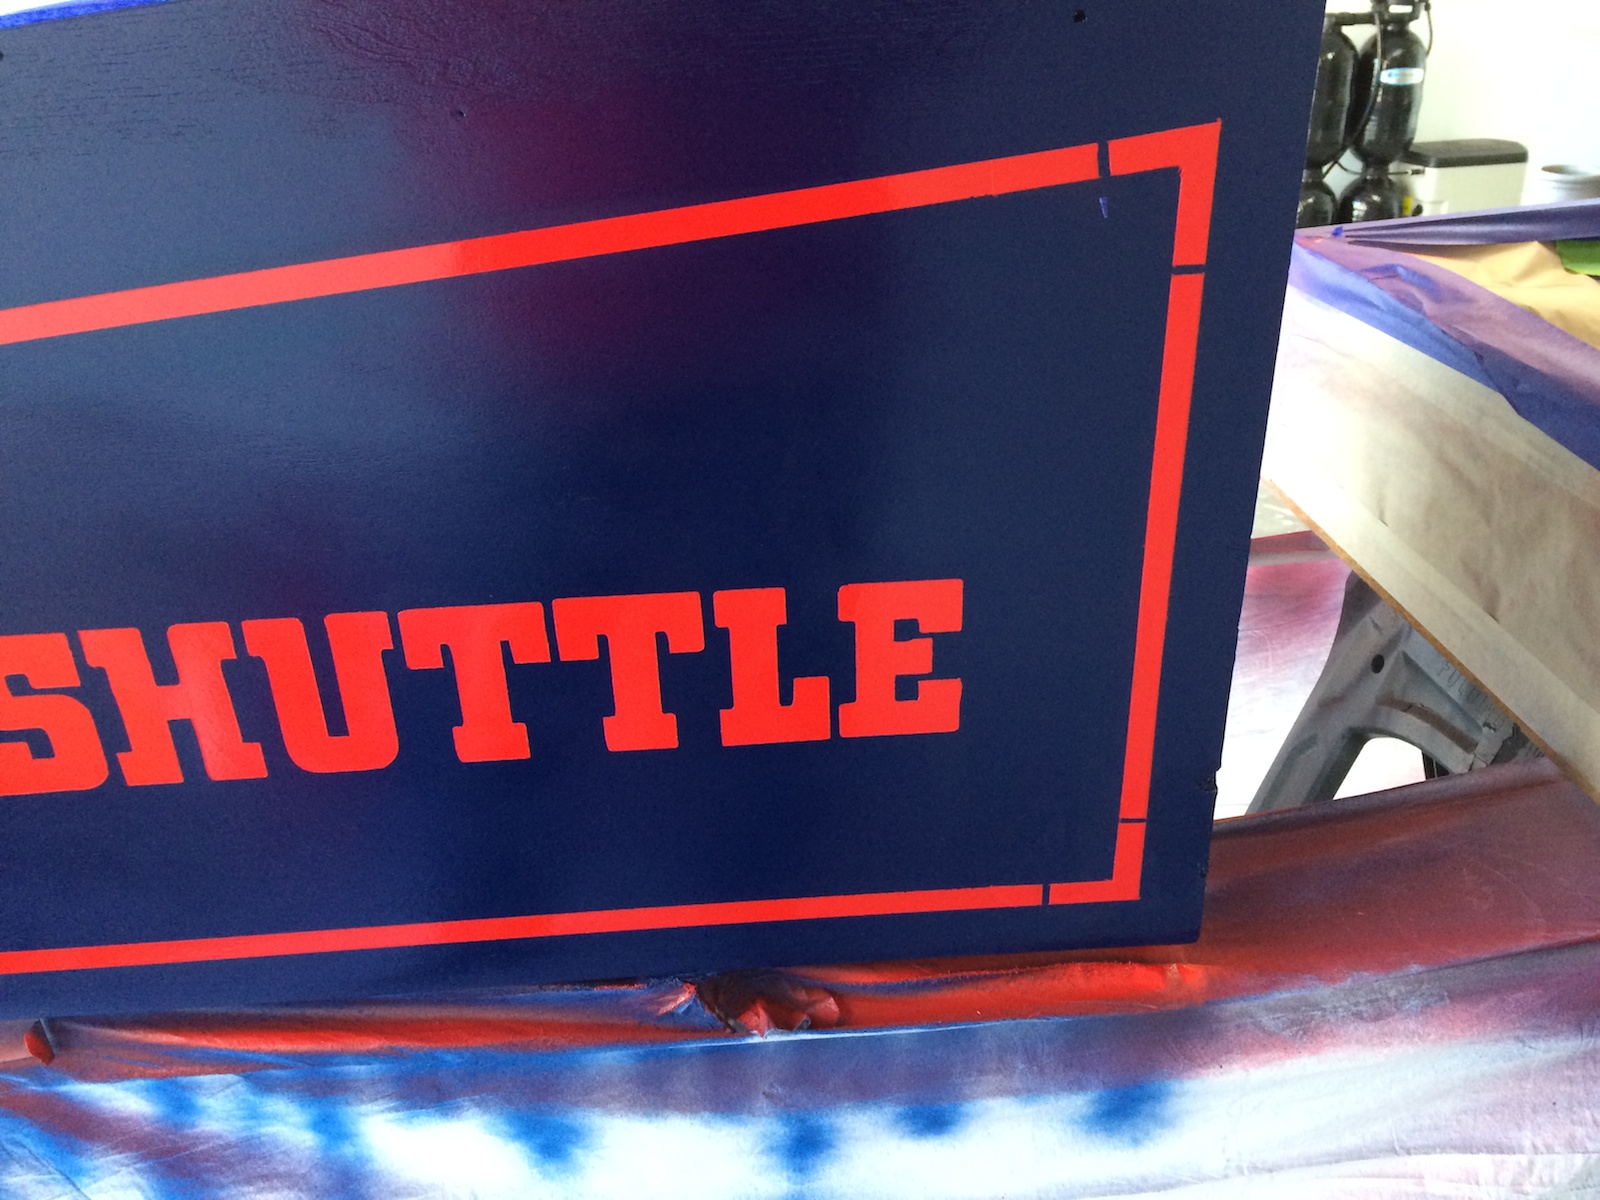
Right after I published the previous blog post, I got mad that the red line didn’t frame the backbox correctly. It looked really bad, so I went to the garage to “erase” the offending line using mineral spirits:

CabRedRepair1


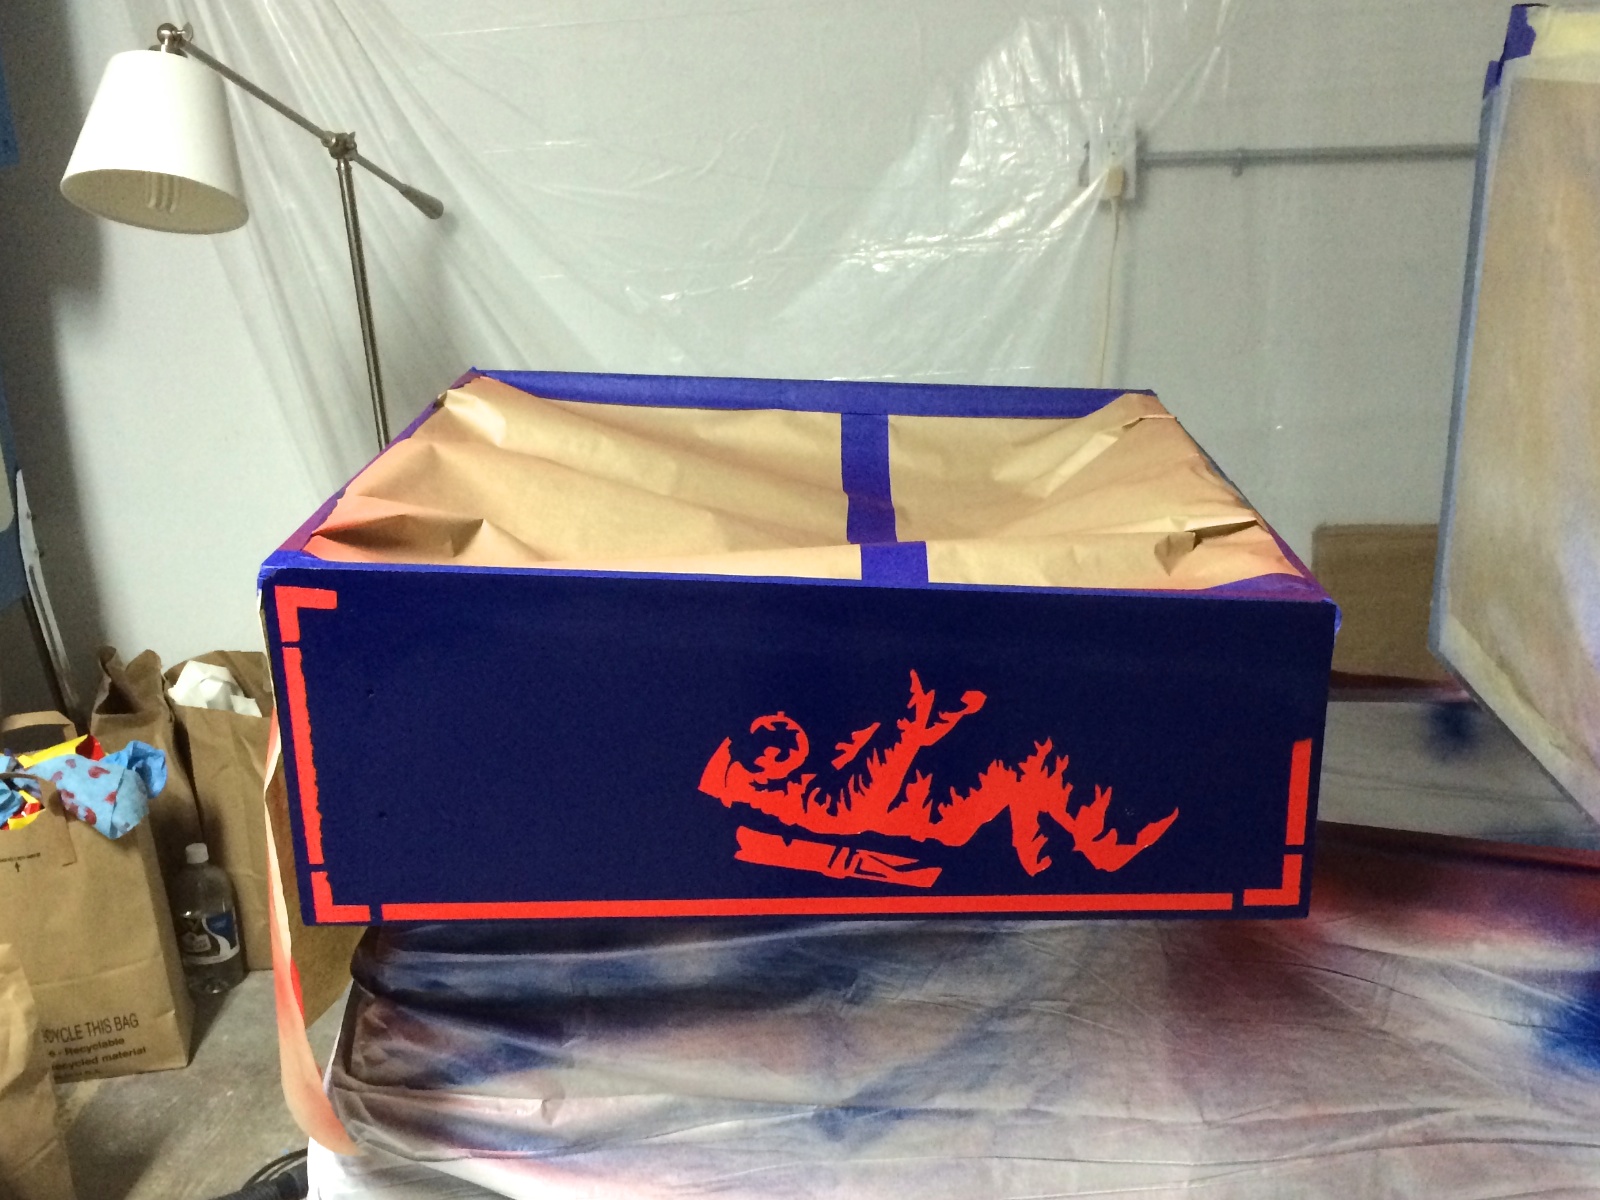
A few weeks later, the red paint is now fully cured and it’s time to do some repairs. I took the opportunity to not just add in the missing line, but also re-paint some jagged edges here and there.

CabRedRepair2

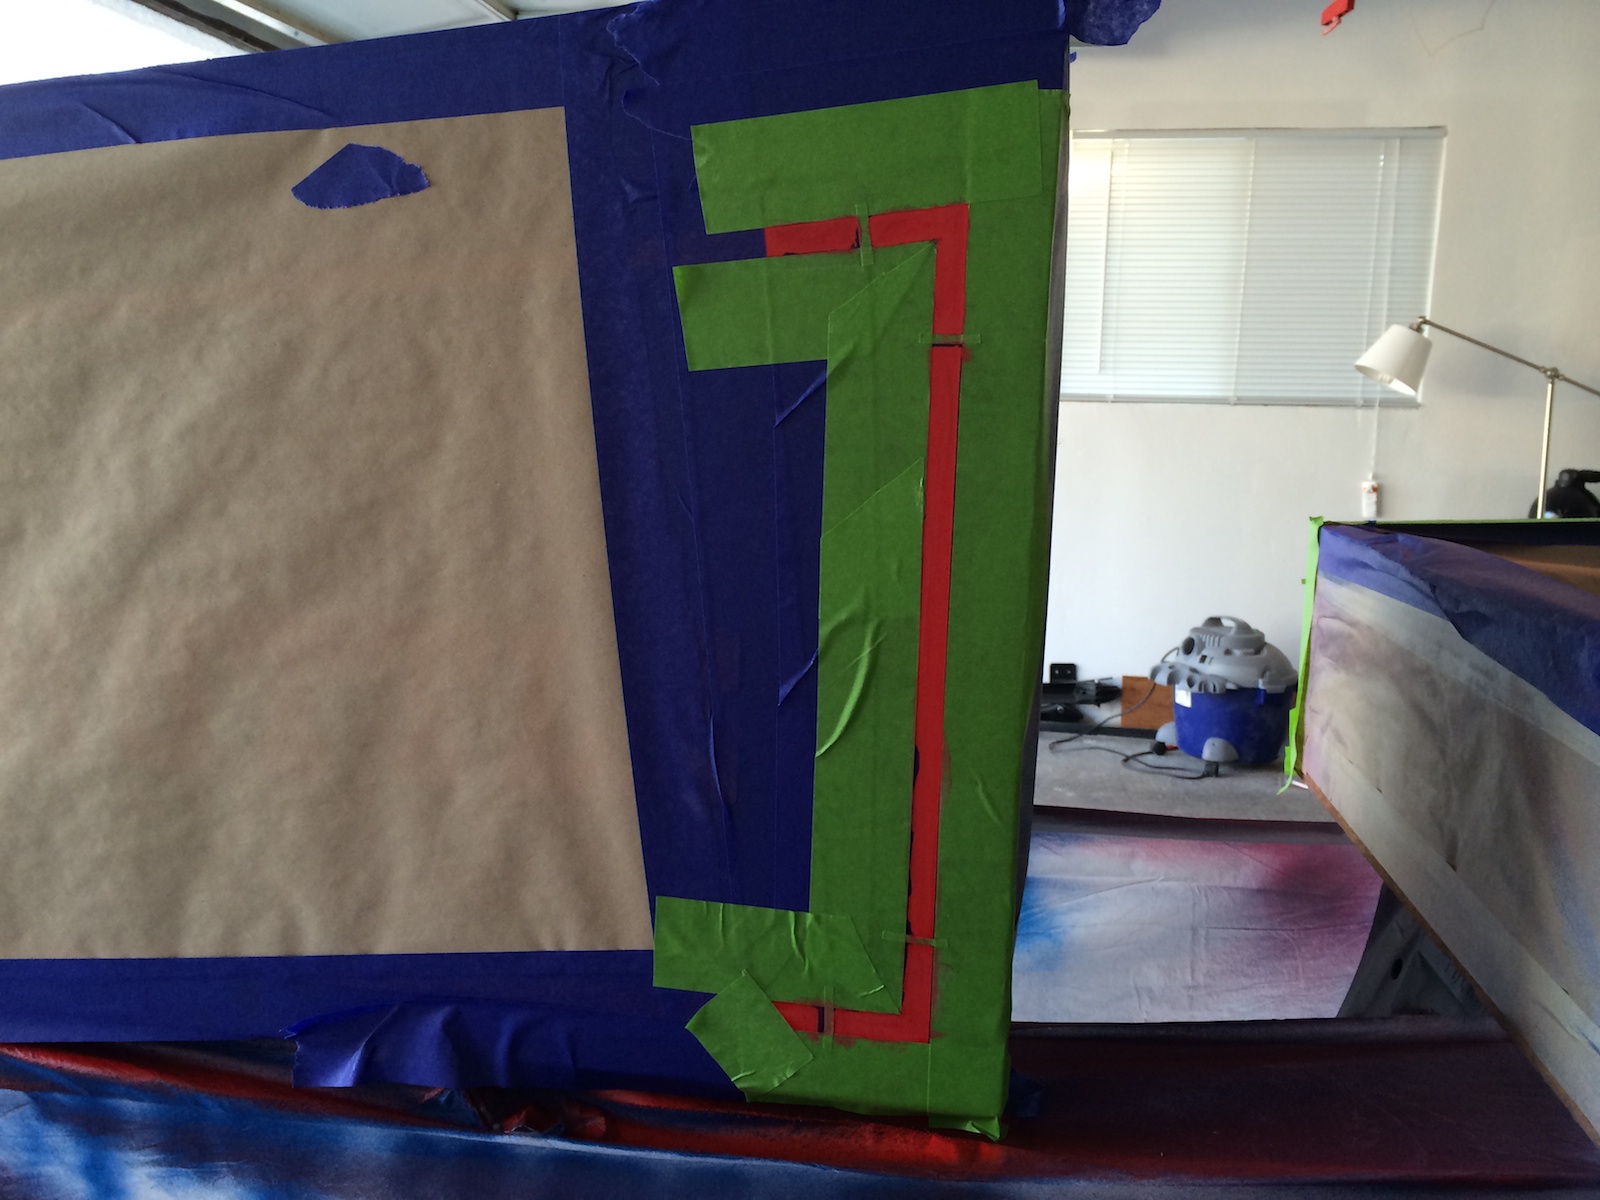
All masked and ready to paint! It went much quicker this time. There was obviously a much smaller area to paint, but I also didn’t wait nearly as long for the paint to dry between coats and I started peeling the masking as soon as I could with the paint still wet. I wanted to make sure I wouldn’t pull up paint and get jagged edges like last time. It worked out pretty well!

CabRedRepair3


Pulling the mask while the paint is still wet also helps avoid creating a hard edge at the mask line.

CabRedRepair5 CabRedRepair6

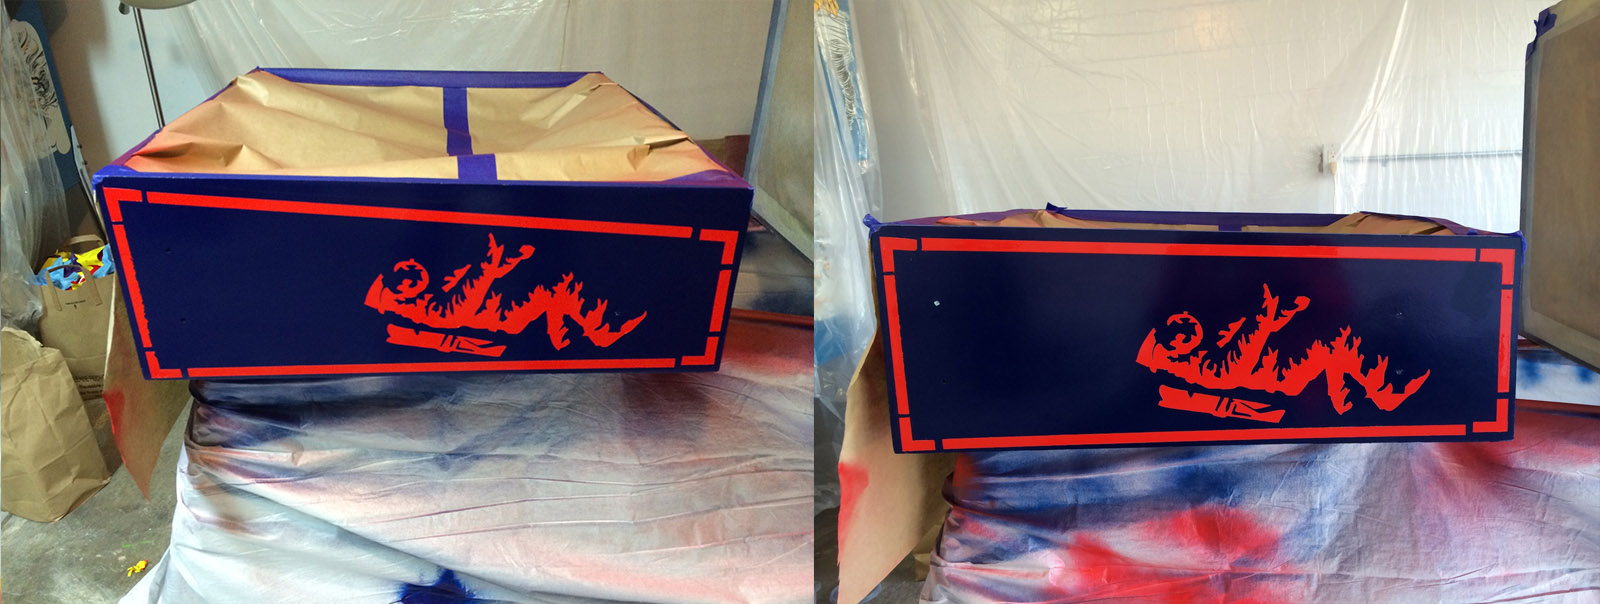
Pretty clean, especially compared to the first time around! The best part, of course, is that the line that frames the backbox is now at the correct angle and parallel to the front edge. Here’s a before and after photo:

CabRedRepairSideBySide


This will cure a week or two, and then the white paint will go on!


Posted in Space Shuttle | Tagged , , , , , , | Leave a comment

Painted Red Color on Space Shuttle Pinball Cabinet

After letting the blue paint dry for a week, today I proceeded to the next step and painted the red color. The graphics are painted using vinyl stencils which have an adhesive backing – be warned this can easily lift paint that’s not fully cured! Also note that the stencils for the cabinet are quite large and would be difficult for one person to handle – I summoned the help of a fellow pinhead to put them on. Everything that’s blue paint and not covered by the yellow stencil got masked off, and I was ready to start painting.

spaceshuttle-red-1

spaceshuttle-red-2

Starting out with a very light coat, I then proceeded to slightly thicker coats…

spaceshuttle-red-3

At first it seems like the red paint will never cover the blue, but with patience and enough coats, it will. Note that I didn’t use primer because I wanted to be sure the edges were clean and without visible primer – let’s hope I don’t have any adhesion problems…

spaceshuttle-red-5

After a bunch more coats, the vinyl mask is ready to be peeled! I did this with the paint still slightly wet, otherwise it would be easy to pull off paint with the mask.

spaceshuttle-red-6

Some tips on pulling the masking material:

  • Pull in the same direction as edges as much as possible, not perpendicular. This results in cleaner edges.
  • The vinyl mask is quite large – pulling it in one piece with the paint still wet is asking for trouble, especially around the intricate parts. It’s much easier to start peeling and let it tear / cut into smaller segments as you go.

Here’s the cabinet after pulling all the vinyl! Pretty good. Some slight bleeding under the mask here and there, and not all the edges are perfectly clean, but decent enough. Obviously there’s still half the graphics missing (the white color) so for now you’ll have to use your imagination to picture what it will look like when complete 🙂

spaceshuttle-red-7

Here’s the part I’m dissatisfied with the most though, the backbox.

spaceshuttle-red-8

Notice how the left edge is quite jagged on one side. Unfortunately the paint pulled away at me with the edge of the mask. Since those are straight lines though, it shouldn’t be too hard to patch up using masking tape and some more red paint.

My other beef with how this turned out is that the stencil was obviously not done properly – the top line should be parallel to the edge of the backbox above, but the angle is wrong and there’s a much bigger gap on the right side than on the left. Update: It looks like it may not be the stencil that’s off, but rather my backbox itself! It seems as though other Space Shuttles out there have a backbox that matches the stencil! Very strange indeed…

Posted in Space Shuttle | Tagged , , , , , , | 3 Comments

On Shopping for Pinball & Leaking Batteries

Recently a World Cup Soccer 94 came up on Craigslist that was just too enticing to not go see, so of course I did, and ended up buying it… Like I didn’t have enough projects in flight already 🙂

Here’s my checklist of what to look for when purchasing a pinball machine:

  1. Playfield condition. Dirty can be cleaned, but if the artwork is worn, that’s a bigger project to repair. A dirty game may mean the owner doesn’t properly care for the game, though.
  2. Playfield parts. Are the ramps or plastics cracked? Does it look complete? Look at photos of a good example of the game online, and bring them with you.
  3. Cabinet condition. Is the artwork faded? Is the cabinet dinged/scratched? Are the legs rusted? Coin door condition?
  4. Displays. Working properly, clear and bright?
  5. Smoke damage. Open the coin door and smell the inside of the cabinet. Does it smell like cigarettes? If so, and you put this inside your house, it will reek of cigarette smell.
  6. Play the game. Are the flippers strong? Do the mechanisms all work?
  7. Finally, check the circuit boards in the backbox. Have the batteries leaked, damaging the boards/wiring? Are there any molten/damaged connectors?

Which brings me back to my World Cup Soccer purchase. Everything looked good on the game, but there’s one thing from my checklist above I couldn’t look at – the circuit boards in the backbox. Why? The owners had lost the backbox key! It meant I couldn’t check for leaking batteries and damage to the boards, and those boards can be expensive to replace… The game had been in storage for a long time and I knew the batteries weren’t working as the game would reset to factory defaults upon powering up, but I took a gamble and bought the game anyway as the price was right.

When I got home, it was trivial to unscrew the backbox lock using my security bit set from Harbor Freight, and sure enough the batteries were leaking badly! Thankfully though, Williams addressed the leaking battery problem in that generation of games – they placed the batteries on a self-contained daughterboard over the CPU board. The idea is that if the batteries leak, hopefully the damage is self-contained to that board. And sure enough, in my game, there wasn’t any damage beyond the battery board:

wcs-batt-1

I used a wire brush and some vinegar to clean up and neutralize the caustic material that had leaked out of the batteries, then sanded the battery pads to make sure they were back down to bare metal for a good contact. After cleaning with distilled water, the board was all set to go back in the game!

wcs-batt-2b

Good as new, and the machine’s back-up battery memory function works once again!

More on the World Cup Soccer shop job in later posts, but back to the topic of purchasing pinball games… Even though I got lucky and there was no permanent damage from the leaking batteries, I really wish I had been able to examine the backbox before buying the game.

So, I’m adding an item to the top of my list of Things to Bring With You When Shopping for a Pinball Machine:

  1. Security Bit set, so you can get into the backbox without the key
  2. 5/8″ socket and wrench. Don’t assume the owner has one, and you need to take the legs off to bring it home!
  3. Flashlight. Thankfully my phone has one built-in 🙂
  4. Pinball Skates. These make it way easier to move games around.
  5. The Pinball Lift Frame I made myself. I’ve lost count of how many times I’ve used this now!
  6. Truck with cargo straps
  7. Cash. Having cash on hand and everything else you need to carry the game away is a pretty good negotiating tactic – buyers will be much more willing to bargain with you than with someone who says he’ll come back for it later.
Posted in World Cup Soccer | Tagged , , , , , , , , | Leave a comment

On Paint & Colors for re-painting a Space Shuttle Pinball Cabinet

Here’s the colors I settled on for re-painting my Space Shuttle cabinet – all are Rust-Oleum Painter’s Touch 2X Ultra Cover:

  • Flat White Primer
  • Gloss Navy Blue
  • Gloss Apple Red
  • Gloss White
  • Matte Clear

spaceshuttlepaintcans

They will be painted in that order. A couple other things to note: First, I tried to find a single vendor/type of paint that had all the colors I needed to avoid mixing different types of paint. I’m going to be painting color-on-color to do the artwork, so keeping it to one type of paint minimizes the chances the paints will react badly with one another. Second,  I’m painting with gloss colors but using a matte clear. I’d much rather be painting with matte colors and avoid using clear altogether, but unfortunately I couldn’t find the colors I wanted in matte, only gloss. Using gloss colors and finishing with a matte clear is the next best thing, at least that’s my theory! I’ll test this out on a sample piece of wood before committing to it on the real cabinet 🙂

Posted in Space Shuttle | Tagged , , , , , | Leave a comment