Cleaning up pinball side rails

The side rails on the Space Shuttle cabinet were full of nicks and scratches – a few from when I pulled those dreaded twist nails, unfortunately. Today while waiting for the cabinet paint to dry I started working on them a bit to try to get those scratches out.

The tools I used were sand paper (with a sanding block), red Scotch-Brite pads and a bench grinder with a Scotch-Brite cut & polish wheel.

siderails2

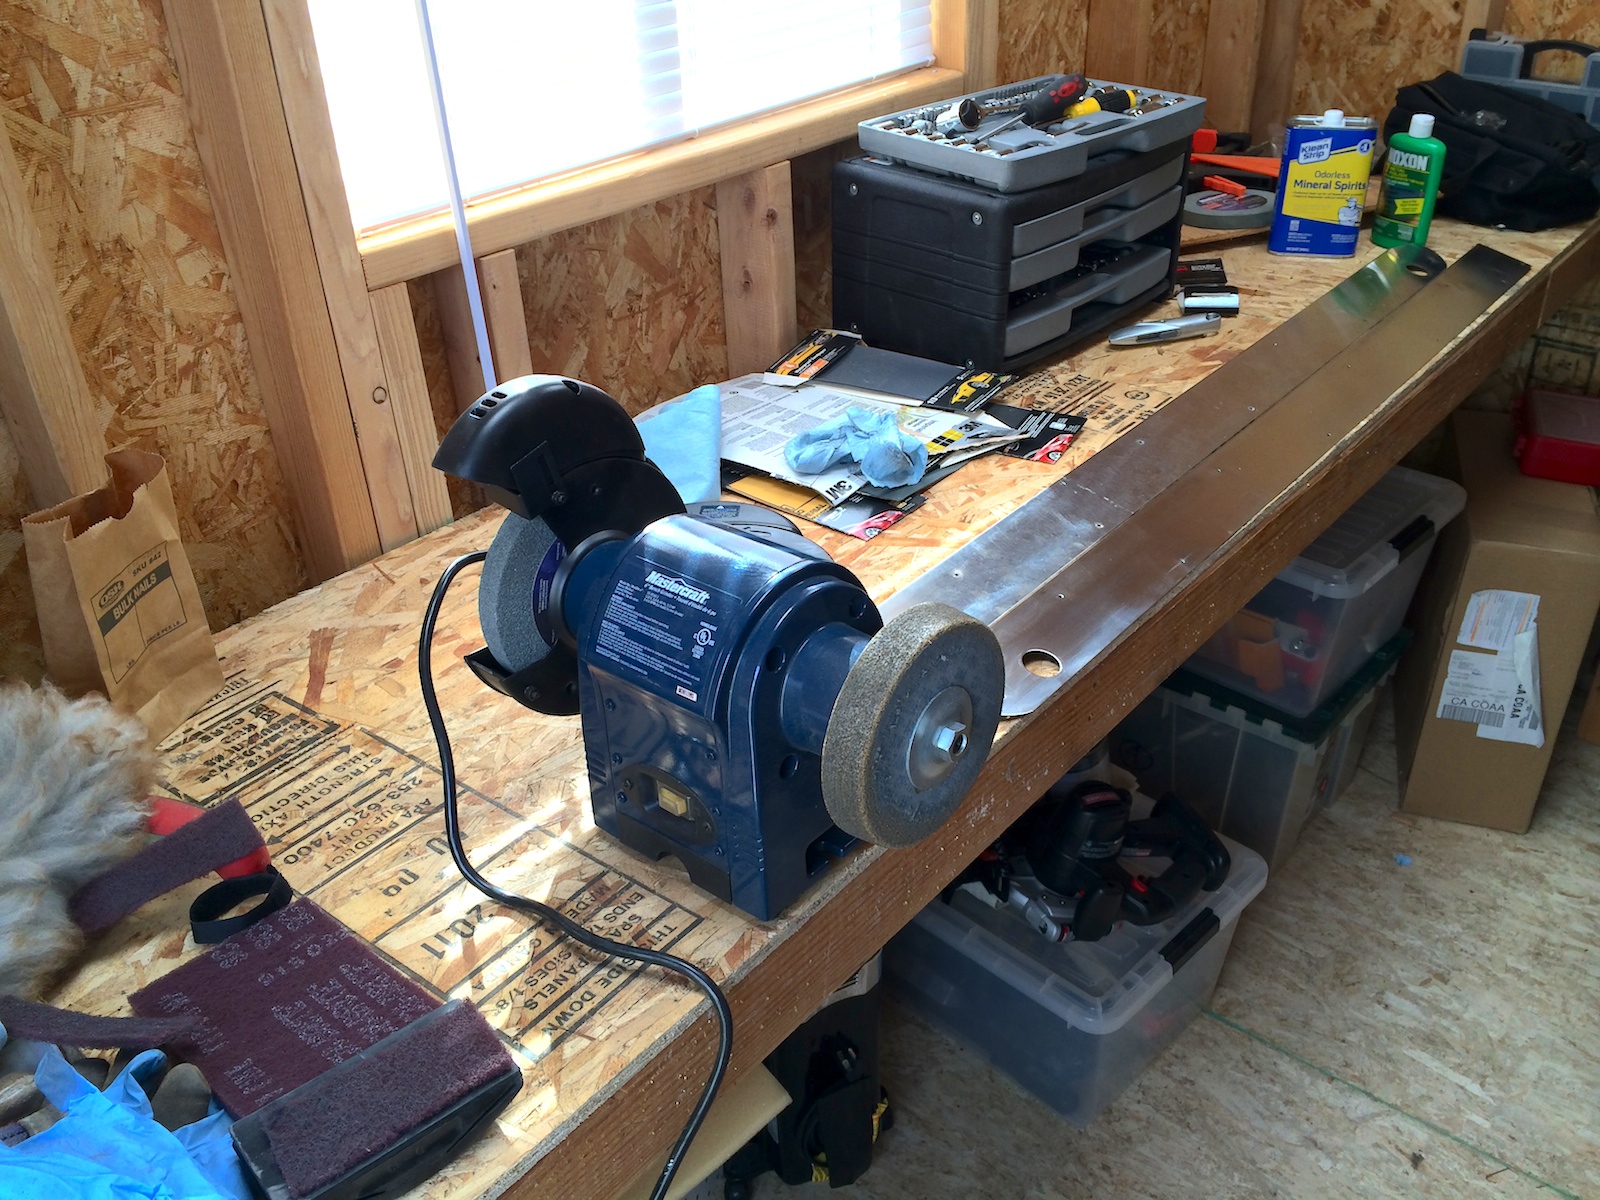
The bench grinder worked the best for removing the deeper scratches, but it left visible marks behind, so I finished them off with the sandpaper and pad making sure to work in the direction of the grain of the metal. Here’s some progress made on the one on the left, while the one on the right is as it came off the machine:

siderails1

Posted in Space Shuttle | Tagged , , | Leave a comment

Painted first layer of color on Space Shuttle cabinet

After the last post I thought I was pretty close to putting down some color, but it turns out the primer revealed many imperfections – small cracks and sanding marks, for instance. Spray paint does not fill even the smallest scratches, so I used 2-part filler to smooth everything out, then sanded it smooth and primed some more… Yep, it took several more days before being ready to put the blue paint down.

With that said, I was finally able today to do the first coats of Navy Blue on the Space Shuttle cabinet! I really like how the color turned out – I’ll let this dry 24h, then inspect the finish, sand down any dust spots, then put another few cans of Navy Blue paint!

cabinet-blue-small

Posted in Space Shuttle | Tagged , , , , | Leave a comment

Primed Space Shuttle Cabinet

Finally we got some warmer weather this weekend and I was able to put some primer down on the Space Shuttle cabinet! I was concerned about dust as I’m doing this in the garage, but it actually turned out pretty well with only few dust spots. I will need to sand those down and shoot a bit more primer here and there, but I’m definitely excited about getting real paint down!

PrimedCabinet

Posted in Space Shuttle | Tagged , , , , | Leave a comment

Sanded Space Shuttle Cabinet

First off before sanding, I masked out the inside of both the head and cabinet. As I mentioned in my last post, I decided to keep the insides of these unpainted (as they originally left the Williams factory).

SandedCabinet2 SandedCabinet1

Time to start sanding and get rid of that old faded paint! Here’s the sander I used, which I borrowed from a friend – a Festool random orbital sander. It’s a simply fantastic tool! It has very little vibration which is easy on your hands, does not leave swirl marks, and it hooks up to a shopvac and sucks up dust as it goes. There’s virtually no dust when using it, it’s just amazing!

SandedCabinet5

Here goes nothing…

SandedCabinet7

Wow, no turning back now! Amazing how you can see the original red color come out from underneath the faded top layer. Time to keep going:

SandedCabinet4

Lather, rinse, repeat… Skipping forward a bit, heres the cabinet and head fully sanded.

SandedCabinet6

Notice behind the cabinet the piece of cardboard with blue and red paint. Those are the colors I’m planning on using when repainting!

I was excited to make such progress in the day so I kept on going, getting the wood putty out to fill the small nicks in the cabinet. This still needs to be built up a bit more and then sanded, but I’m not far away from being able to prime everything!

SandedCabinet9 SandedCabinet8

Posted in Space Shuttle | Tagged , , | Leave a comment