Stripped Space Shuttle Cabinet

Setting the playfield swap project aside for a bit, I started working on the cabinet restoration. My cabinet is in pretty good shape overall, with very few nicks and a couple small gouges, but the paint on it is severely faded – not too surprising given its age. My plan is to re-paint the cabinet using spray paint and stencils for the artwork, which is three colors (navy blue, red, and white). In preparation for this, all the metal trim and hardware has to come off. Most pieces are held on with nuts and bolts and are trivial to remove. The exceptions are the stainless steel side rails, held on with twist nails. These nails have a round head and were clearly not designed to be ever removed!

I first tried using a dremel cutting wheel to file a slot for using a flat-head screwdriver on them, but I was either not be able to get enough torque on them, or broke the heads off altogether. The technique that worked the best for me was grabbing at them with stub-nose pliers and twisting. There definitely isn’t a lot to grab at though, and it required quite a bit of hand force!

StrippedCabinet1

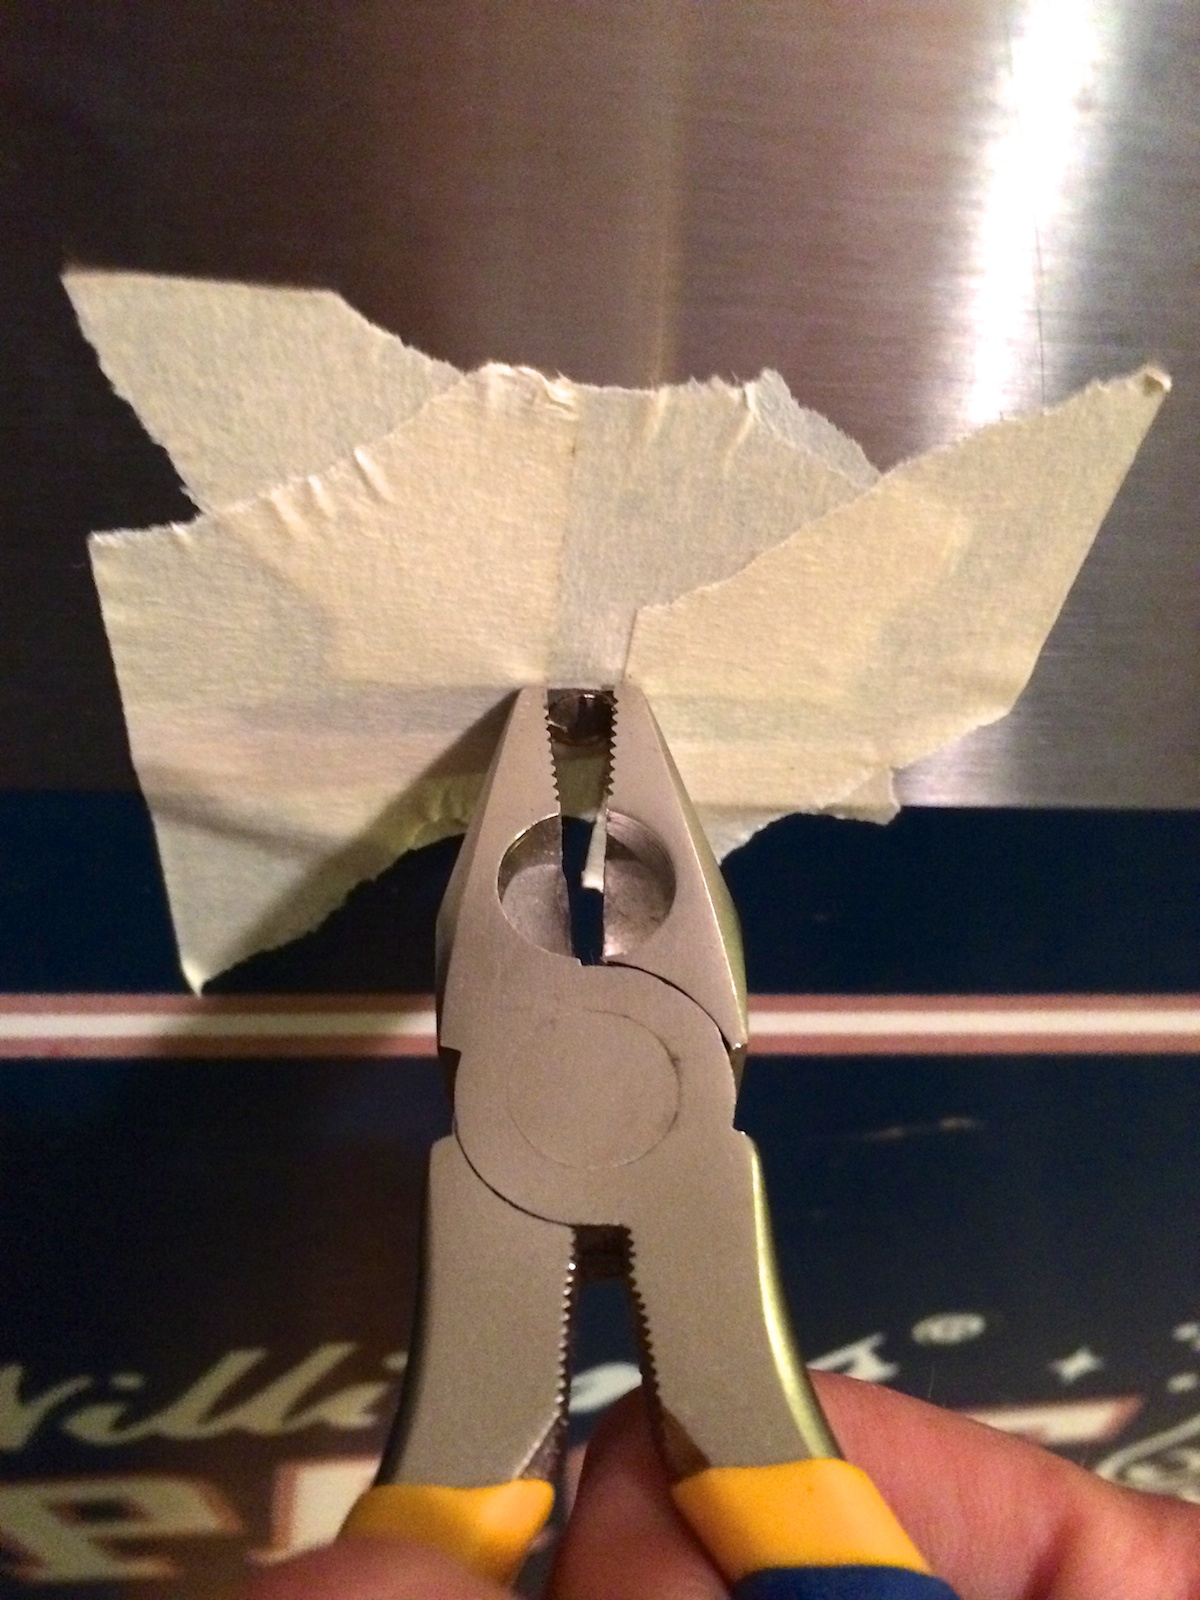
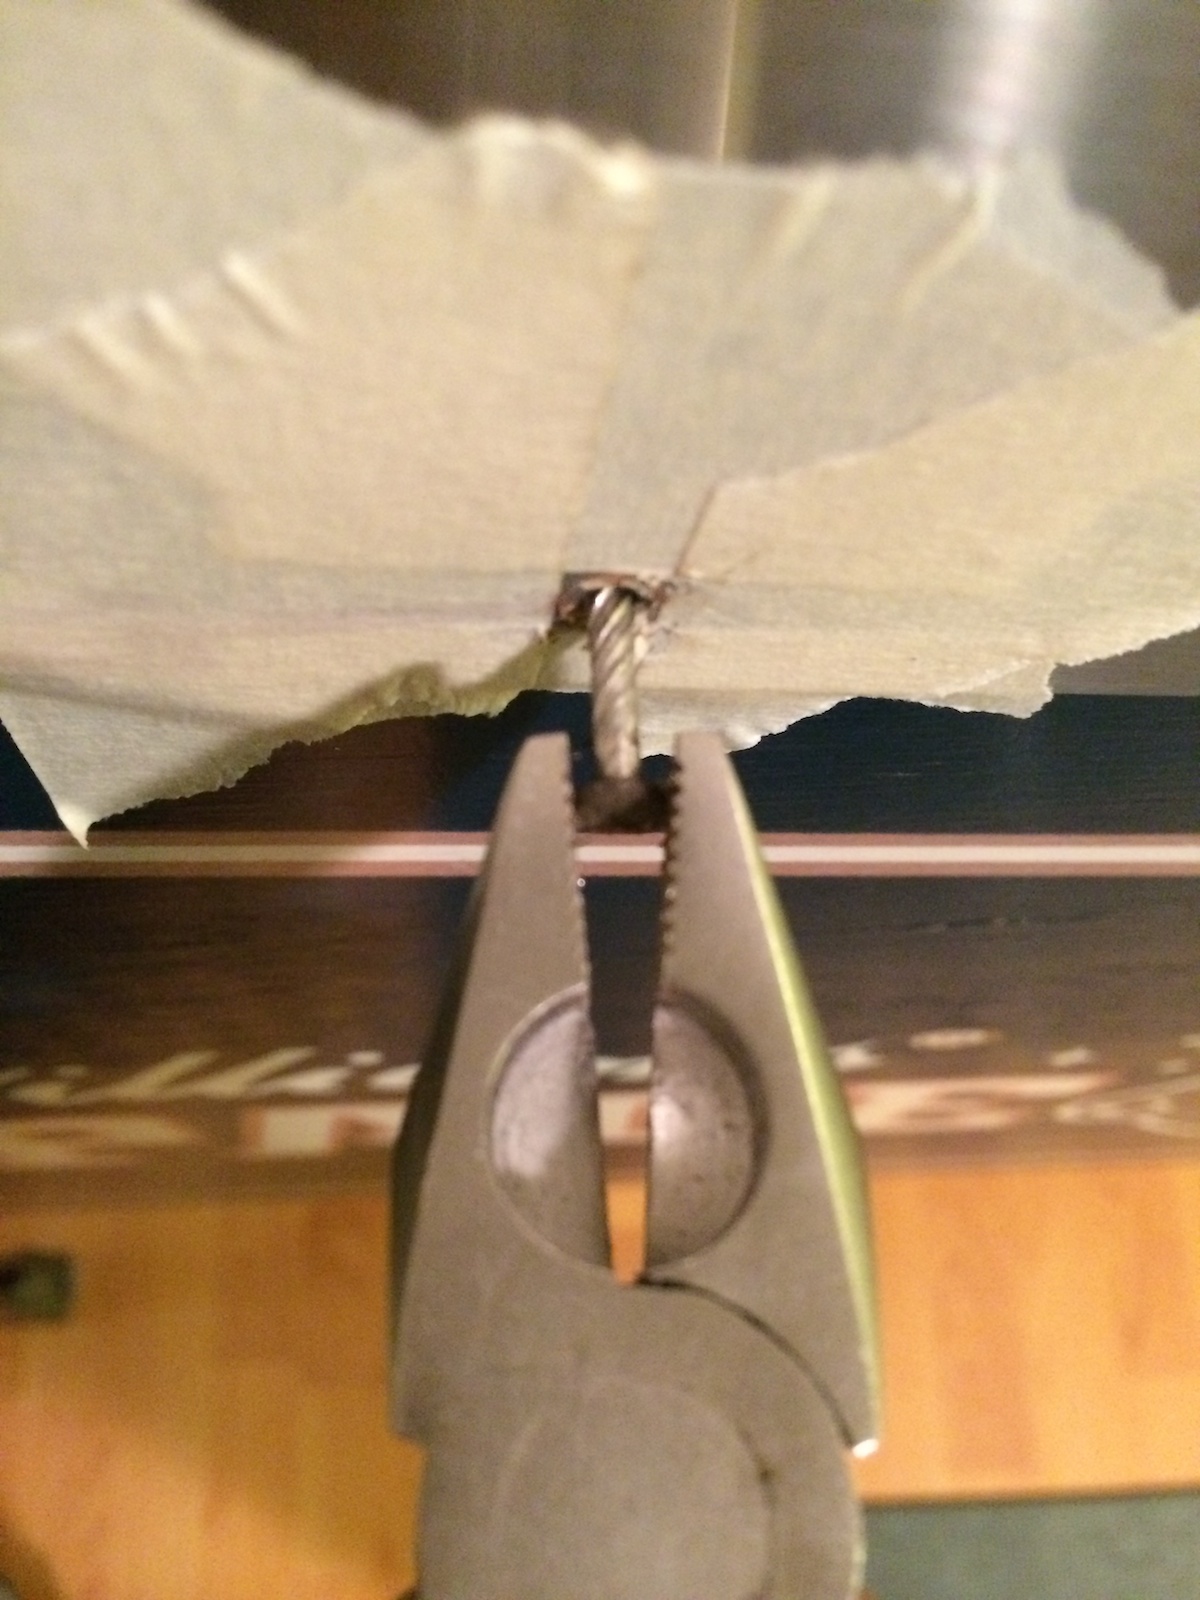
As you can see, the edges of the nail head are very close to the rail here, but for most of them there’s just enough to get them started. After that, it’s pretty easy to pull them out while twisting:

StrippedCabinet2


For those that were particularly painful and hard to grab, I resorted to drilling the heads out and removing the nail remnant after the siderails were off. Thankfully there wasn’t anything holding the side rails on other than a couple bolts and the twist nails, so after those were removed, the side rails were removed easily.

The coin door removal was next. Easy enough, but some cleanup will be needed for the thirty year old dried-on cola inside the front of the cabinet…

StrippedCabinet4

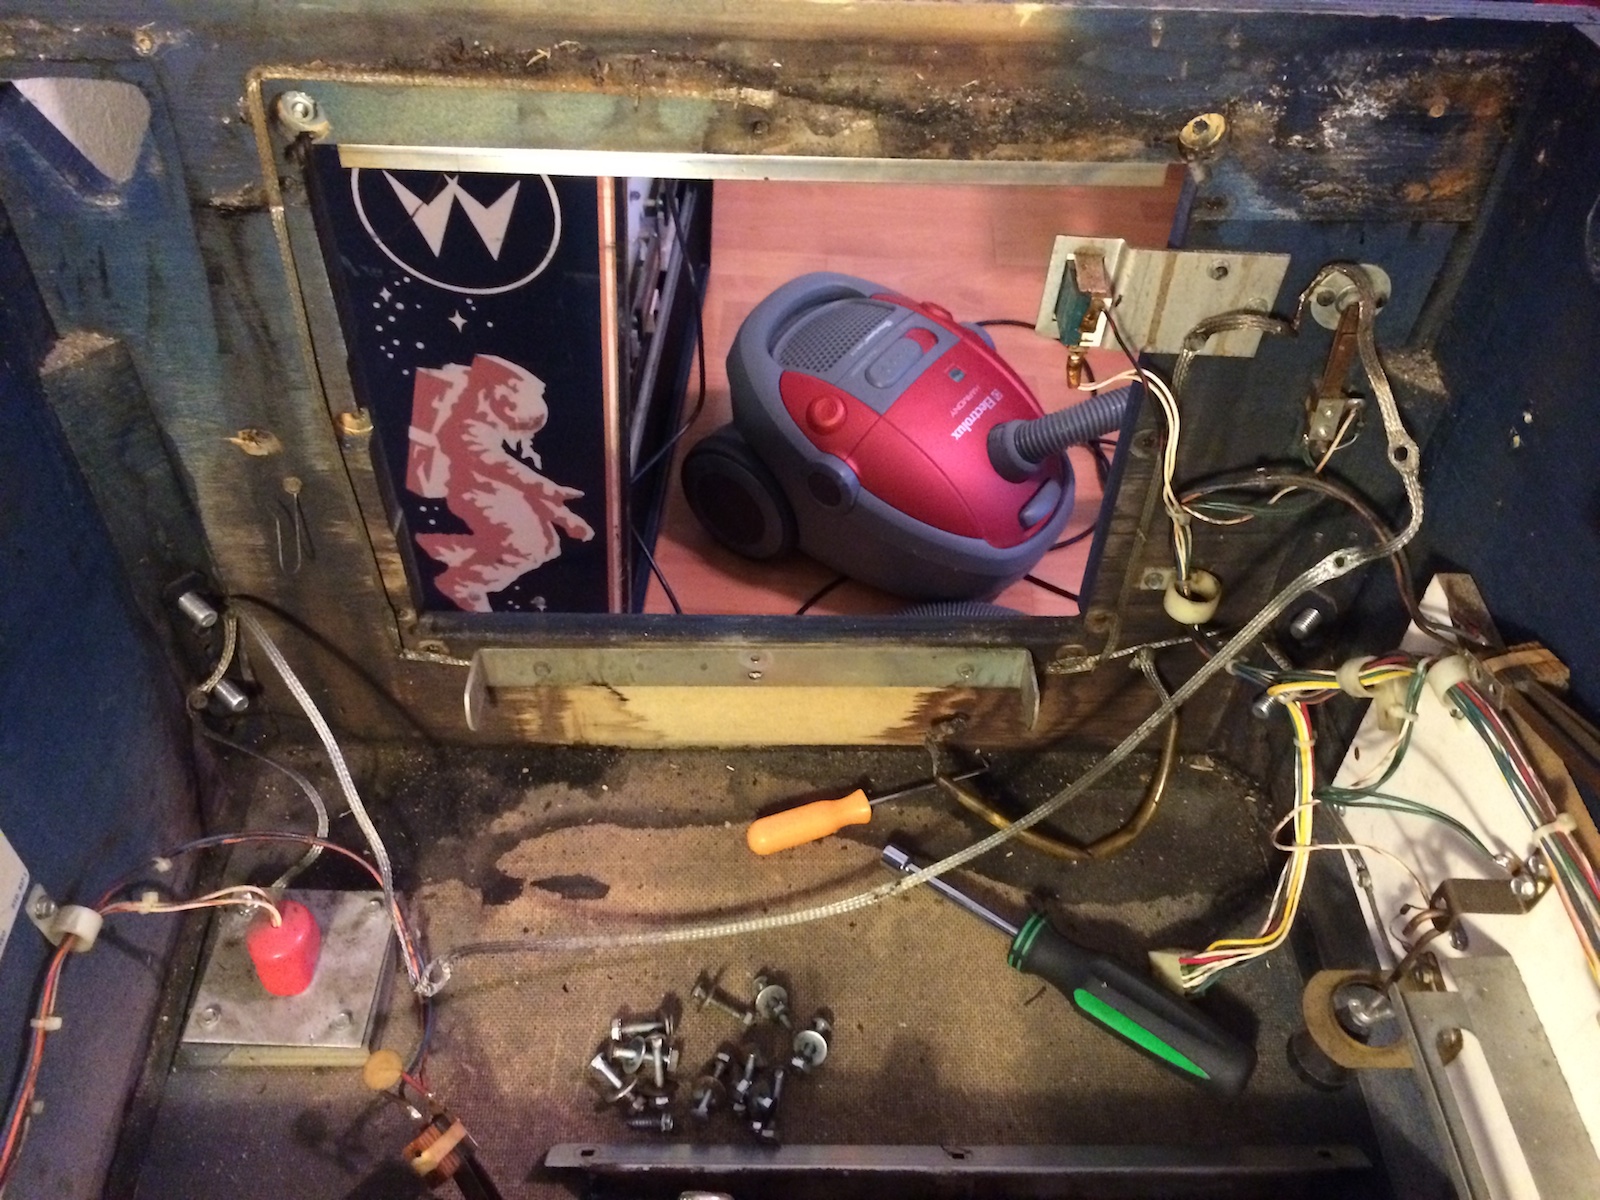
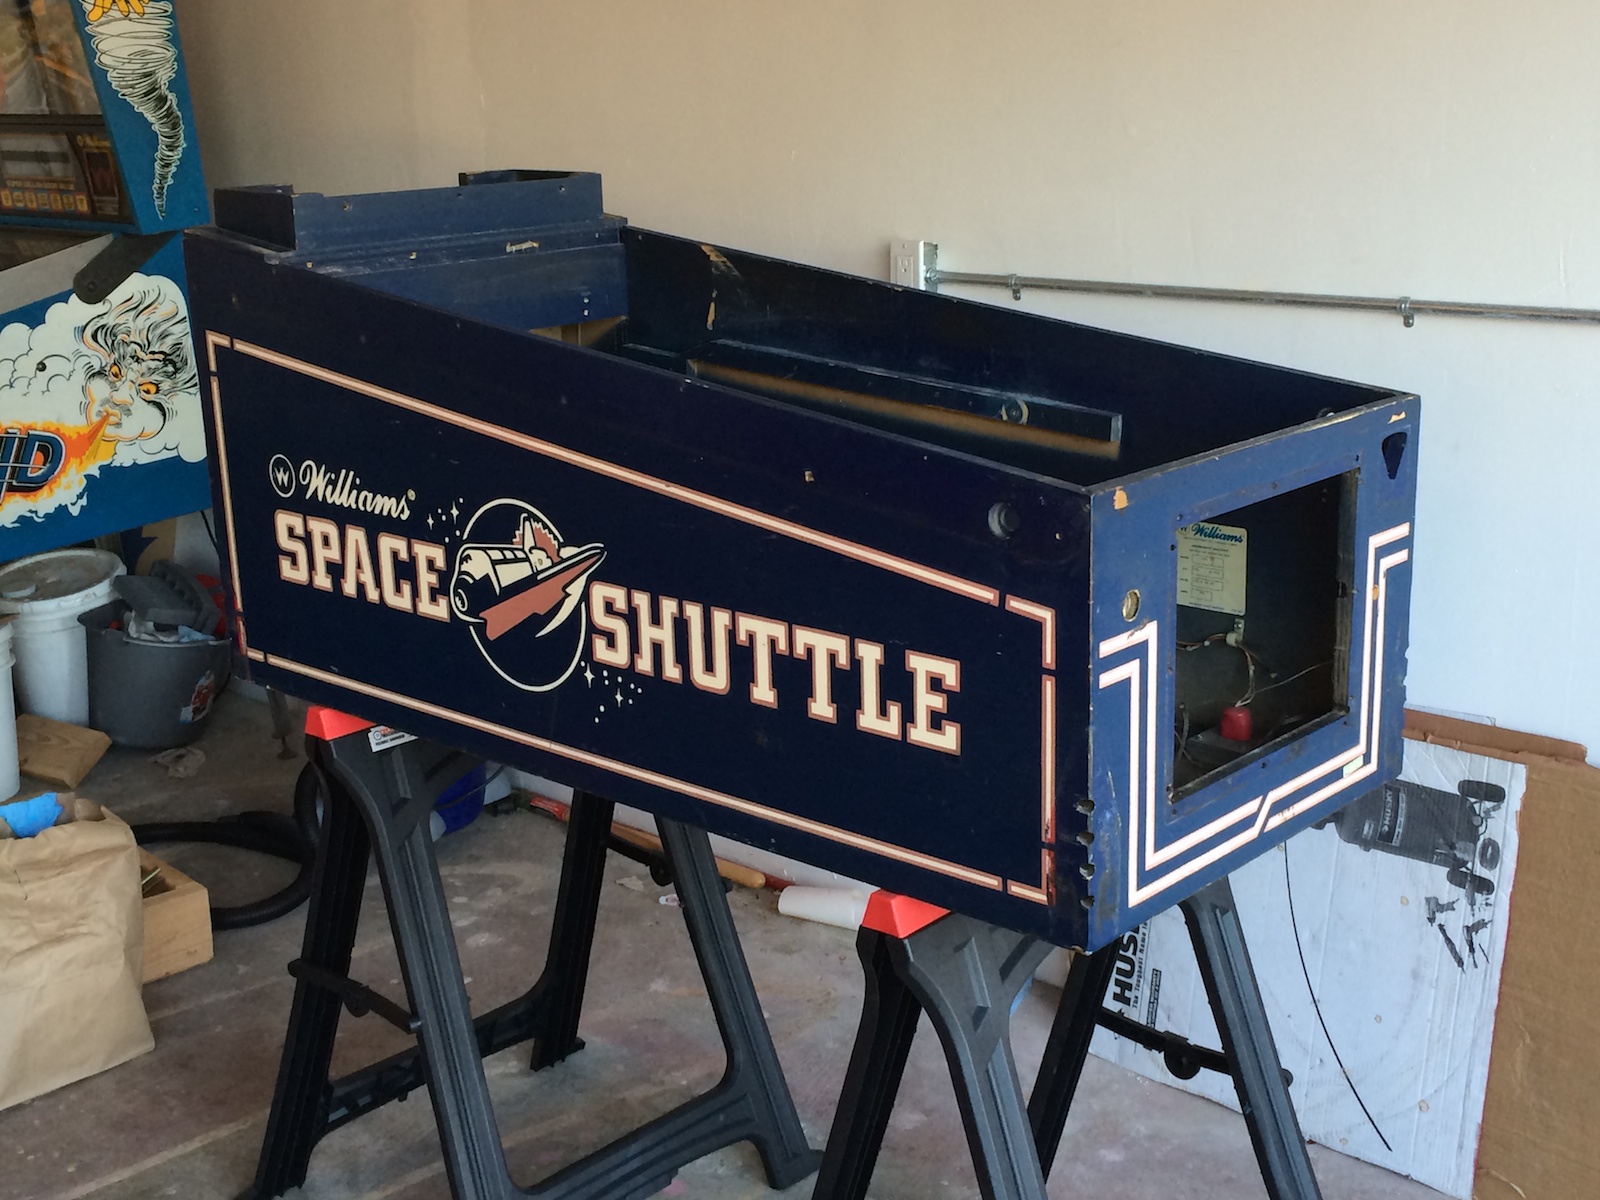
Here’s the cabinet mostly stripped…

StrippedCabinet5


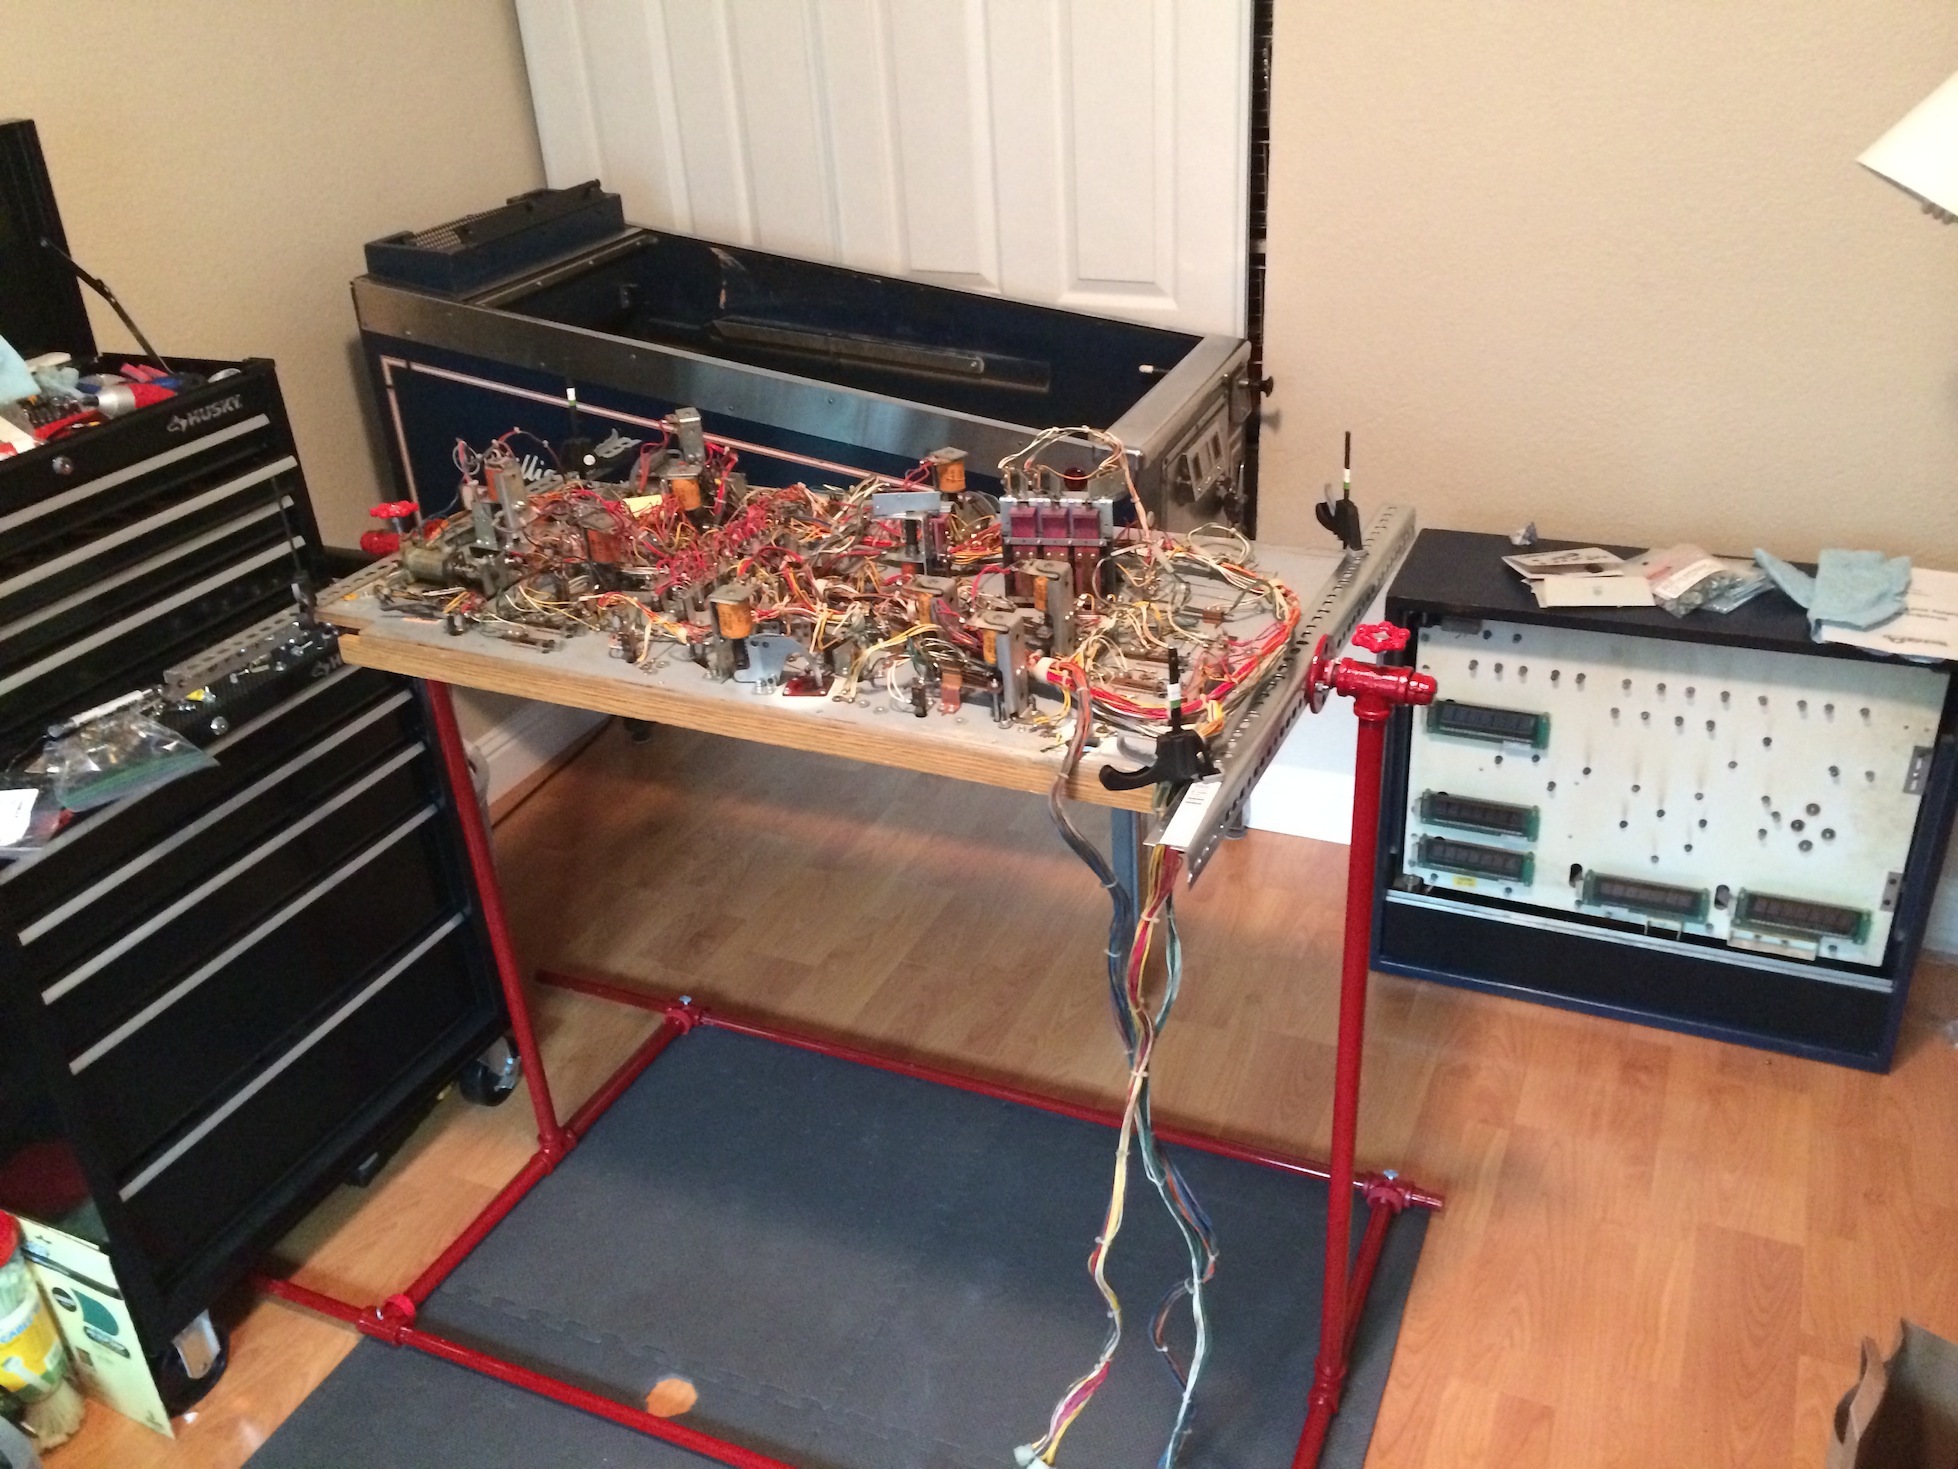
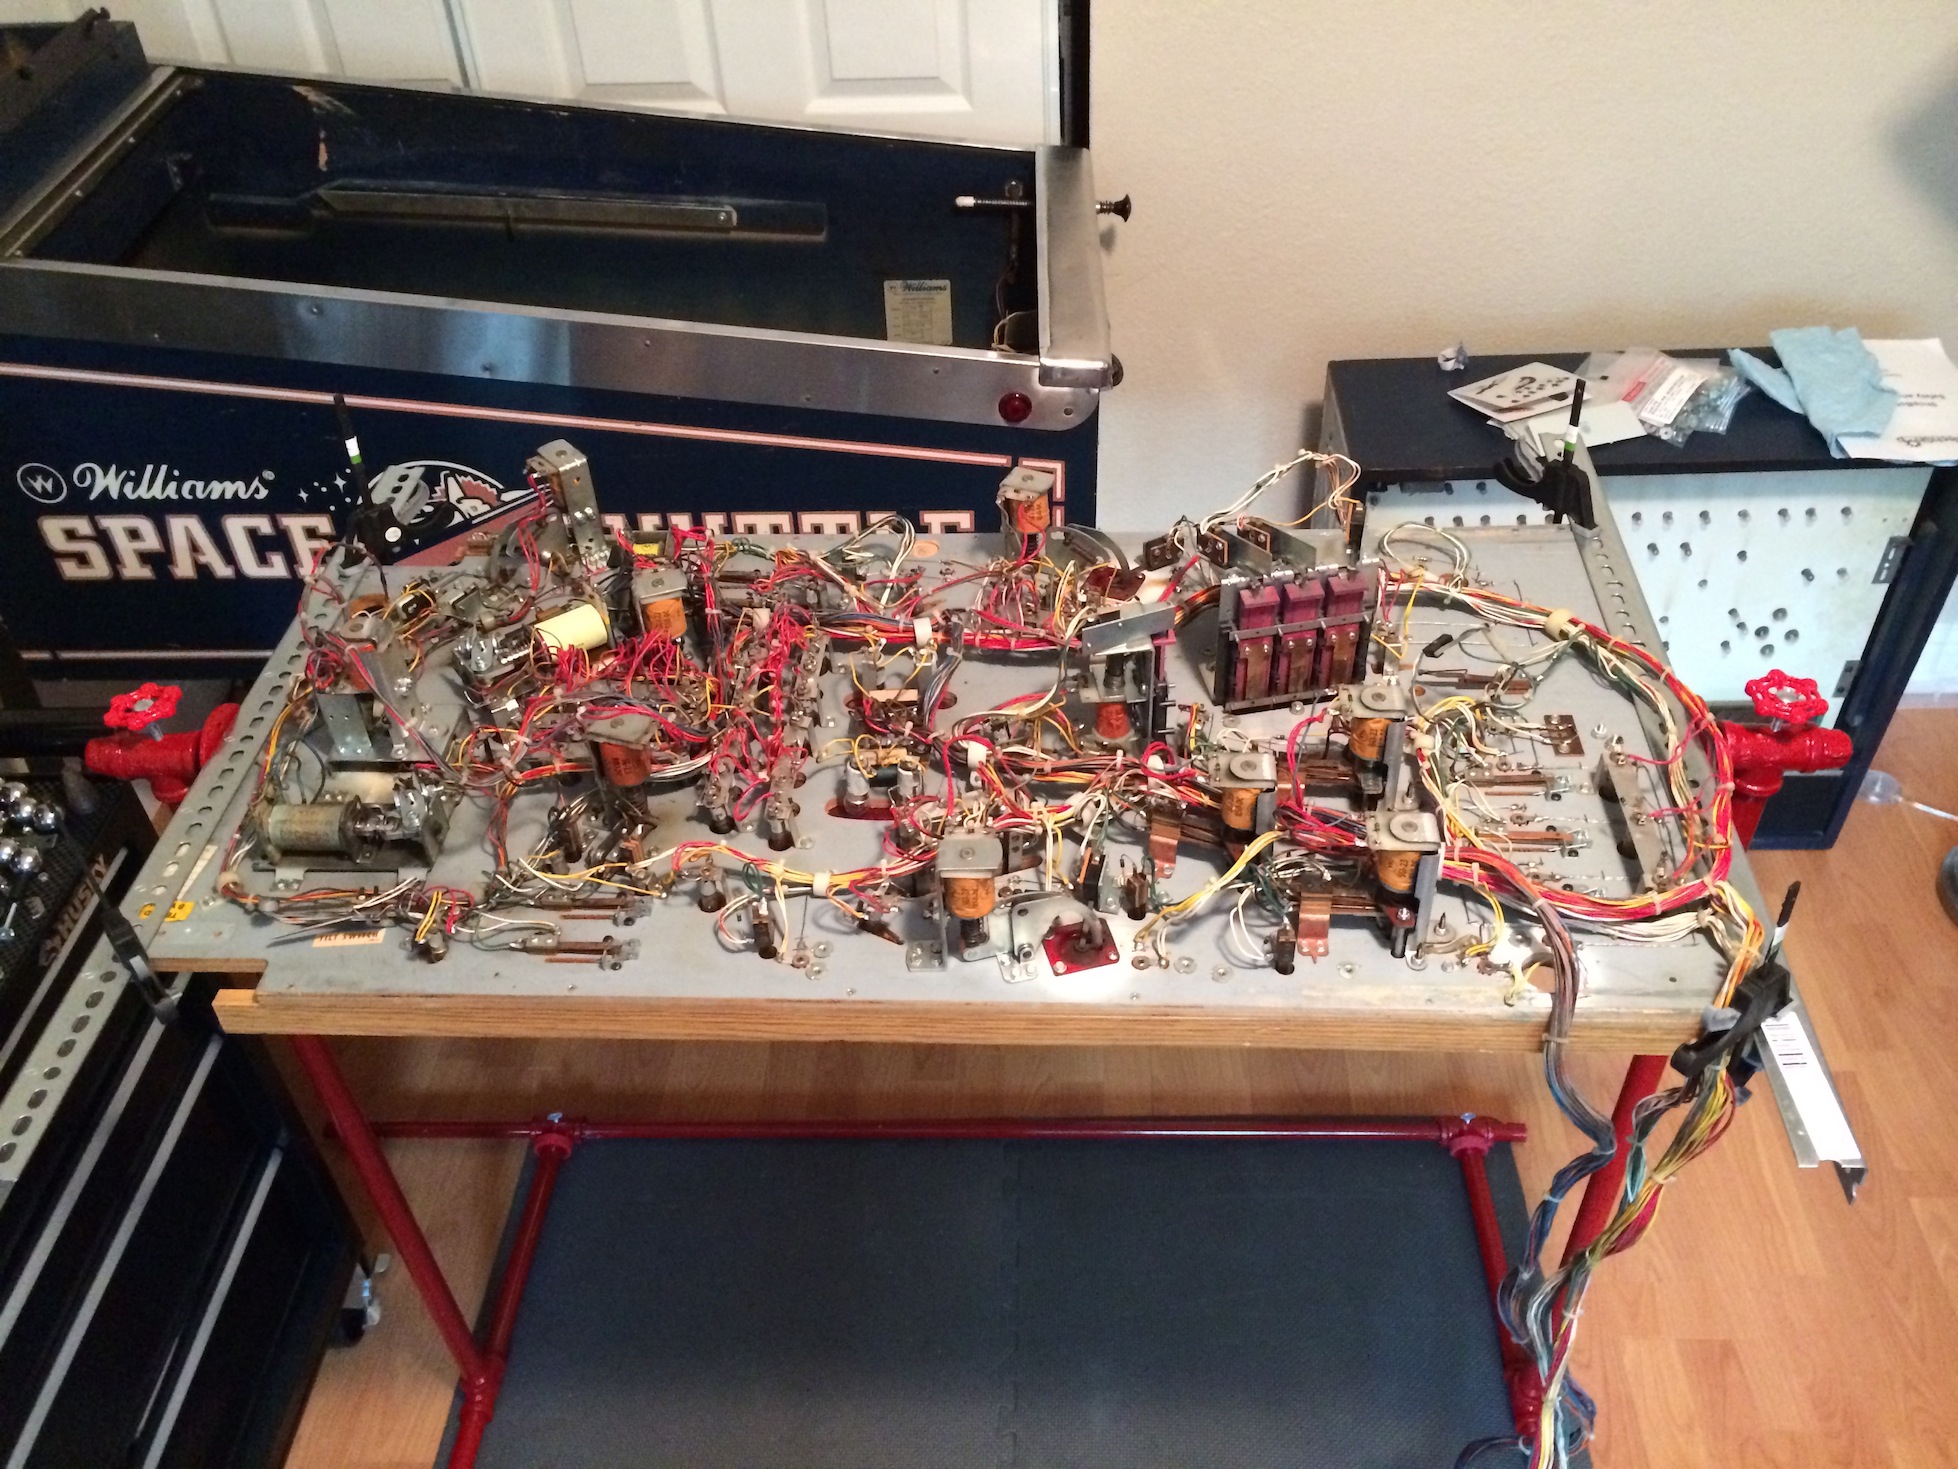
… and then moved to the garage in preparation for sanding and painting. You’ll notice I kept the wiring harness and transformers inside the cabinet – Williams didn’t paint the interior of their cabinets, and neither will I – I’m keeping it original.

StrippedCabinet6


Posted in Space Shuttle | Tagged , , , | Leave a comment

Space Shuttle Disassembly Part 3

Not much to report other than continued disassembly of Space Shuttle.Β I have most of the top side disassembled but have left the rails on to prevent the playfield from bowing under its own weight. The only other parts protruding from below are the leaf switches which I will do next. The idea is to get to a stage at which I can lay bothΒ playfields face down side by side on the ground (since I only have one rotisserie) to transfer parts over. I’m getting close to that! I think I will very soon need to start prepping the new playfield, installing new tee nuts and replicating the stapled-on GI wiring!

Oh, and the rotisserie is awesome! It’s making very short work of tasks that need alternating access to the top and bottom sides such as disassembly of the pop bumpers.

Here’s the mostly-naked topside of the old playfield at this point. The bottom side is, of course, still very much populated.

SpaceShuttleDisassembly5


Posted in Space Shuttle | Tagged , , | Leave a comment

Fabricated a Pinball Playfield Rotisserie!

I made it to the point in the Space Shuttle tear-down where it is clear it would be a pain to continue without a rotisserie. So, with these instructions from vid1900 on Pinside, I built one starting last week and finished it this weekend. Here’s how it works:

This design is very nice for a few reasons:

  • It’s heavy and stable
  • Every single part was available at my local Home Depot – one-stop shopping!
  • It breaks down easily for storage when you’re not using it
  • Very little fabrication was necessary. The only big tool needed is a drill press – I used the one at San Jose TechShop. I did use their giant Cold Saw to cut the angle, but a hand saw would have worked too.

The total cost for the project, including paint, was about $120. Here’s the project after priming and a few coats of red enamel spray paint:rotisserie1

Yes, I got some red paint on the garage floor πŸ™‚ Lesson learned! Here it is after final assembly and with the Space Shuttle playfield mounted on it:rotisserie4 rotisserie3


On with the Space Shuttle tear-down! πŸ˜€

Posted in Uncategorized | Leave a comment

Space Shuttle Disassembly Part 2

A bit more progress tonight disassembling the top side of the playfield. Making more progress from this point on will get progressively more difficult without a pinball playfield rotisserie… Sounds like I may have to make one!

SpaceShuttleDisassembly4

Posted in Space Shuttle | Tagged , , | Leave a comment