Repaired Diner Backbox General Illumination

Half the General Illumination (GI) lights were not working on my Diner machine. From what I had read online, GI on this generation of games frequently fails because the GI connectors take a fair bit of electrical load and heat up over time – eventually they burn themselves out, and need to be replaced. I fully expected this would be the task at hand here, and a connector rebuild would be in order.

To my surprise, after opening up the backbox I found the connectors to be in perfect order! Furthermore, I measured the output pins for the GI backbox circuits at 6.3v AC, exactly what they should be. That eliminates everything up to the interconnect board pins as a potential problem, which only left the wires going up to the backbox lamps… and a small mysterious PCB between the lamps and the interconnect board. I checked continuity on the wires connecting the different lamps in each circuit, and they looked fine….

It turns out there is a relay that controls power to the general illumination circuits, which is what the small PCB board is all about. The GI is connected to the normally-closed (NC) pins on the relay, which means that with no power applied to it, current can flow normally to the GI lamps. Under normal circumstances, power flows through the relay to the GI lamps and they provide light to the backbox and playfield. When the game activates the coil side of the relay though, the GI circuit opens and the lamps turn off. This is why you’ll hear clicking noises when you’re playing a game and the entire game flashes dark – it’s the relays activating and deactivating.

Luckily, there’s another relay PCB exactly like the backbox one under the playfield. It was a simple matter of swapping the latter one into the backbox to test if that was the problem – sure enough, the backbox GI worked fine with that relay board! Clearly something wrong with the backbox relay PCB… When re-installing the bad one, I also noticed the GI would sometimes come on simply by twisting the bad relay PCB. Ah ha, an intermittent connection! I was glad to see this, actually, as it meant it wasn’t a bad relay but rather just a bad connection on the PCB.

So, why was only half of the GI out? The GI is split into two different circuits, both of which Β pass through the relay, which actually is like two different relays in one as it has two independent circuit switches (but only one coil). Using my multimeter, it became clear that although both sets of normally-closed pins had continuity (and thus were OK), only one of the two circuits had continuity to the molex header pins that interface the board. It could only be a bad trace on the board, so I soldered on a jumper cable to restore the circuit.
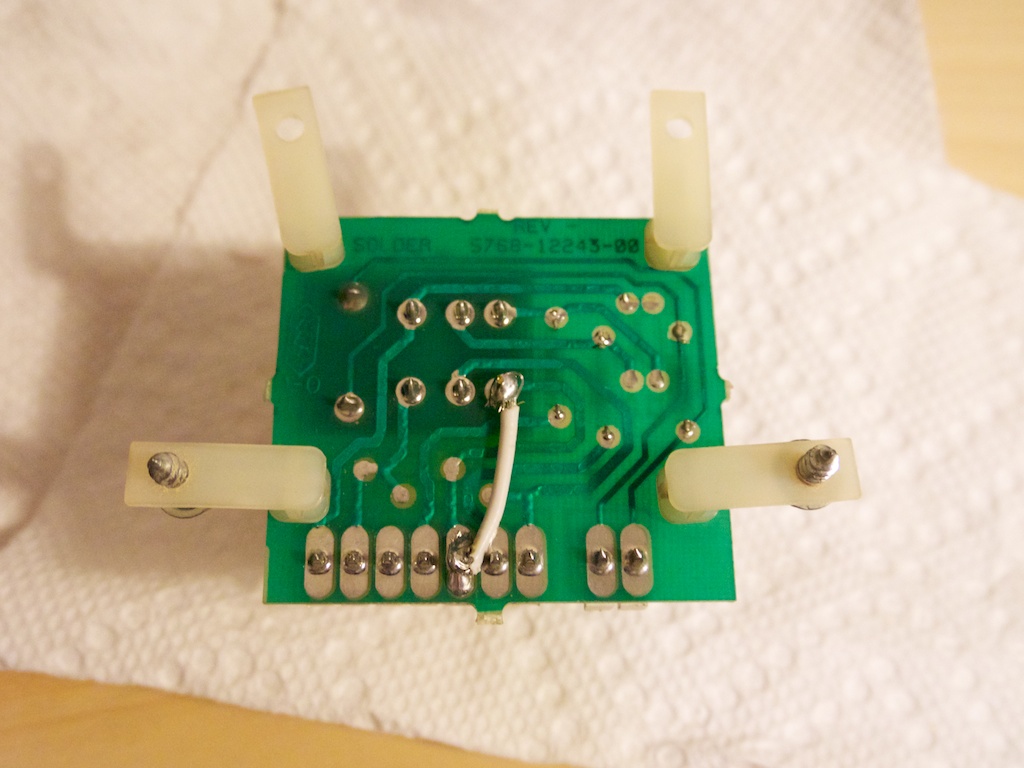
backbox-giFollow the trace between the two pins connected by the white wire – see how that white wire should theoretically be electrically redundant and not needed? Well, not if the trace is bad πŸ™‚ I replaced the board in the game, and boom! Backbox GI back in working order! πŸ™‚

Posted in Diner | Tagged , , , , , , , , , , | Leave a comment

Leveled Diner Inserts

My Diner playfield had an issue that is very common with this game – raised inserts in the middle of the playfield. Both the character inserts as well as the DINER inserts had the problem. During play, the inserts would cause the ball to jump around at high speed, and divert the ball along an unnatural path at low speed.

I first removed the insert lamps PCB and moved the flashers aside to gain access to the inserts, then heated them one at a time using my heat gun.

_MG_2734

Then, from the topside, I used some small pieces of poplar wood to press the inserts down by hand. I first used a rubber mallet, but evidently just pressing by hand was enough to push them down to level.

_MG_2731

In the photo above (click for a larger image), I am halfway through the character inserts. I have leveled the Haji and Babs inserts, but Boris and Pepe clearly are raised above the level of the playfield. After repeating the process for all these and the DINER letters, the game plays so much better now! The ball rolls smoothly over the playfield with no jumps, bumps, or deviations. Awesome! πŸ™‚

Posted in Diner | Tagged , , , | Leave a comment

Repaired Diner Diverter

I bought a Diner machine at a great price, but it is definitely in need of some work. The first item on my agenda was the diverter up the right ramp – it was completely missing! Suffice it to say the game is not really playable without this diverter. Worse yet is the part (Williams no. B-13348) doesn’t seem to be available at any of the usual pinball parts vendors. When all else fails, sometimes you have to make your own parts! πŸ™‚

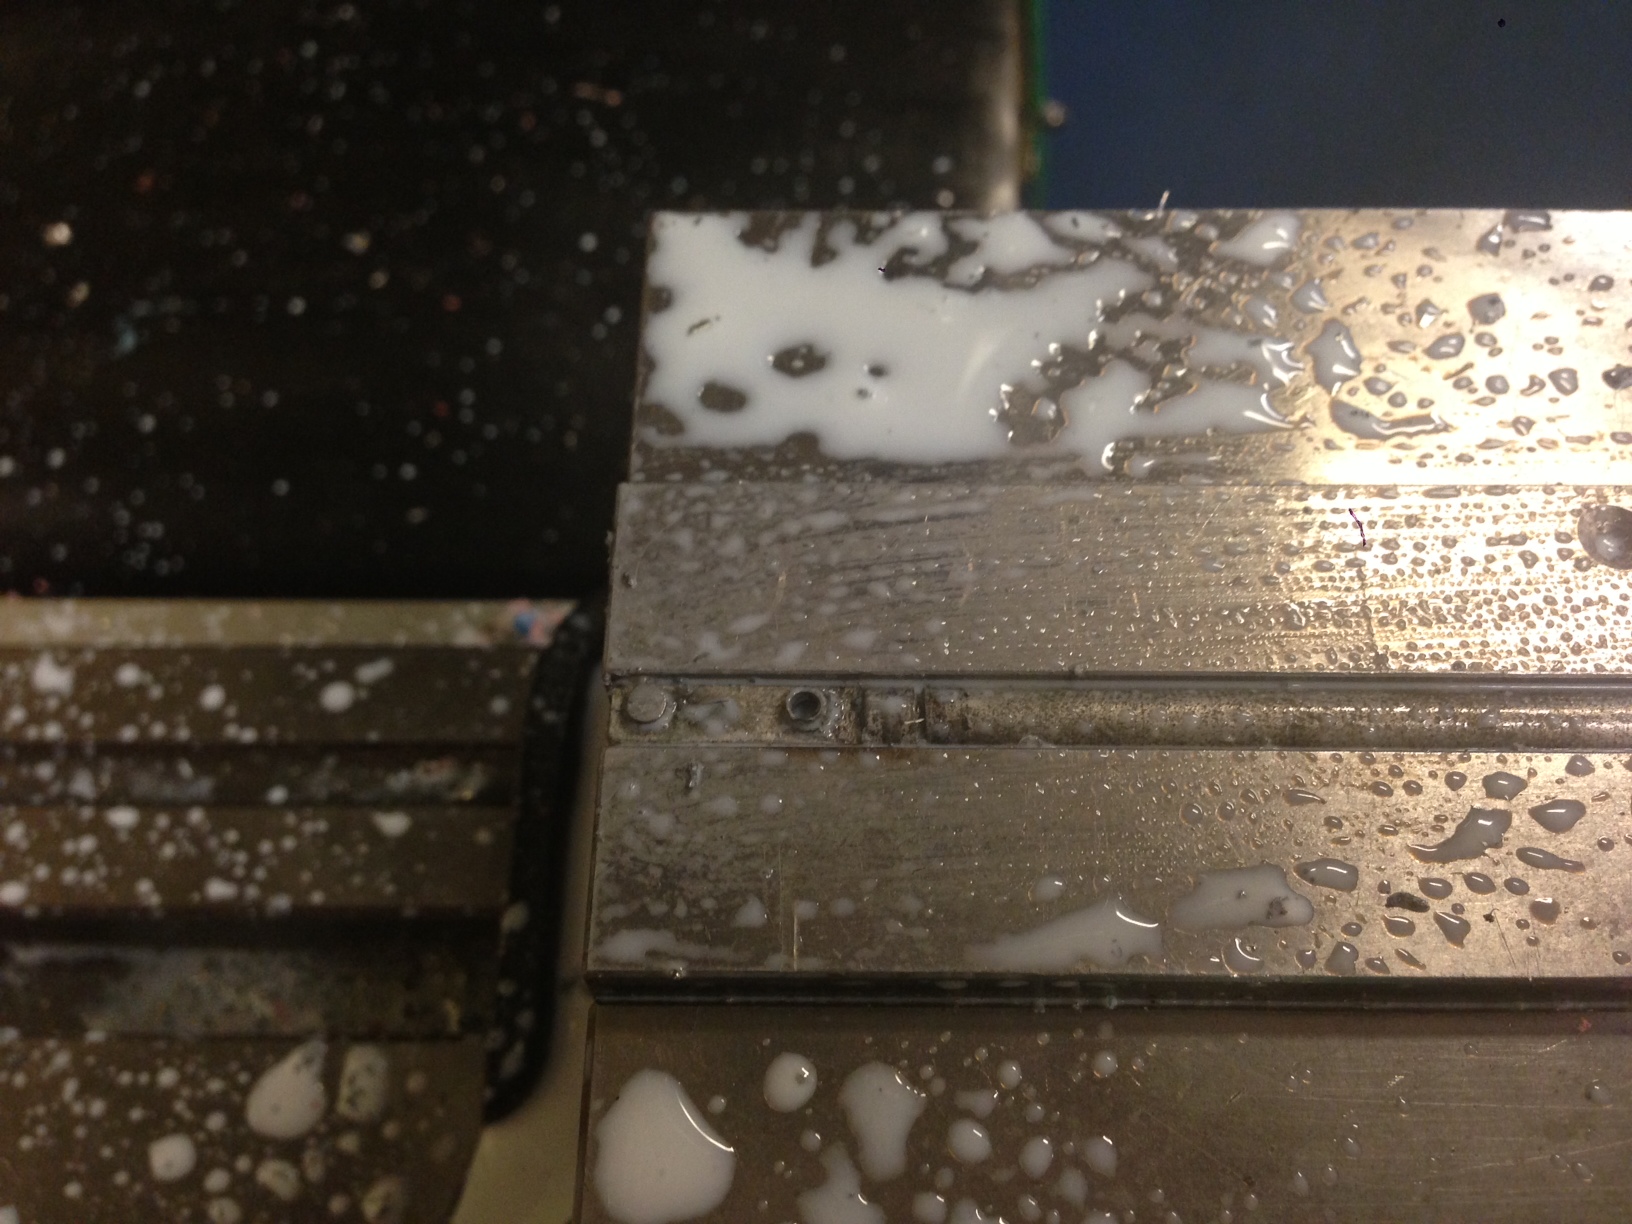
I started with the shaft of the diverter, which thankfully was still in the game – only the ball guide part of it was missing. The ball guide was clearly riveted on, as the 0ld rivets were still there on the shaft. I took the shaft to the vertical milling machine at my local TechShop and milled out the rivets.Β In the photo below, the shaft is in a vise and I’m about halfway done with the milling. The white liquid you see is coolant used during milling to preserve both the life of the cutting tool and to protect the part from heat damage.

div2

It was pretty easy to make a new ball guide from sheet metal – I simply used cardboard to first create a mock-up, and when I was happy with the shape I traced it and cut it in sheet metal and bent it by hand. Here’s my homemade ball guide (top right) along with the original shaft with rivet holes freshly cleared out (left):

div3

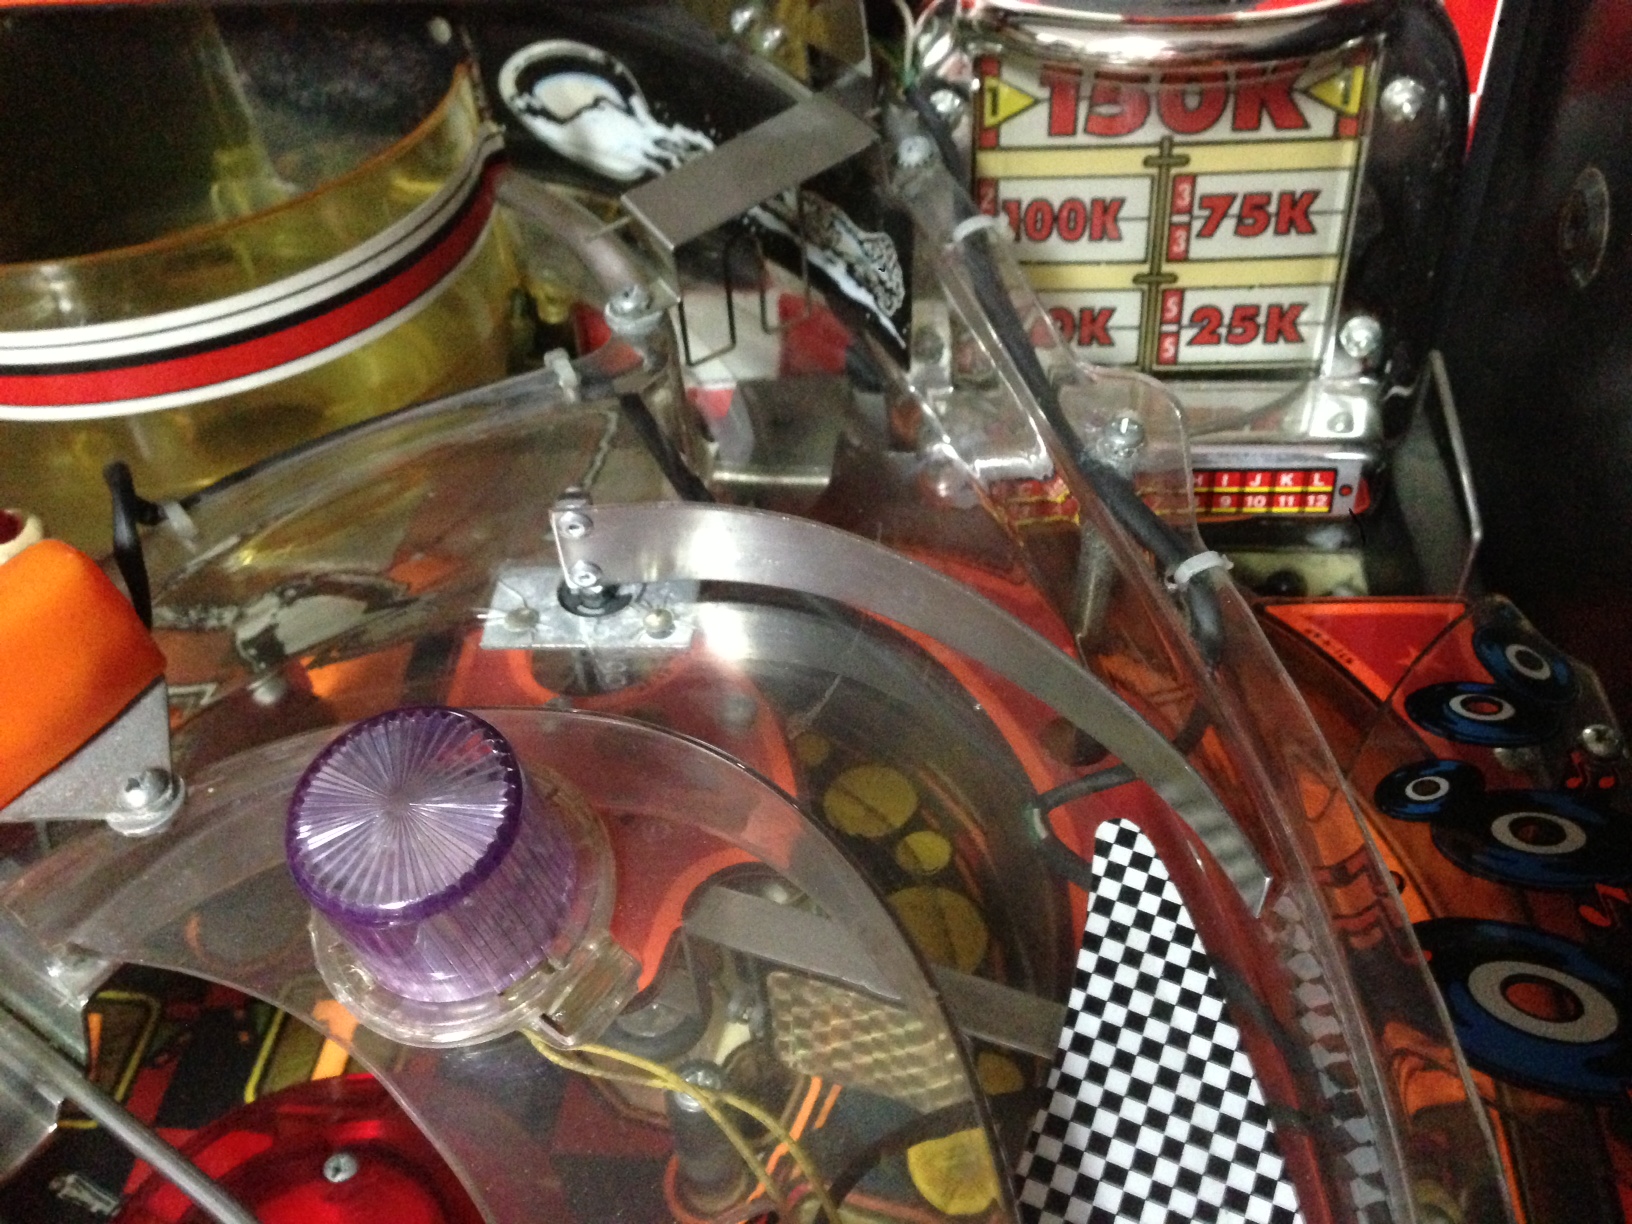
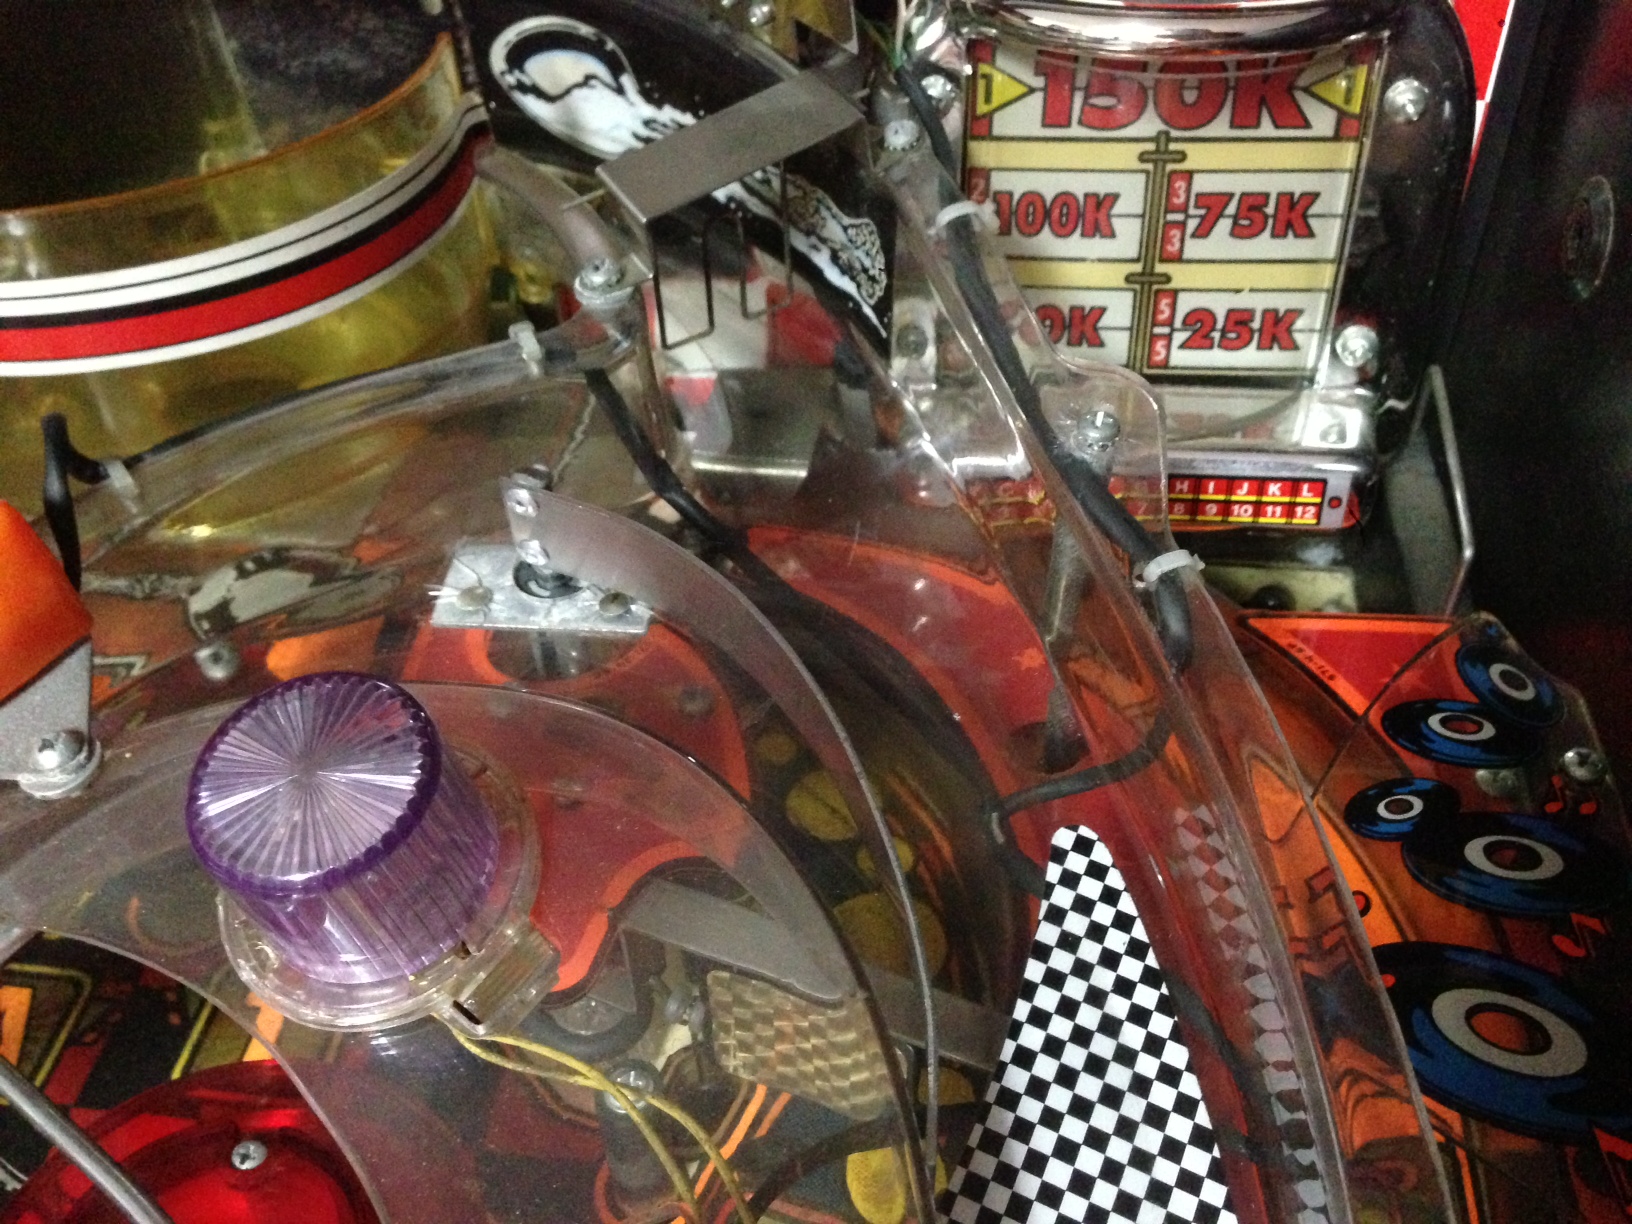
I used pop rivets to attach the ball guide to the shaft. We’ll see if they hold up – if not, I’ll switch them to solid rivets instead. For now though, the diverter is back in the game and working great! You can see in the two photos below how it moves to control the path of the ball up the ramp.

div5 div6

Posted in Diner | Tagged , , , , , , , , , | 2 Comments

Alpha Bravo One Lives! Flippers wired up

Wow, another month with barely any progress! I have too many hobbies I think πŸ™‚

Finally tonight I had time to wire up the flippers. I used Molex connectors so that I can easily disconnect and reconnect the flipper wiring harness from the mechs when I will inevitably move on to whiteboard version 2, 3 and so on… This makes it trivial to transplant everything over. Molex connectors are awesome! With the Molex crimping tool, the connectors are trivial to install and the process is solder-free.

That’s all that was left to being able to operate the flippers on my whiteboard for the first time! πŸ˜€

Now I can start actually building my playfield design along with the ramps… Something tells me things are going to get more and more difficult from now on… πŸ™‚

Posted in Alpha Bravo One | Tagged , | 7 Comments