Painting the Kraylix Cabinet

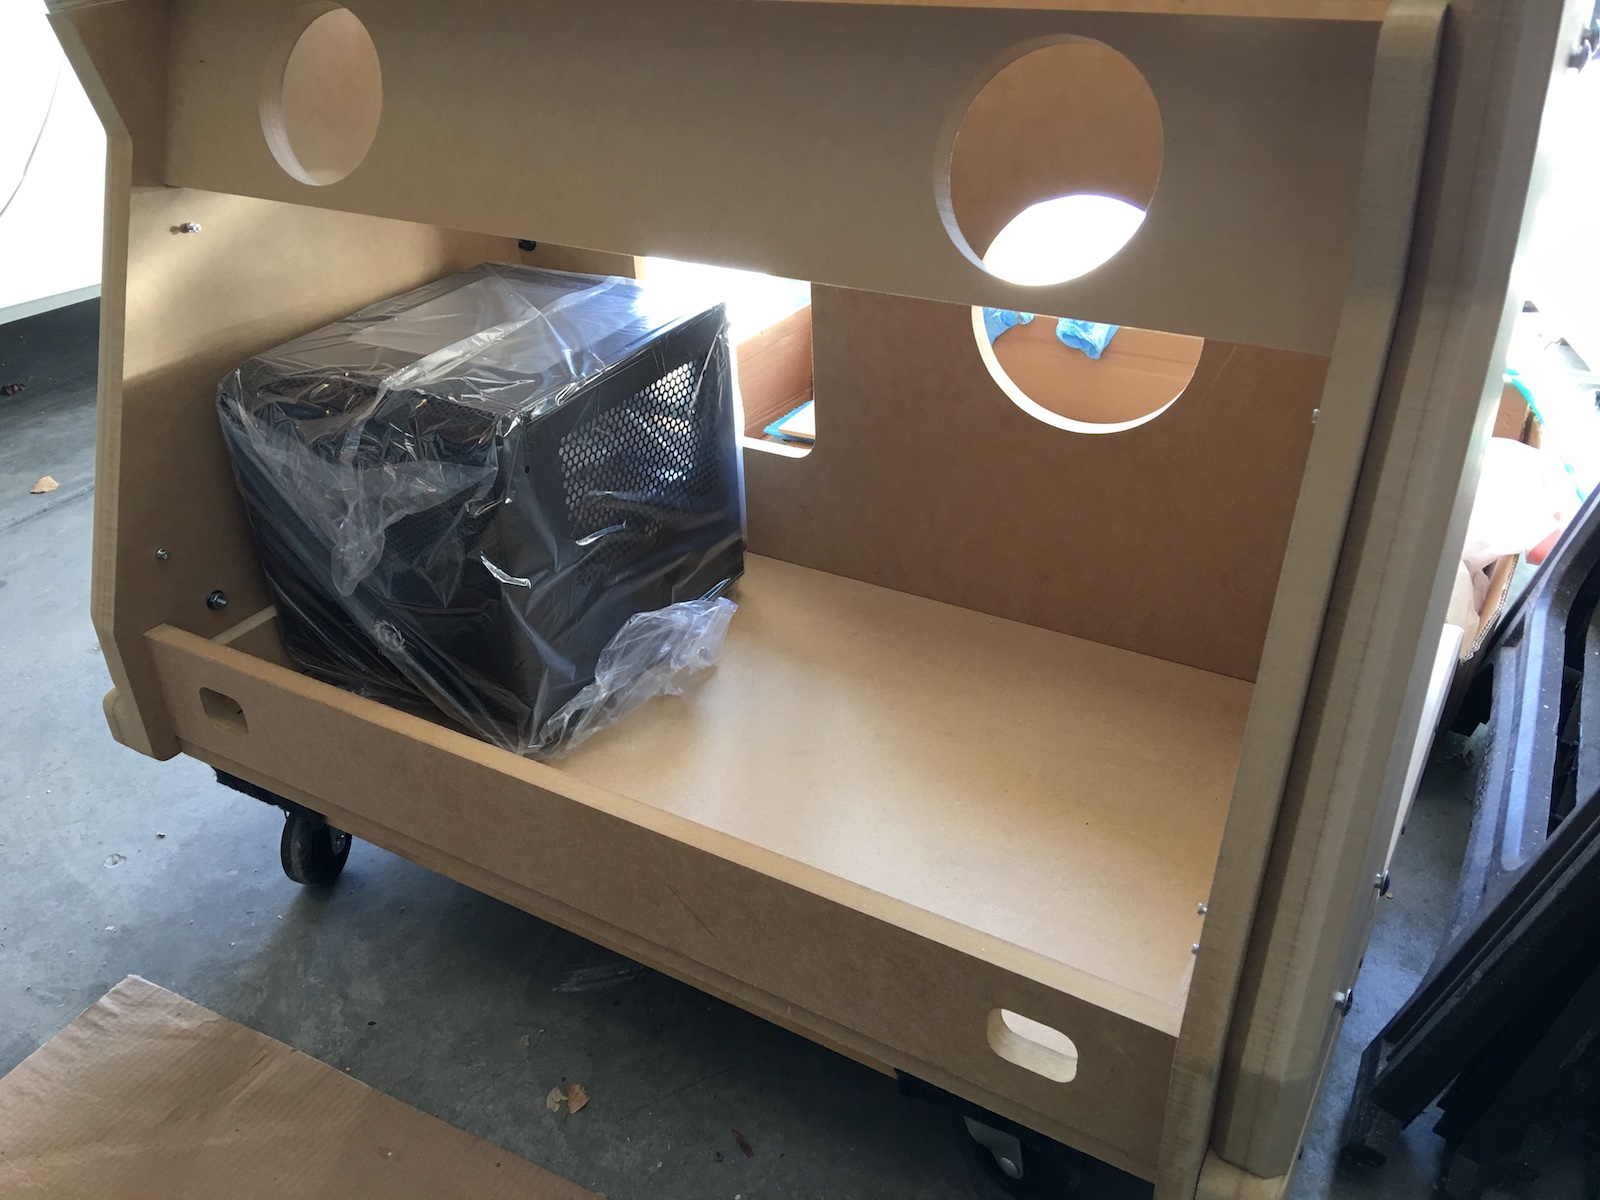
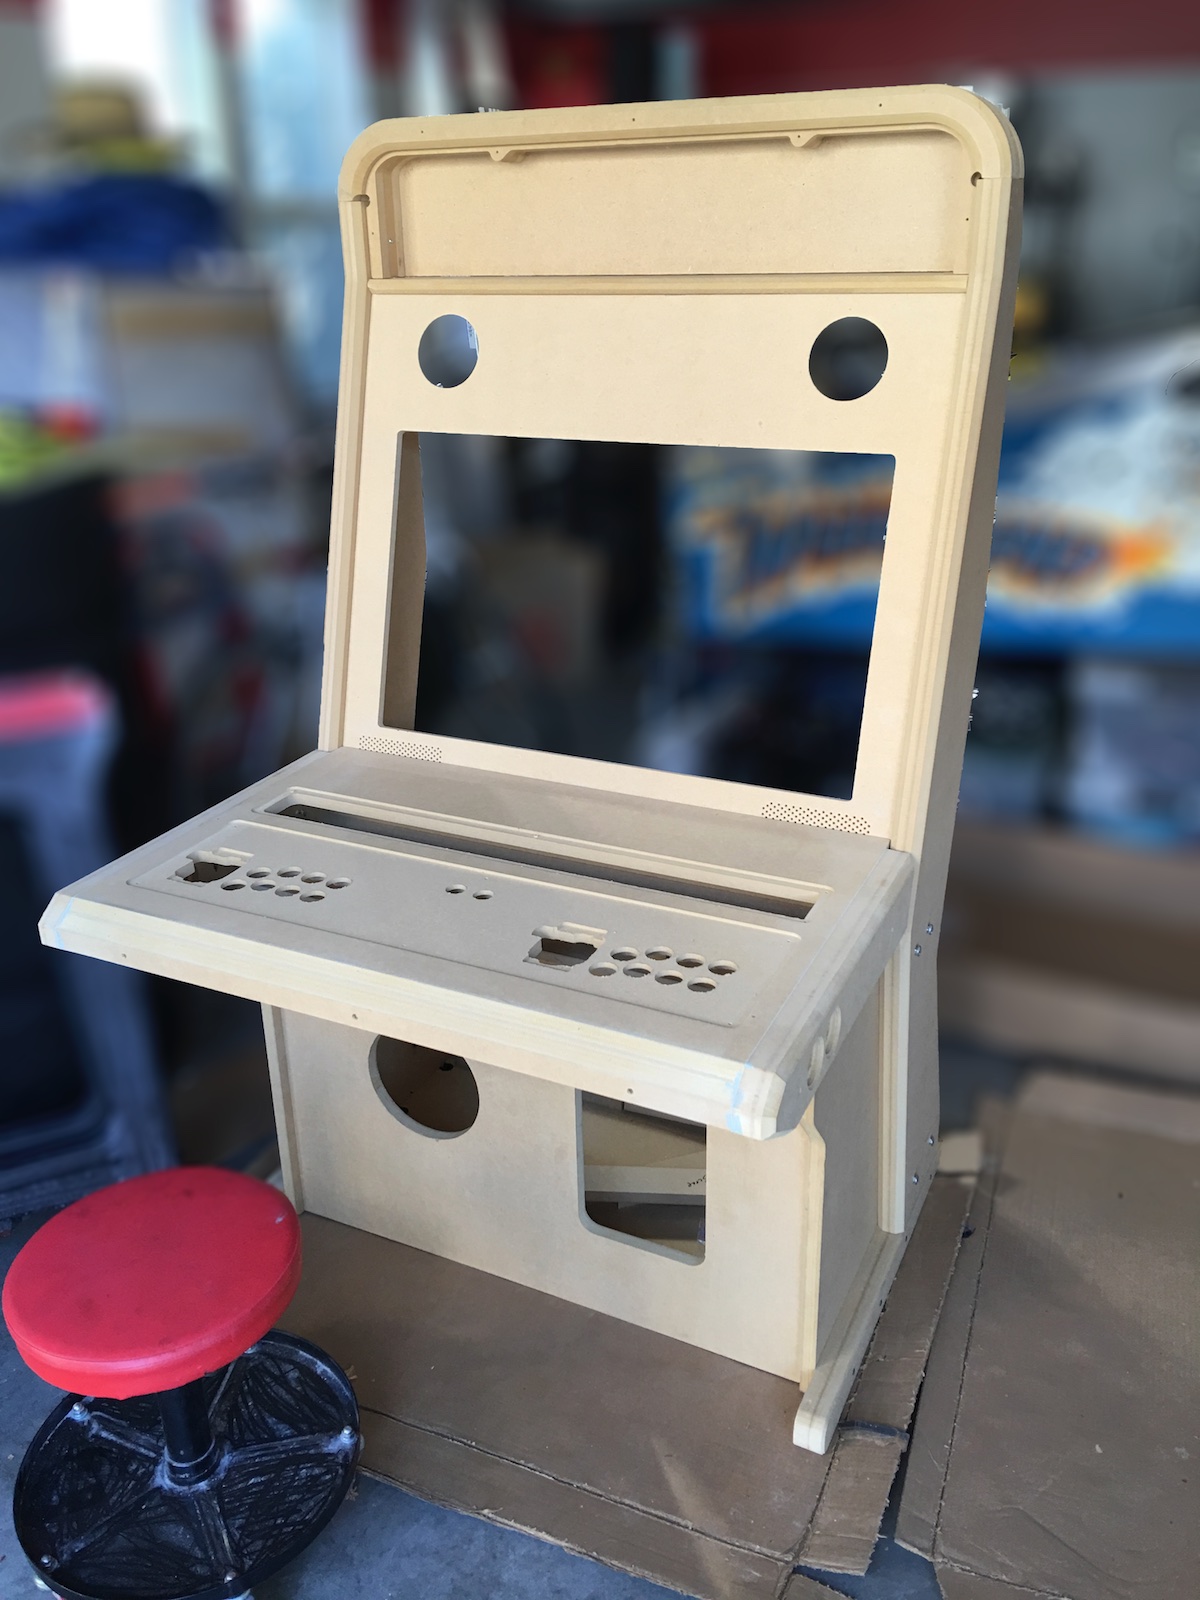
After much consideration, I finally decided to have someone else paint my Kraylix cabinet for me (although I did the prep). The decision came down to not having a great space to do the paint in, and the desire to use automotive paint which is far more durable than rattle-can spray paint. I’m particularly concerned with the edges of the MDF, which can soak up quite a bit of paint – thankfully my cabinet will be in good hands with someone who’s done this sort of project before. I wrapped the top bezel in plastic and slid it into the bed of the truck on some foam sheets: Kraylix-paint 001

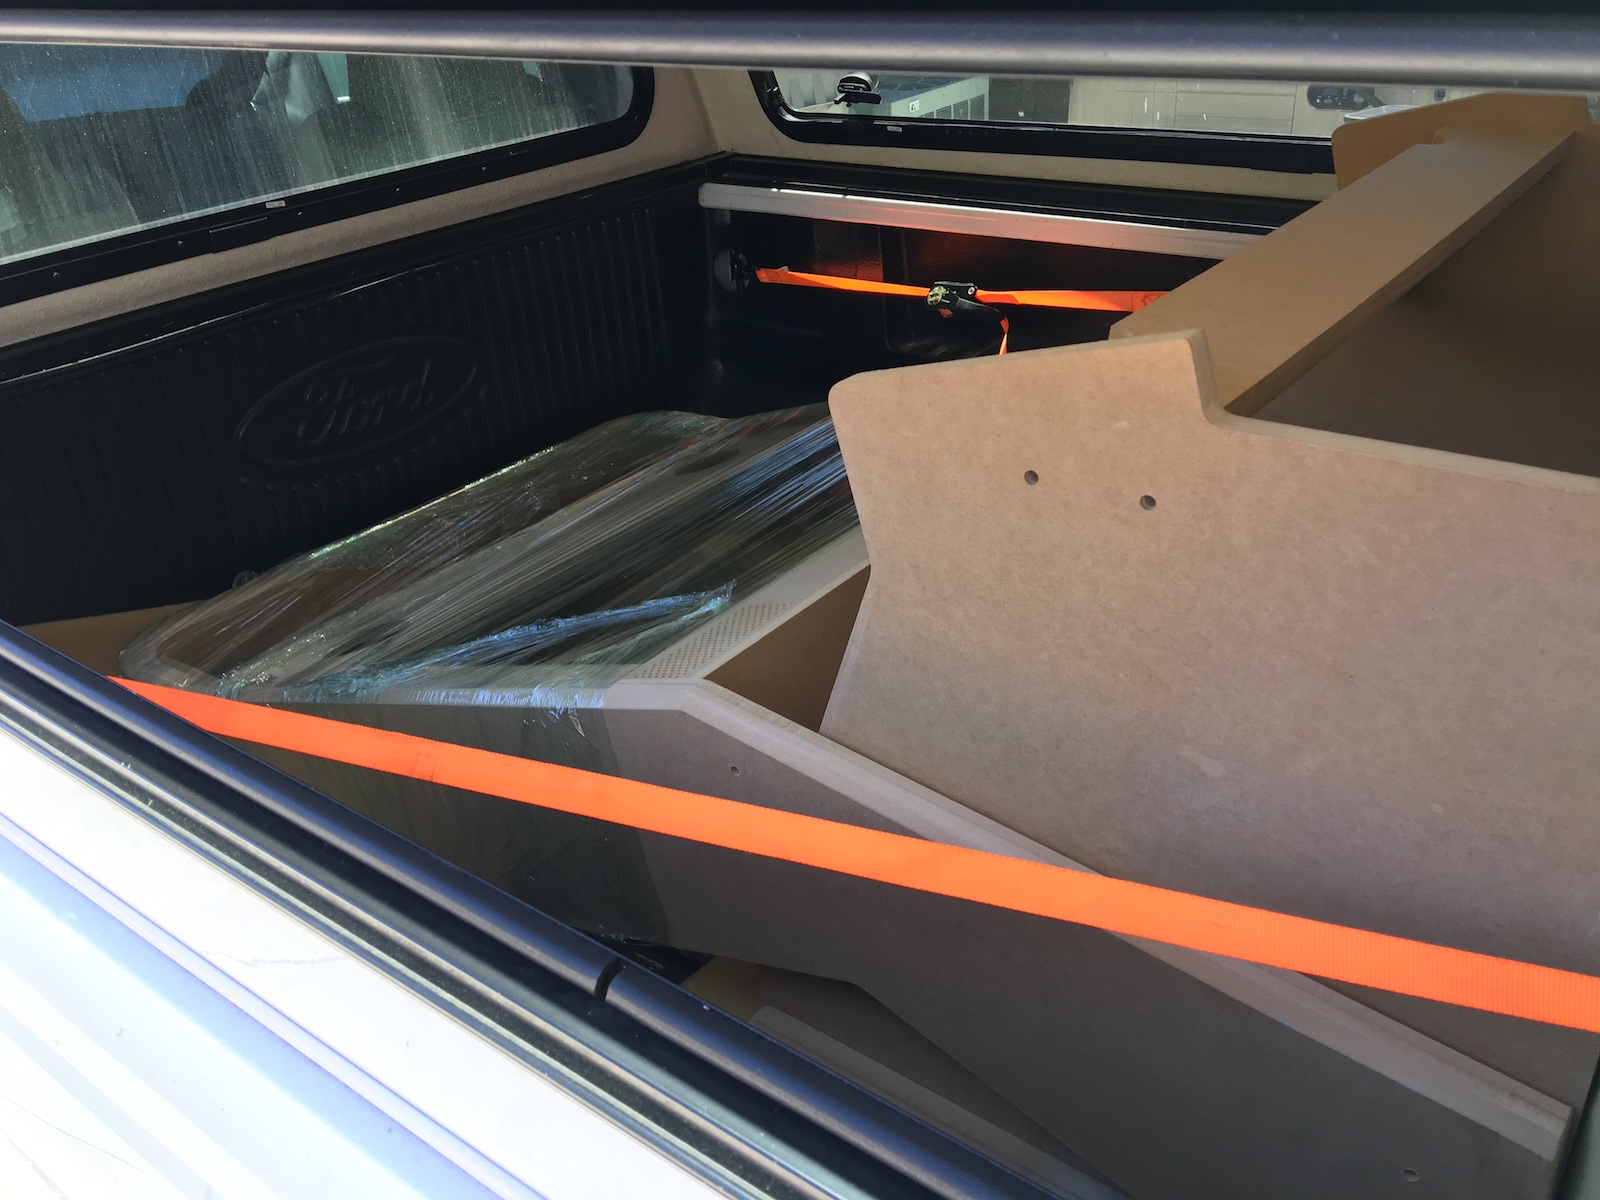
A cargo strap went around the whole lot to secure it, and off it goes! Can’t wait to see what it looks like when the paint is done.

That said, I couldn’t help myself – I kept a few pieces that won’t be visible when playing to paint myself. These are the marquee back panel, the monitor mounting bracket, and the cabinet back panel (from bottom to top, below). The first of these three pieces will be painted white – it will get white LEDs later to light up the marquee, and the white paint should help spread & diffuse the light better. The latter two parts will get painted black, just like the rest of the cabinet.

My poor-man’s paint booth? The back yard 🙂 Thankfully it was a very calm winds day, so the parts would stand up on the sawhorses without any fuss.Kraylix-paint 002

Here are the parts after a few layers of primer. The biggest problem when painting anything outside a proper spray booth is dust & contamination ruining your finish, but I’ve found that as long as what you’re painting is a vertical surface, contamination is greatly minimized (especially on a calm winds day). Spray paint on a part makes for an extremely sticky surface until the paint is cured, of course, so it’d be much more difficult to get decent results with a horizontal surface.

The primer dried relatively quickly in the sun, and after a light sand it looked pretty good! The marquee back panel got some gloss white, and the other two got gloss black. It’s hard to tell from photos, of course, but here are the two black panels after a few layers – they look pretty respectable!Kraylix-paint 003

I’m already counting the days until the cabinet is ready to be picked up, but in the meantime I have plenty of other parts of the build to focus on – getting the marquee & control panel art finalized and printed, and getting all the controls & electronics ready.

Posted in Kraylix | Tagged , , , , , | Leave a comment

Assembled Kraylix Gaming PC

As I described in my Kraylix opening post, my Kraylix arcade cabinet will be both JAMMA capable (primarily to play Capcom CPS-2 games) but will also have a modern gaming PC to play more modern titles such as Street Fighter IV and Street Fighter V. Sure, a PS4 would be cheaper, but I like the ultimate flexibility that comes with using a PC. A few days ago, I went to Fry’s and picked up the components necessary to put the PC together. At times like this, I really like shopping at Fry’s – their prices are very competitive, and you can’t beat picking out parts and having them right there on the spot.

At first, I thought perhaps I would make my own motherboard mounting bracket to install directly in the cabinet, but after thinking it over I decided to go with a standard computer case. It simplifies the mounting of other parts such as the power supply, storage disk and graphics card. Graphics cards in particular are pretty hefty these days, and I really didn’t like the idea of having it hang on the motherboard just by the PCIe connector. The case also grounds, shields and protects the components inside the PC – since there will be other parts in the cabinet, that is an important consideration. Here’s the Mini-ITX (compact) form factor case I ended up using test-fit in the cabinet:Kraylix-pc 003

The case is a Thermaltake Core V1 and definitely fits very nicely into the cabinet with plenty of room to spare for the eventual installation of CPS-2 boards. As compact as it is, it fits a full size ATX power supply and has plenty of space for a modern graphics card, too:Kraylix-pc 001

And here’s the top-down view. I’m using the OEM Intel CPU cooler, but there’s room to upgrade to potentially upgrade to something better, too:Kraylix-pc 002

Note how the Mini-ITX motherboard is barely larger than the CPU cooler! It’s tiny. Here are the full specs of my build:

  • Intel Core i5 6500 (Skylake) CPU
  • 16GB DDR4 RAM
  • Nvidia Geforce GTX 960 GPU
  • 480GB SSD

Should run most modern games (as of 2016) at or near 60fps @ 1080p, and all in a super compact form factor. The computer will get modified to remotely operate the power button later on, but for now since the cabinet was just about to go out for paint I just needed to make sure everything would fit together well. And it does! 🙂

Posted in Kraylix | Tagged , , , , , , , , | Leave a comment

Prepared Kraylix arcade for paint

With the Kraylix cabinet assembly complete, it was now time to prepare it for paint. The Kraylix has many chamfered edges which need to be sanded down smooth. Thankfully MDF (which the cabinet is made of ) sands down very easily – I able to get through most of it with just one evening’s worth of work. Boy does it ever make a mess though, you’ll rapidly get sawdust all over when sanding MDF! I recommend wearing a dust mask or respirator to avoid breathing that stuff in. MDF thankfully mean the surfaces of the panels themselves are super smooth and don’t require much prep.

Perhaps the biggest piece that required prep before paint was the top arch. It’s a sandwich of multiple layers of MDF (pre-fabricated by Kray) – although the edges line up pretty close with the cabinet, it’s definitely not perfect and some type of filler is necessary to seamlessly blend the pieces together. Here’s a look before any filler was applied:

Kraylix-sanding 004

Notice the big quarter-circle gap in the chamfered edge in particular – that will need to be filled in. I used Bondo Gold as I had problems when working on the Space Shuttle cabinet with Bondo (the regular kind) clogging up my sandpaper very rapidly – the Gold kind definitely seemed to perform a bit better in that regard.

Here’s a view of the outside edge of the arch – the sandwich layers are clearly visible, but what you can’t see as well is even though I’ve started with the sanding, the layers don’t feel completely flush to each other. That will also need filler. Anything that you can catch your fingernail on would be completely obvious once painted, and the goal is for this to look like one smooth continuous surface. There’s also obviously a gap between the arch and the side arm below that will need filler as well.

Kraylix-sanding 005

Here’s the inside of the left part of the arch after a few rounds of Bondo and sanding. More sanding is still needed, but the quarter-circle gap is gone! Note that the half-circle gap you see will be behind the marquee and hence not visible, so it’s not worth filling it in. Kraylix-sanding 001

And here’s the outside of the arch once close to finished – a pretty smooth transition between each of the faces and edges now!Kraylix-sanding 002

I got the top arch and a few minor other patches over the rest of the cabinet done in about a day’s work on the weekend.

A few tips on using body filler:

  • Mix small batches at a time as it will start to cure the moment the two parts are mixed together. I seemed to have a few minutes working time at the most before my filler would start to solidify and be hard to spread. Fast curing does mean less of a wait to shape & sand, though!
  • Apply as little as possible to get the desired results. Any time you use more than required, the excess will need to be sanded which makes a mess and isn’t fun.
  • Before the filler fully solidifies, you can carve out any excess with a blade – the “cheese grater” approach. Indeed, it kind of feels like slicing through cheddar cheese!
  • If you have a large area to fill in, multiple passes are needed. Build layer upon layer instead of trying to fill it in all at once.
  • Don’t breathe that stuff in as you sand – wear a mask or respirator!

Same procedure for the control panel, which I completed the next day. This is the part your hands will rest on when playing, so I definitely took the time to sand everything down completely smooth. Kray ships the control panel pre-assembled and there was already filler between some parts, but some screw holes on the side edges need to be filled in and I went ahead and patched a few other areas smooth as well. Here it is sanded and ready to go!

Kraylix-sanding 003

At this point the cabinet is ready for paint! It’s looking like I’m going to hire that part out, as I don’t really have a great place to do it and I like the idea of using automotive paint (which I definitely can’t do at home) since it’s so durable. The most time consuming part is prep, though, and since I’ve done that I should be able to have it painted fairly affordably.

Posted in Kraylix | Tagged , , , , , , , , , | 2 Comments

Kraylix Assembly – Day 2

Today I finished assembly of the cabinet. The glue around the arch had set overnight, so I removed the clamps and took a look at the results – pretty good! Some filler will be needed to seamlessly blend the top arch to the side arms, but that should be a fairly straightforward task.

Kraylix-assembly-d2 005

Next up was to install the screen bezel – it is secured with six wood screws, three on each side. In general I have found the Kraylix kit to be extremely sturdy and well built, but this is one area where I feel some extra bracing could improve the design further. The screen bezel is fairly thin and somewhat flexible, and the design leaves it unsupported across the top and bottom. Once installed I could definitely flex it quite a bit with relatively little force. Since the panels above and below don’t form a 90-degree angle with it, though, how best to add some bracing? You could fabricate a wooden piece built to just the right angle, but I came up with something way easier – I used some small hinges from the hardware store. The hinge conforms to the angle needed, but nevertheless adds the rigidity needed to prevent the screen bezel from flexing away from the support piece that runs along its edge. Note the light shining through between the two pieces, as they don’t even touch each other! That’s very much intentional as this edge won’t be visible in the completed machine.Kraylix-assembly-d2 001

Perhaps the most complex part of the kit is the control panel, but thankfully it comes pre-assembled and pretty much ready to go! I removed the top and bottom panels to take a look inside – all the necessary routing to mount joysticks and buttons has been already done by Kray. The only thing the control panel will need is a bit of sanding and lots of dust removal before paint. Here’s the view of the upside-down panel, where you can see the inner routed channels for the controls.Kraylix-assembly-d2 002

Note that in addition to the 8+8+2 top-side buttons, there is room for 4 more buttons on the bottom. What you can’t see on the photo is that there is also room for side-mounted buttons, two on each side. I can’t imagine running out of buttons on this panel…

One other task I did today was to test-fit my screen to the cabinet. No photos, unfortunately, as I was too busy holding the screen up to take a photo. The kit comes with a wood mounting bracket with holes pre-cut to some popular monitor/TV mounting patterns. For this project I’m using a Vizio D32-D1 and I’m happy to report it fit the cabinet just fine. It also worked great with the kit’s mounting bracket which didn’t require any modifications whatsoever. Once I was satisfied the screen would work out, I removed it and stashed it away in a safe place – it won’t go back into the cabinet until after painting is done.

Here’s a photo of the state of things after day 2 – rough assembly complete! Kraylix-assembly-d2 004

Next up will be patching with filler and sanding to get ready for paint! It’s remarkable how easy the kit was to assemble and how quickly it went together. At this point I can wholeheartedly recommend the kit without any hesitation if you’re interested in such a design – it really is a nice piece of work. See the Kraylix Arcade website for it and other variations Kray sells.

Posted in Kraylix | Tagged , , , , , , | Leave a comment