
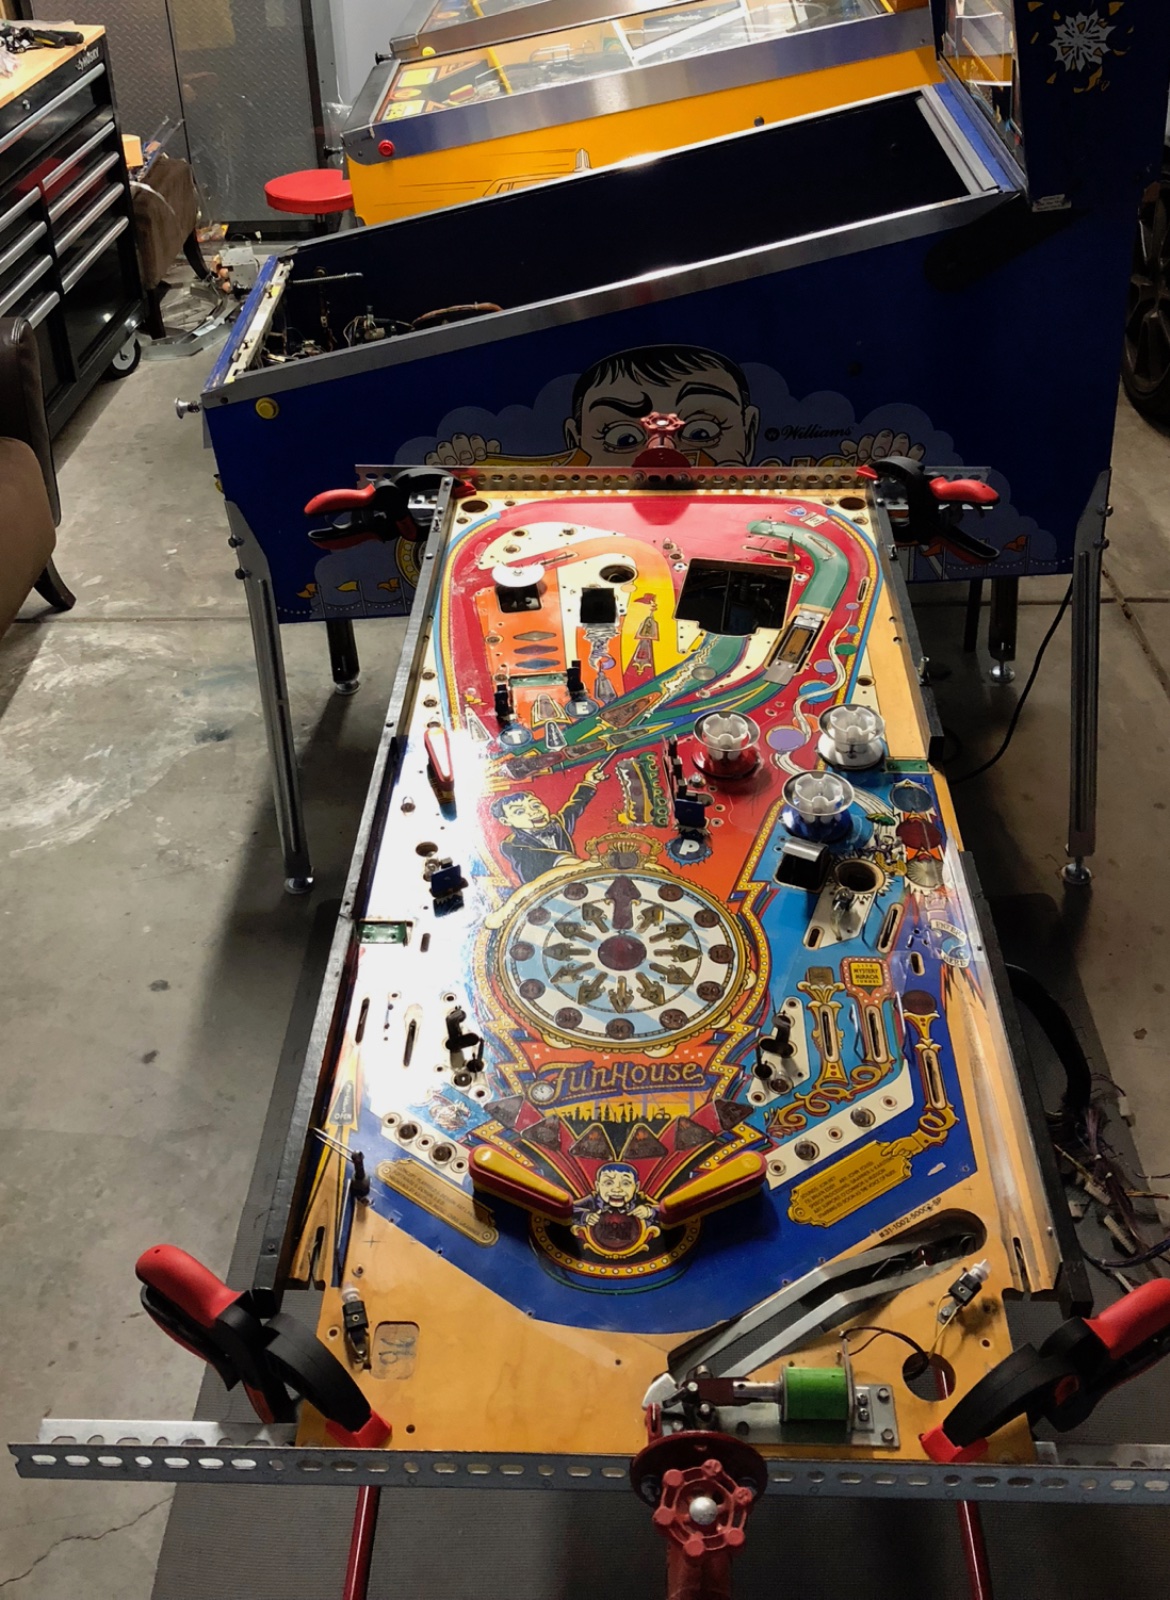
Over the last few weekends, I’ve undertaken a new pinball project – swapping the playfield in my Funhouse, Pat Lawlor’s awesome game from 1990. My game was playing well, but definitely wasn’t the prettiest Funhouse out there. The clock inserts in the center of the playfield, in particular, were particularly worn:

I have a brand new reproduction playfield from Mirco to swap in, so away we go with the teardown! Here is a shot a bit closer in after removing the ramps and some plastics:

Notice how beat up the light inserts are. Also notice the ball lock mechanism – underneath the playfiled it’s actually a flipper mech! Very clever to re-use the mech and simply design a new top side part that can release one ball at a time by rotating (like a flipper rotates). Finally I was a bit surprised to see green tape under the ramp flaps. I’ve heard this came from the factory, but it’s not something I had ever seen before. Interesting!
Like I did with Space Shuttle, every single part I removed had its hardware individually bagged and cataloged. I filled about 60 ziplock sandwich bags of hardware on the top side alone. After the topside was mostly disassembled, I removed the playfield from the game and installed it on my rotisserie.
The playfield is now ready to get flipped over to the backside. At that point, my technique is to start on the new playfield and transfer parts as much as possible directly from the old to new playfield. The first thing to go in on the new playfield are the T-nuts and pop bumper bracket screws, because these parts are much more easily installed with an otherwise blank/empty playfield.

A luxury afforded to me this time was the use of a second playfield rotisserie! I borrowed my friend Marc’s who wasn’t using his at the time. It’s definitely not a must-have for a playfield swap, but I’d call it a very nice to have! Here is the new playfield installed on the second rotisserie. So shiny!

Then both playfields get rotated to the backside, and the transfer of parts continues. After the T-nuts and pop screws, I moved on to wiring harness hangers, other mech brackets, and the light boards. As I’m doing this, every switch and light is also being unscrewed from the old playfield.

At the end of the disassembly on the bottom side, the wiring harness is the only thing left and only gravity is keeping it on the playfield 🙂 I used the same technique as before of sliding in some cardboard pieces to pick up the wiring harness and move it over to the new playfield. Everything then gets screwed back in and mechs are rebuilt. I also took the opportunity to upgrade the flipper return springs to the newer WPC fliptronics style, but everything else about the flippers is stock.

Once everything is screwed back in on the new playfield bottom side, the rotisserie once again rotates back to the topside where re-assembly can start there!
Here is where all the time taken to meticulously catalogue hardware and take photos pays off. It’s pretty fast to take things apart, but going slow and taking a lot of notes makes it way easier at this phase.
The game got all new ramps and plastics, too, but this means some work re-riveting plastics attached to metal bits (which must be re-used). Of all the parts top-side, the step ramp took by far the longest to do – lots of stuff to transfer over! And although very little soldering was needed on this project, the step ramp switch wires are run through small holes and the only way to transfer them to the new ramp was to unsolder & re-solder.

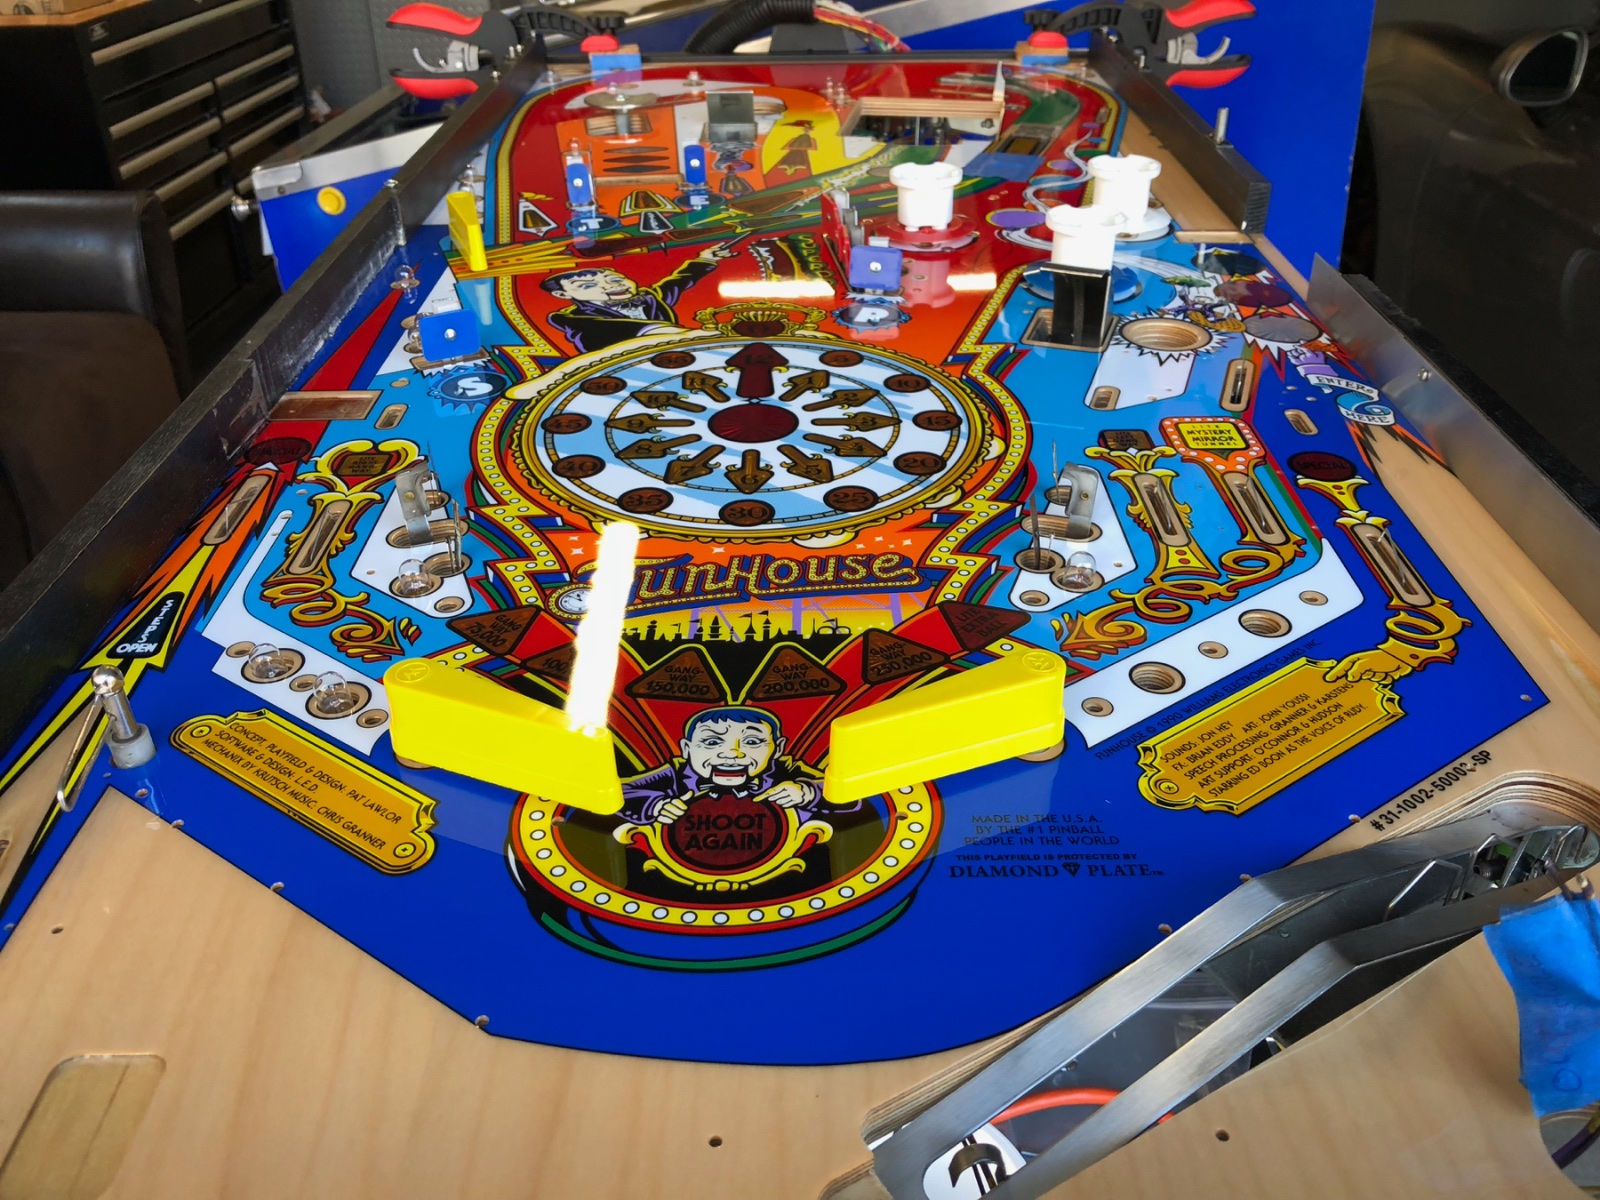
Here’s the new playfield almost complete, just a few parts to go!

The playfield then went back into the cabinet and I went over all the solenoid lugs to make sure everything was clean and nothing was bent in a way that would create a short circuit. I plugged it in and powered the game on – no smoke, hooray! A few adjustments to switches were definitely needed, but fairly quickly the game was playable again, and plays better than ever.

This was my second playfield swap and it definitely went way faster than the first. It’s all known territory at this point, so way less time was spent thinking about how to do it and time spent doing it was very productive. The project took me about three weekends plus a few week nights here and there.
More photos of the completed game can be found here.

Hi, Looks like a beautiful restoration of your FunHouse. Any issues with the clearcoat on the Micro playfield cracking? I have heard of this happening. I was wondering if you can share some pictures of the underside of your playfield – wiring, and electronics. I am about to embark on the restoration of my FunHouse and I’m trying to discern factory connections from repairs. I think most is factory but I’m suspicious of a few wires and solder joints, although I’m not sure factory soldering is always beautiful. Thanks! Dave
Hi David! Thanks for the nice compliment. The colors and printing on my Mirco playfield look amazing, but indeed there have been some minor issues with the clearcoat. In particular it seems compared to other playfields I’ve done (from CPR), the clear separates very easily from the artwork. Be super careful when putting in posts etc – it is good to have super sharp drill bits, start with a smaller size than you need, and work up to the final size to avoid clearcoat separation. There is even one spot where the clear has separated from the art due to an air ball strike! That said it is still beautiful and has held up well enough, I haven’t had any cracking or peeling. I’m not sure when I will have time to take more photos under that game but hopefully you can spot those things on your game that don’t look like the other and try to get it back to factory as much as possible. I’d recommend heading to Pinside as well, you will probably find lots of photos there. Thanks for reading!