It’s time once again for something decidedly non-pinball – a quick post about replacing the capacitors on my Mac SE/30’s motherboard. Although computers have used surface mount parts for decades now, all of the soldering work I’ve done on pinball machines and various other projects has been through-hole only, so this was a new skill for me to learn – and a new tool needed!
I picked up a hot air re-work station for 38$ on amazon – an essential tool for doing surface mount work. Instead of heating joints directly using an iron, hot air soldering involves shooting hot air to heat the entire area around a component. This means you can solder (or un-solder!) multiple joints simultaneously, making removing ICs with many joints arguably even easier than with through-hole soldering.
So on to the Mac motherboard. The electrolytic capacitors used on the SE/30 are known to fail, and once they do the computer will exhibit various different problems – mine would often give me a zebra (striped) patter on screen when powered up, and when it did boot up the sound was very very quiet. Both problems are linked to leaking/failed capacitors.
Here’s a photo of the electrolytic caps before the repair – it’s a bit hard to see in the photo, but the goop inside the caps has leaked all over the surrounding areas of the board.
On to the repairs! I started with one of the caps nearest the edge of the board, and used aluminum foil as a poor-man’s heat shield to protect nearby components. Hot air is great at getting multiple joints melted for easy component removal, but this also means you may melt the joints on nearby components you don’t intend to un-solder. It’s not really a big deal in many cases, but you have to be careful not to move those components when the joints are melted. You also want to protect any components that are at risk of melting such as plastic or nylon parts, as during manufacturing it’s quite possible those were put in using wave soldering and are not capable of withstanding the heat used in hot air soldering.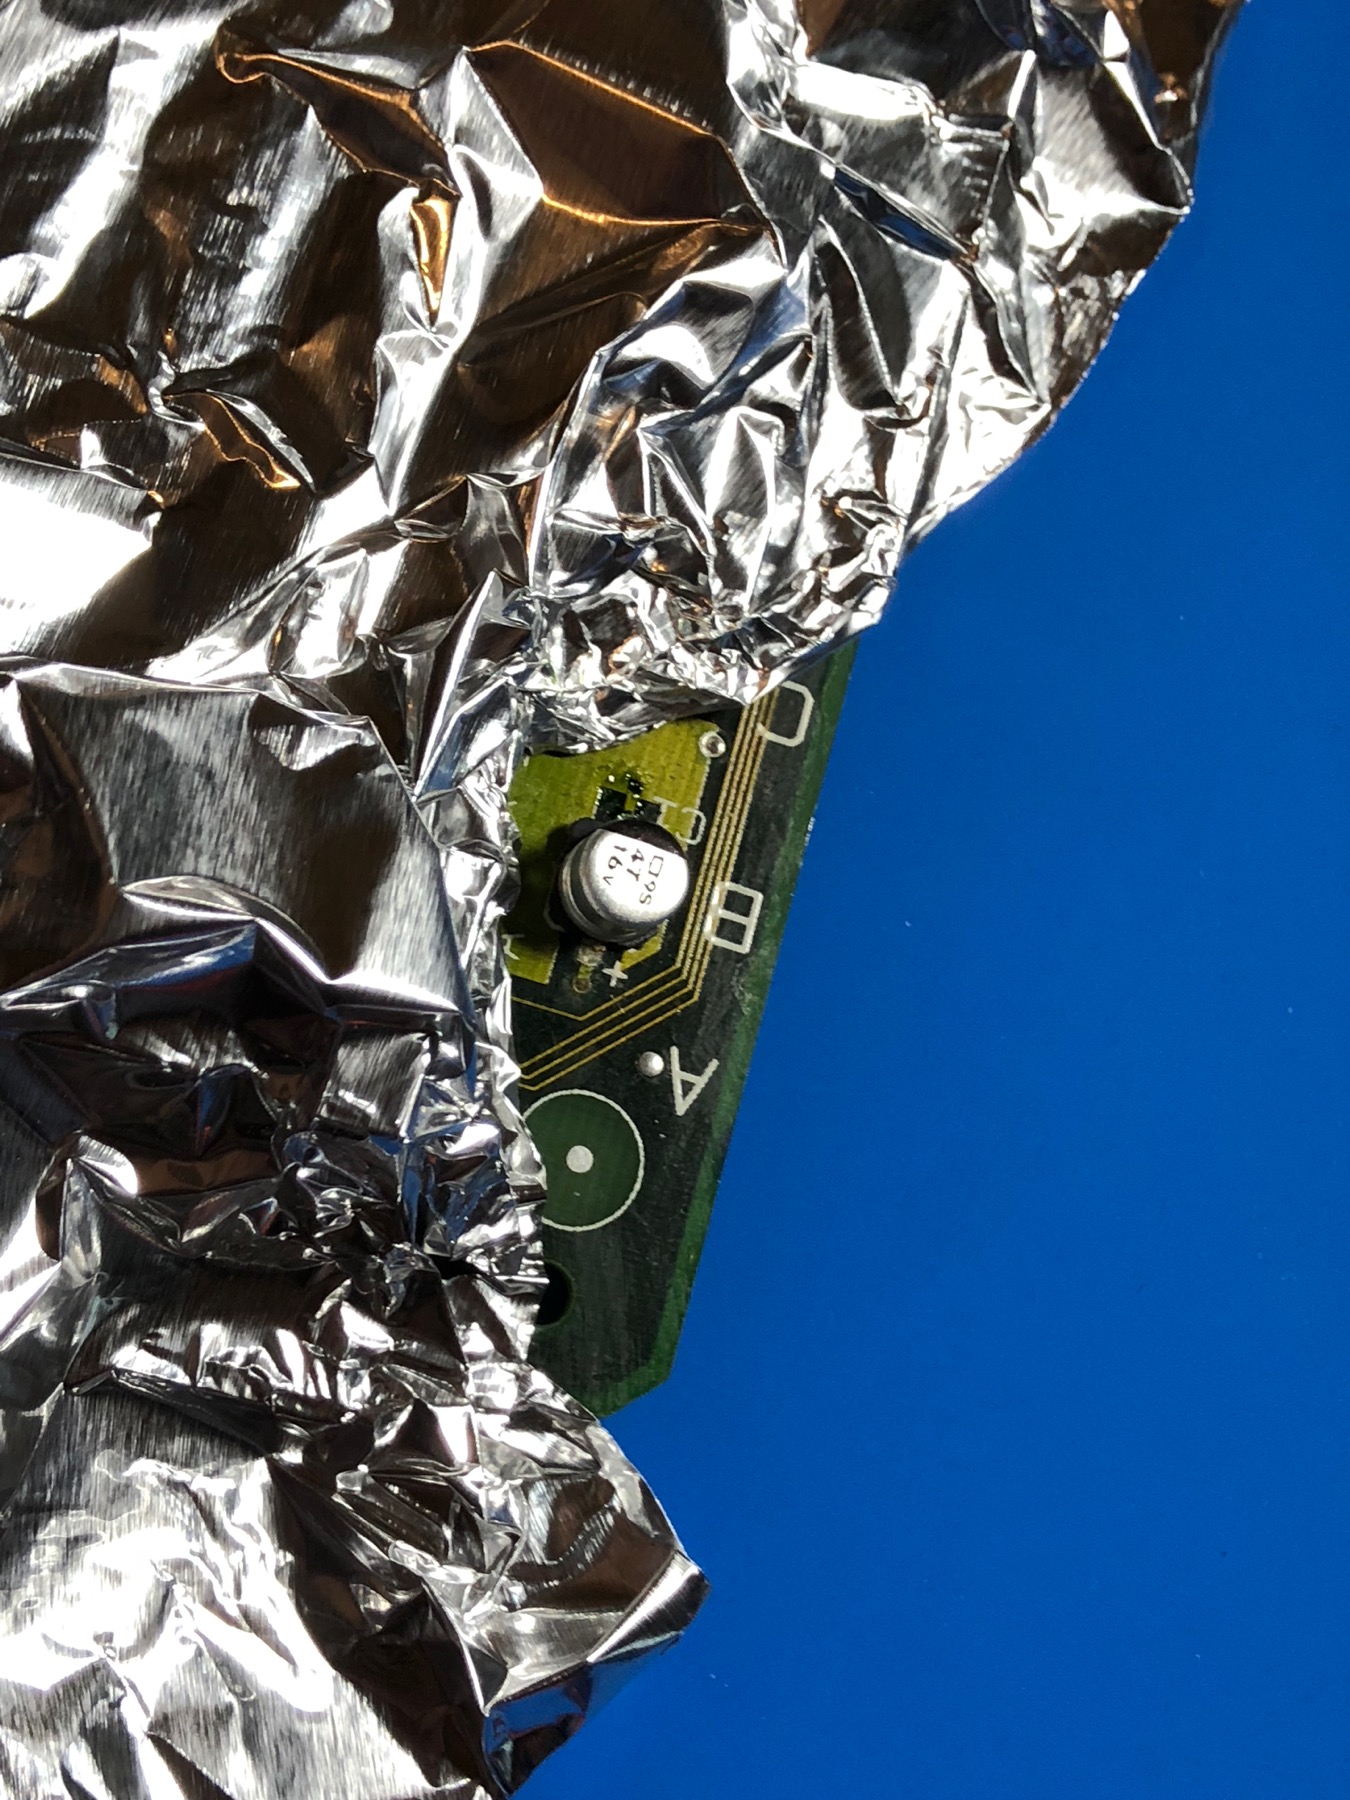
Here’s a photo of the replacement cap installed. It’s a different type – a tantalum capacitor which has no liquid inside and hence will never leak! Note in particular the stripe on the component indicating polarity is reverse from the original electrolytic ones! I have no idea why this is how they’re marked, but it’s definitely something to be careful of as things will definitely not work if you reverse them.
Definitely not the best soldering work in the world, but serviceable 🙂 I then moved on to the rest of the caps, including the two larger through-hole ones. Compare the “before” photo above with the “after” below: 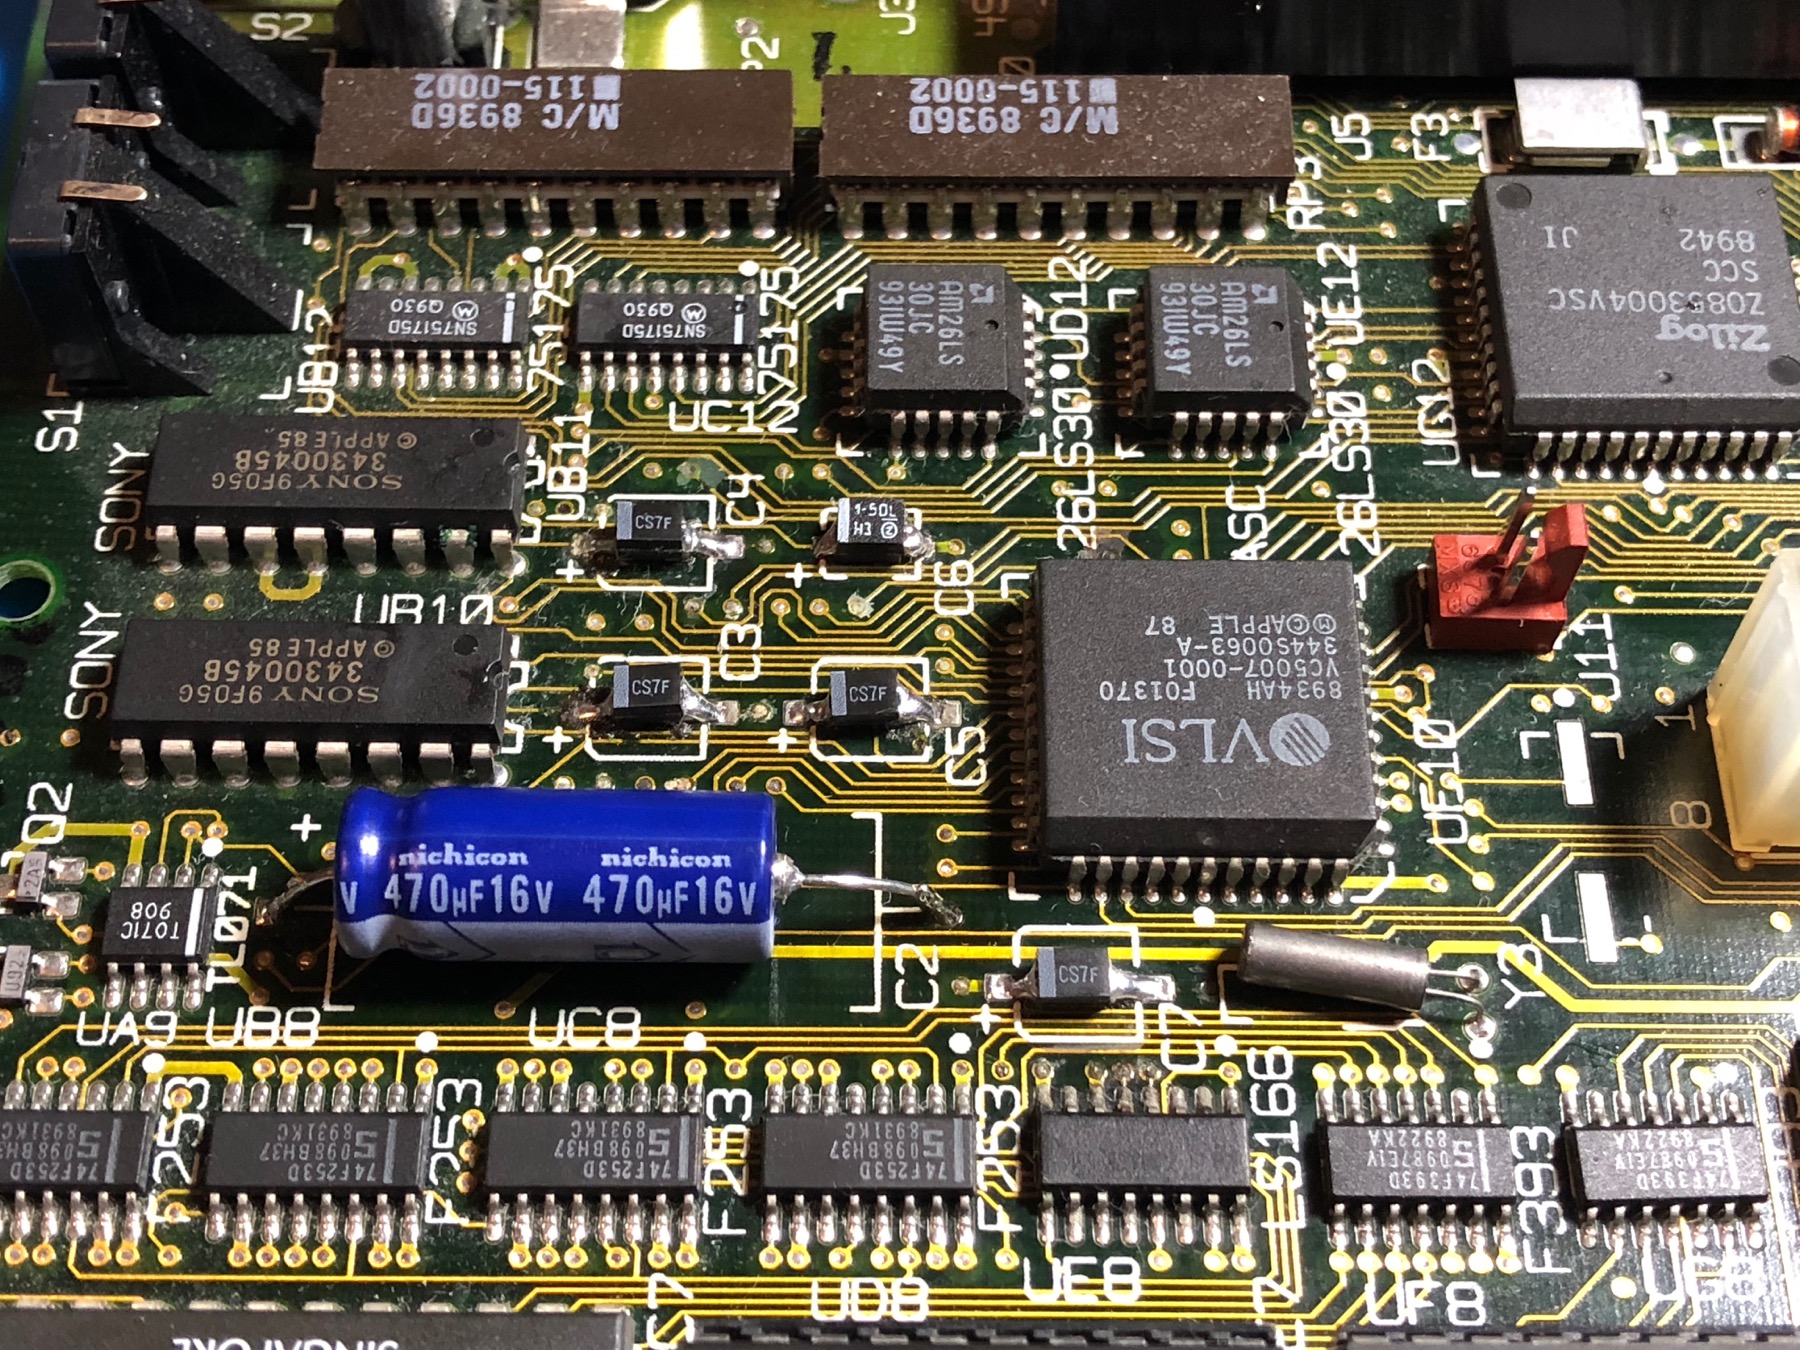
The completed board! I checked continuity on every joint before attempting to power up the board, and after re-assembling it into the computer, both symptoms mentioned above were cured. 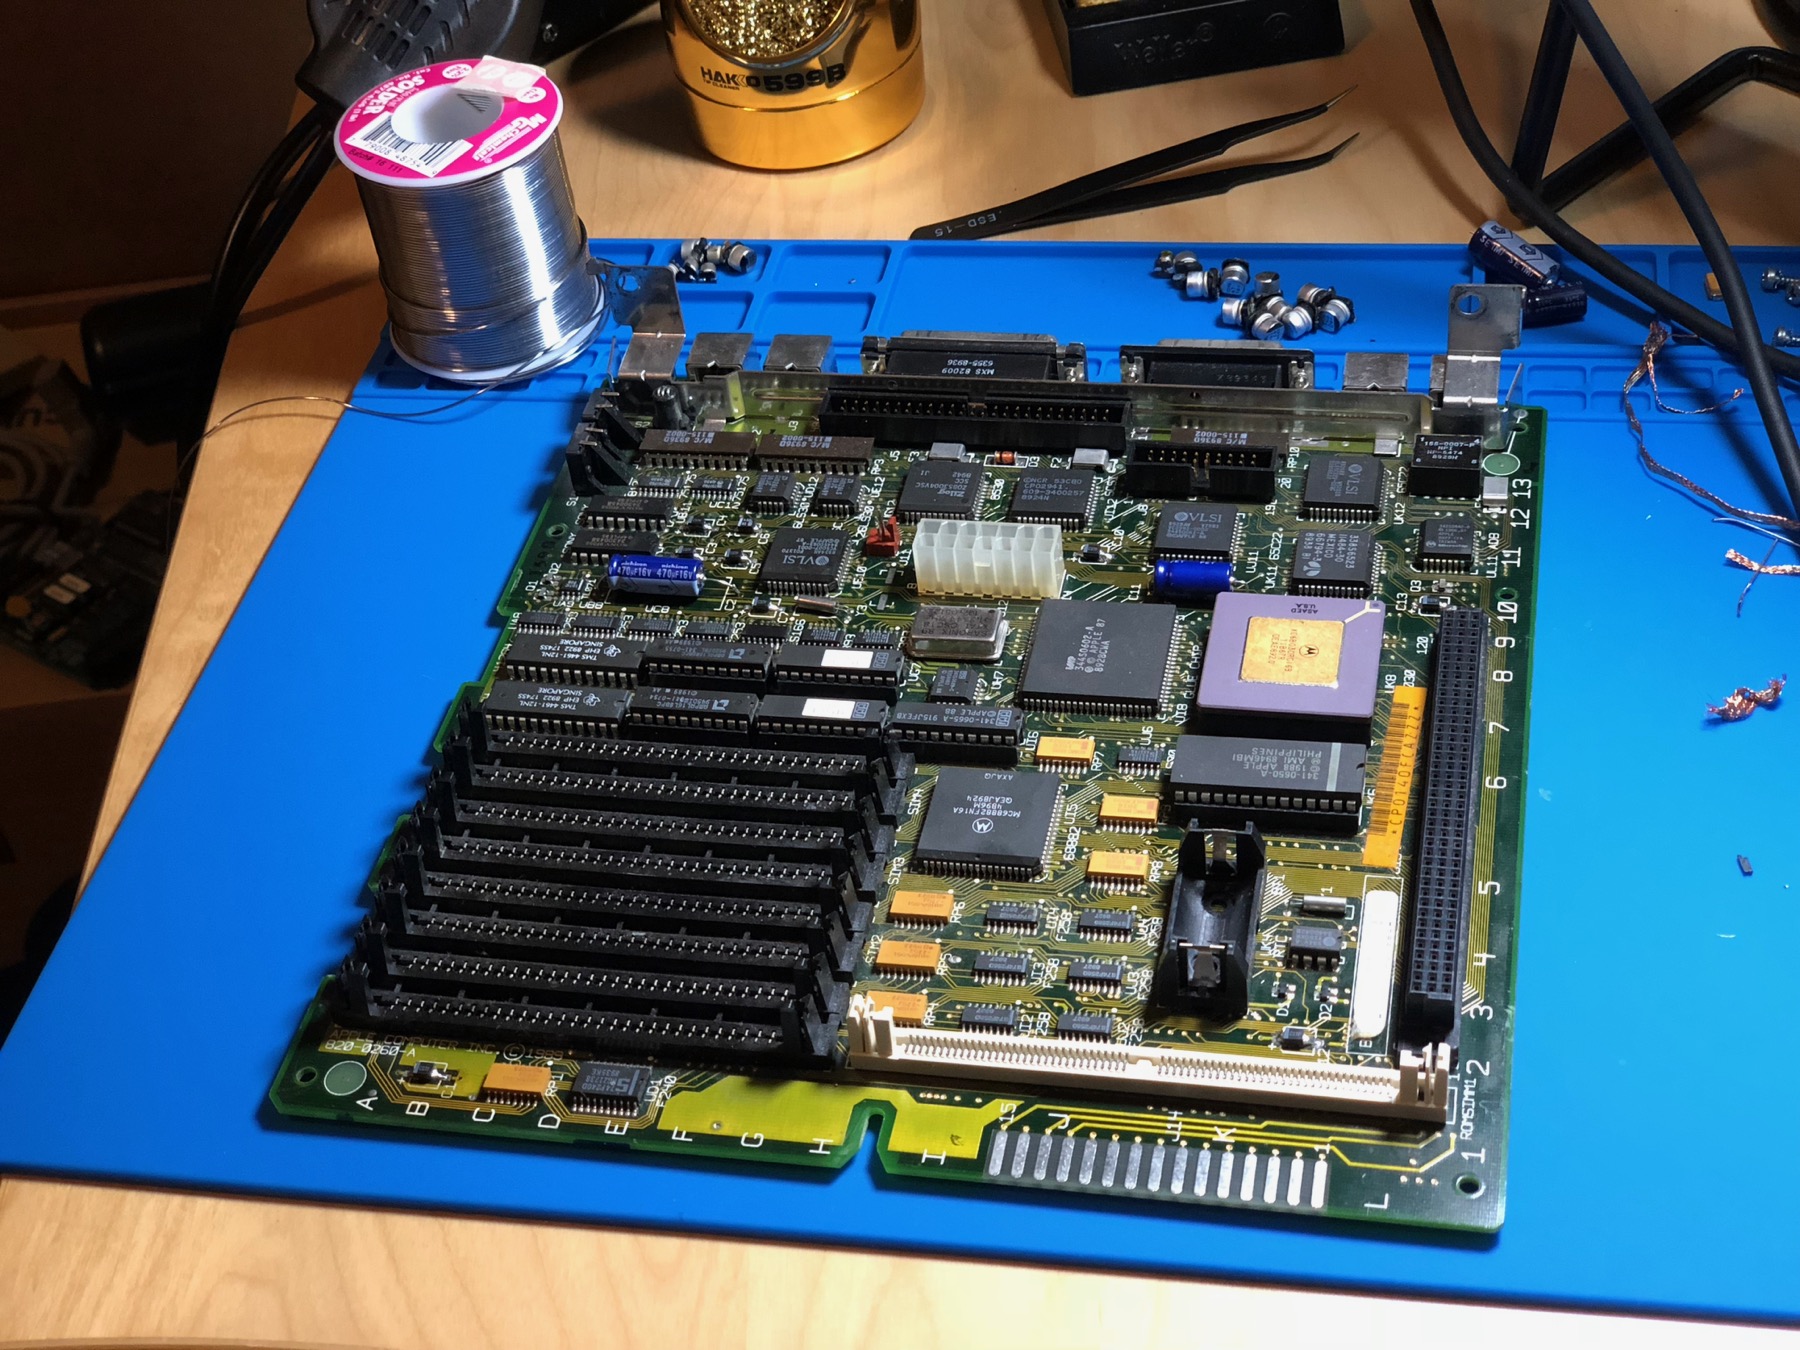
As pinball boards move more and more to surface mount components, my hope is some of the skills I learned here may apply to pinball one day 🙂